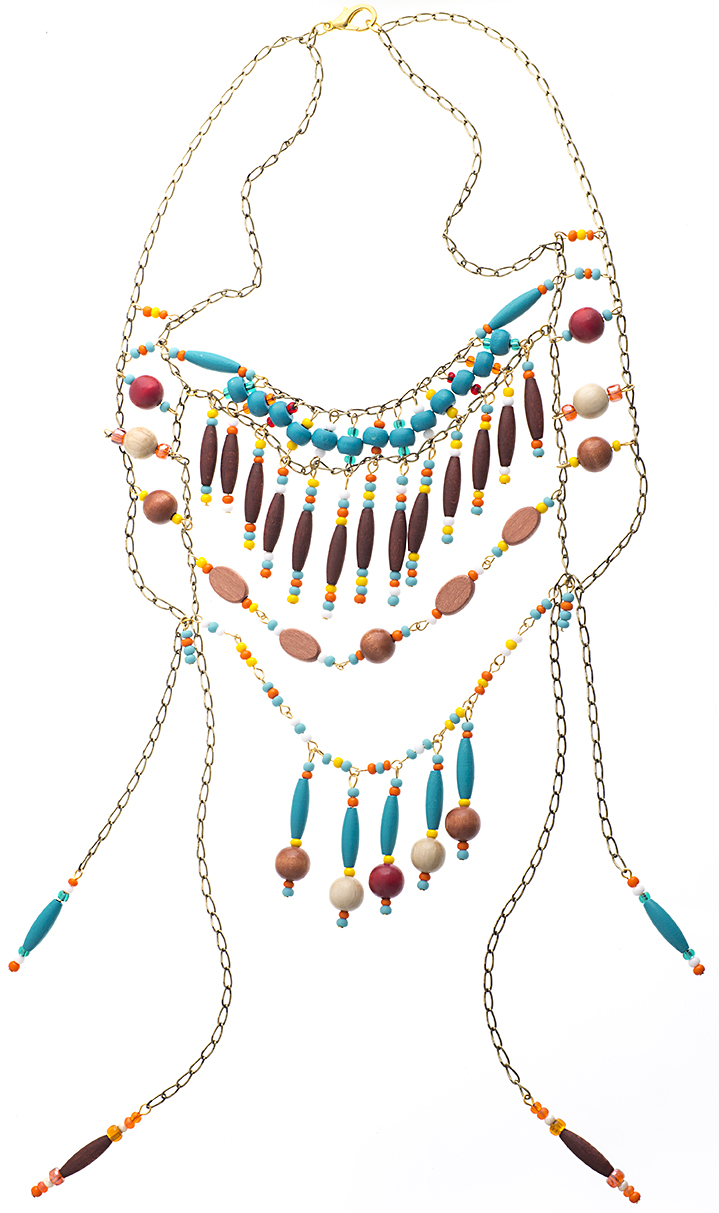
Part of the necklace designed by Lena Gillespie for...
Wood Beads
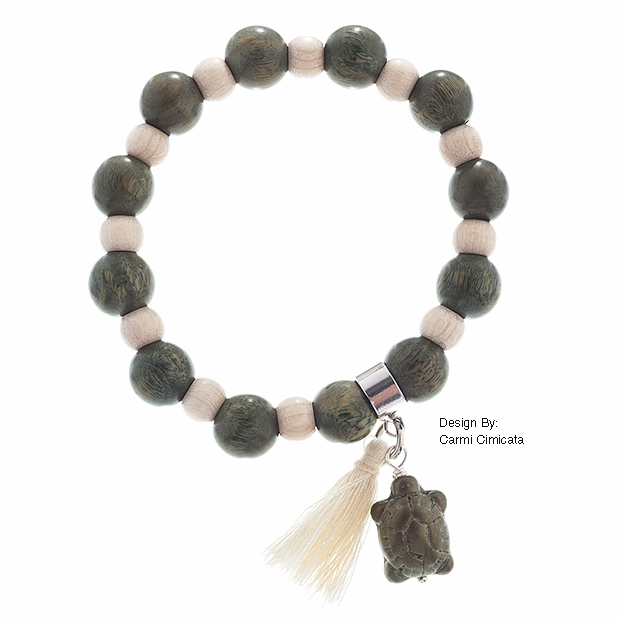
This new bracelet smells fabulous! The Brazilian wood beads...

We have added Brazilian sandalwood to our Aromatic bead...
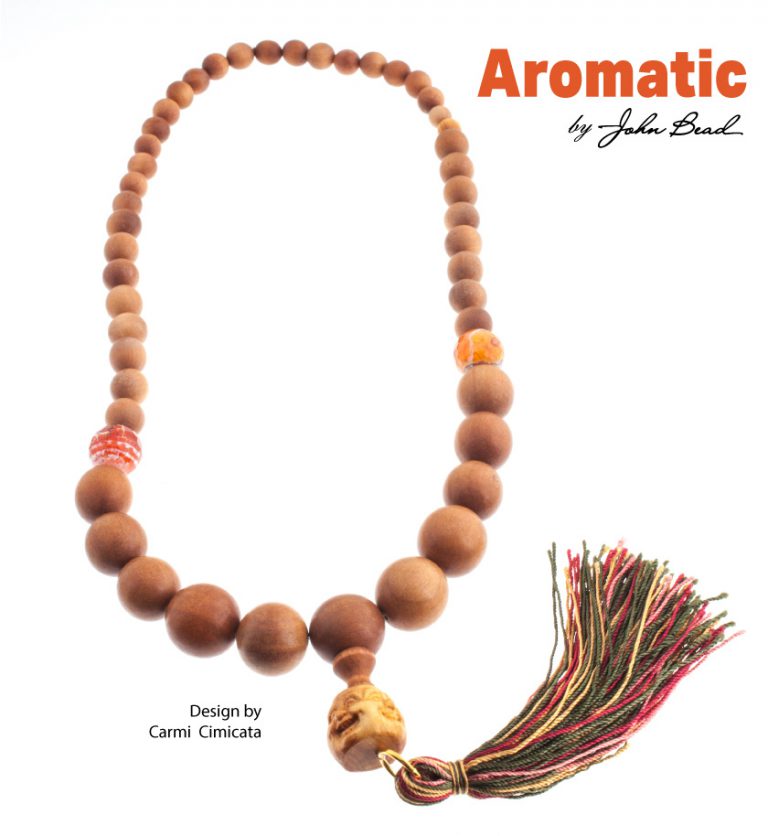
We have three unique strands of carved and naturally...
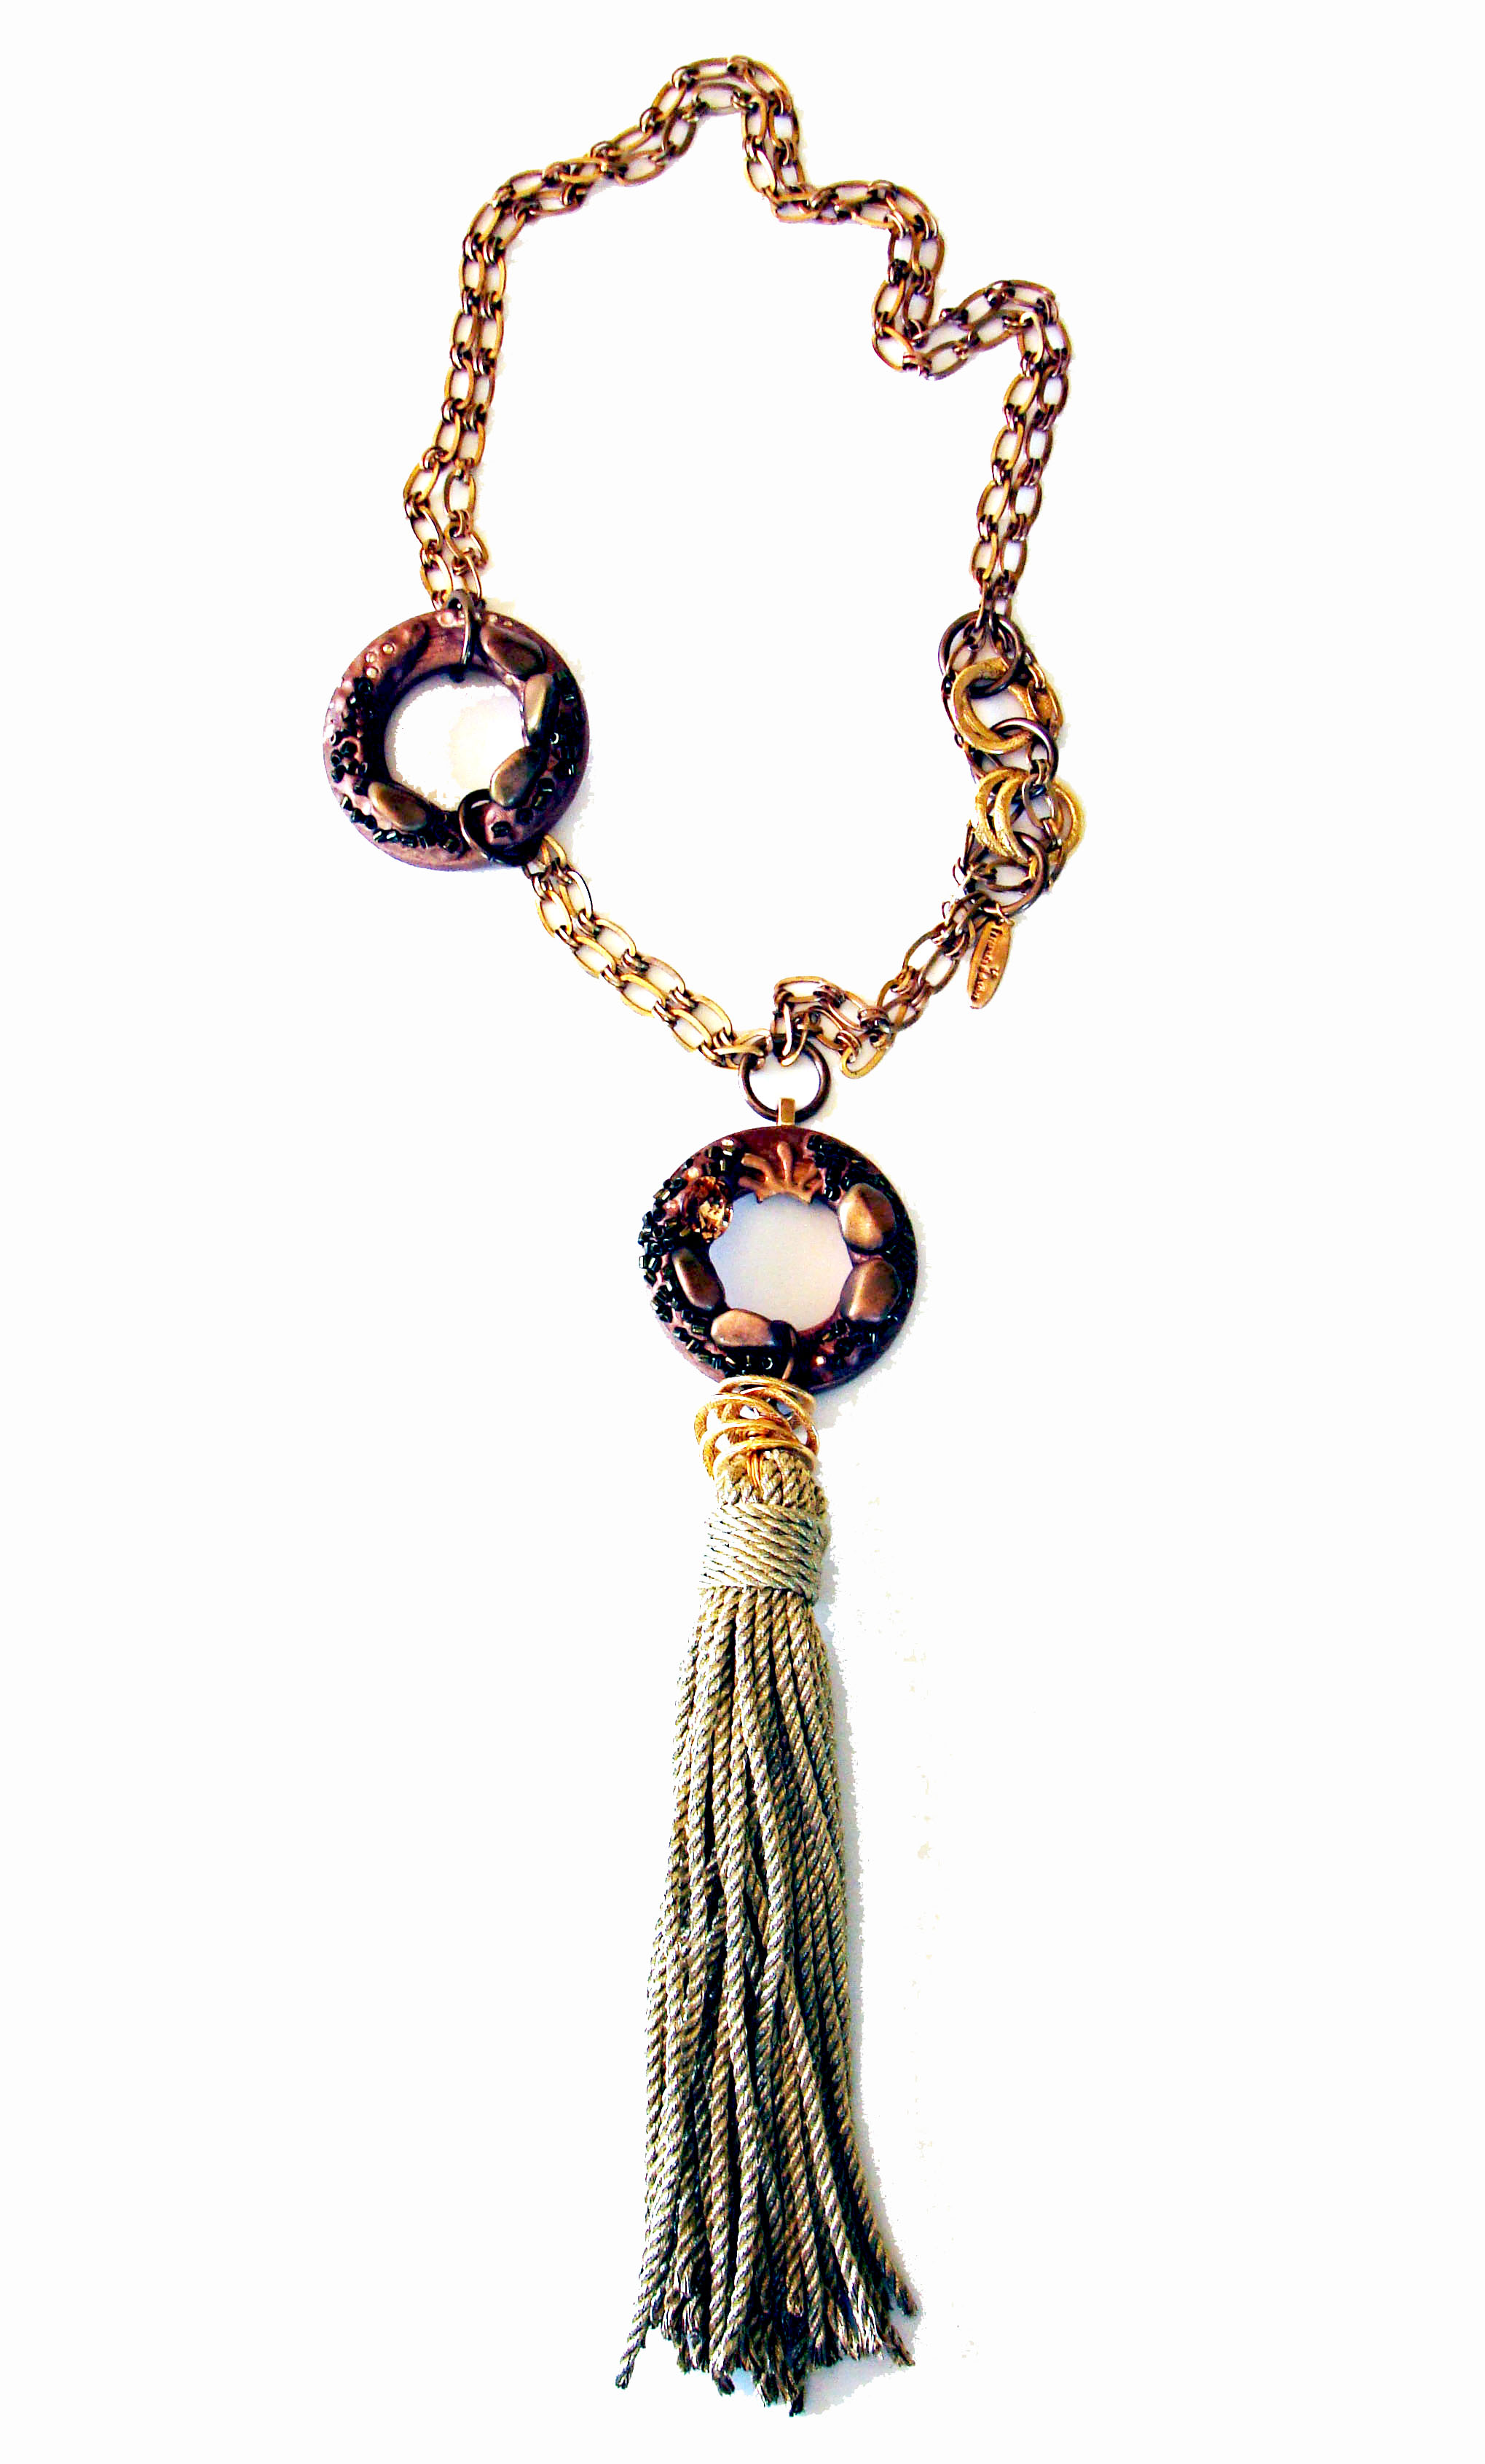
Materials 2g Delica 8/0 rd gun metal 8 icy...
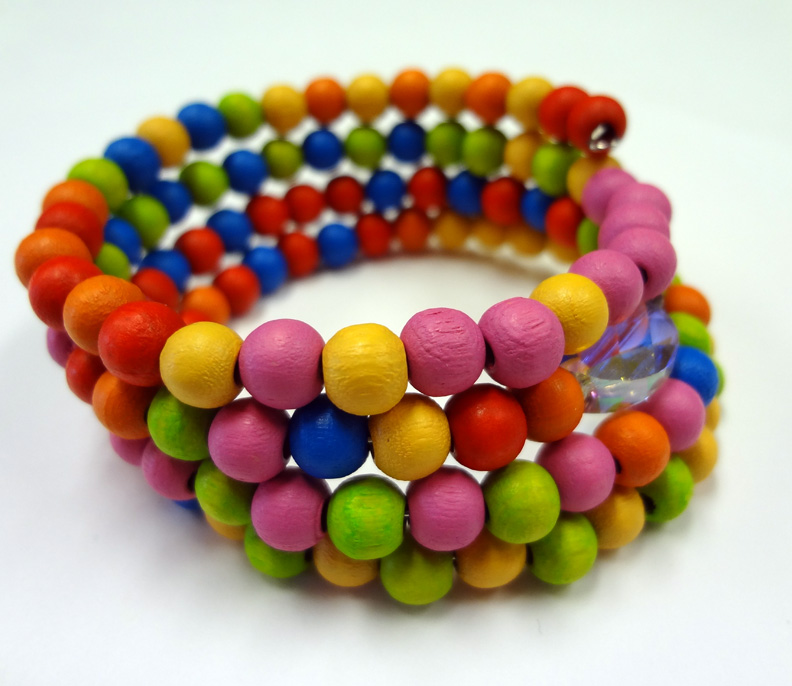
This bracelet is light and airy! It is ideal...