We have a wonderful costume design idea for anyone...
Glues
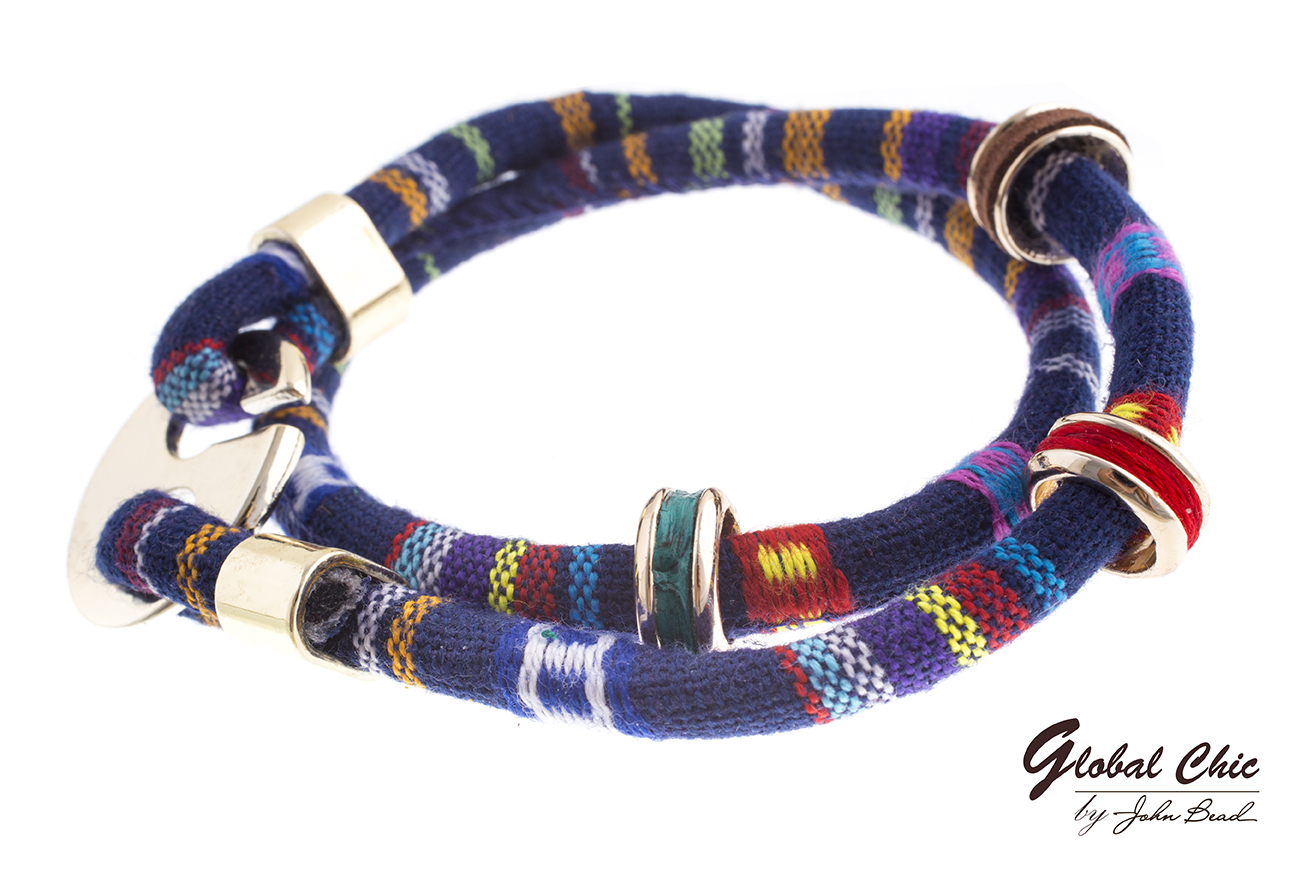
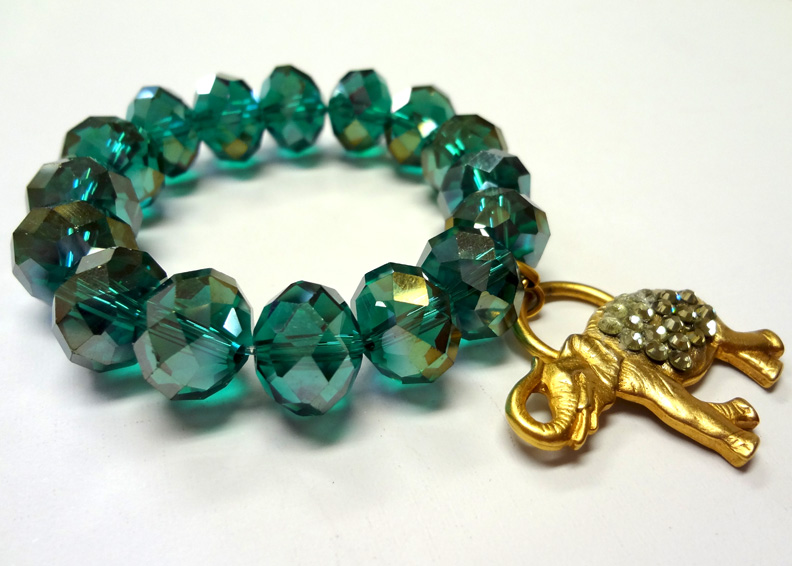
This gorgeous new bracelet by Fernando DaSilva features a...
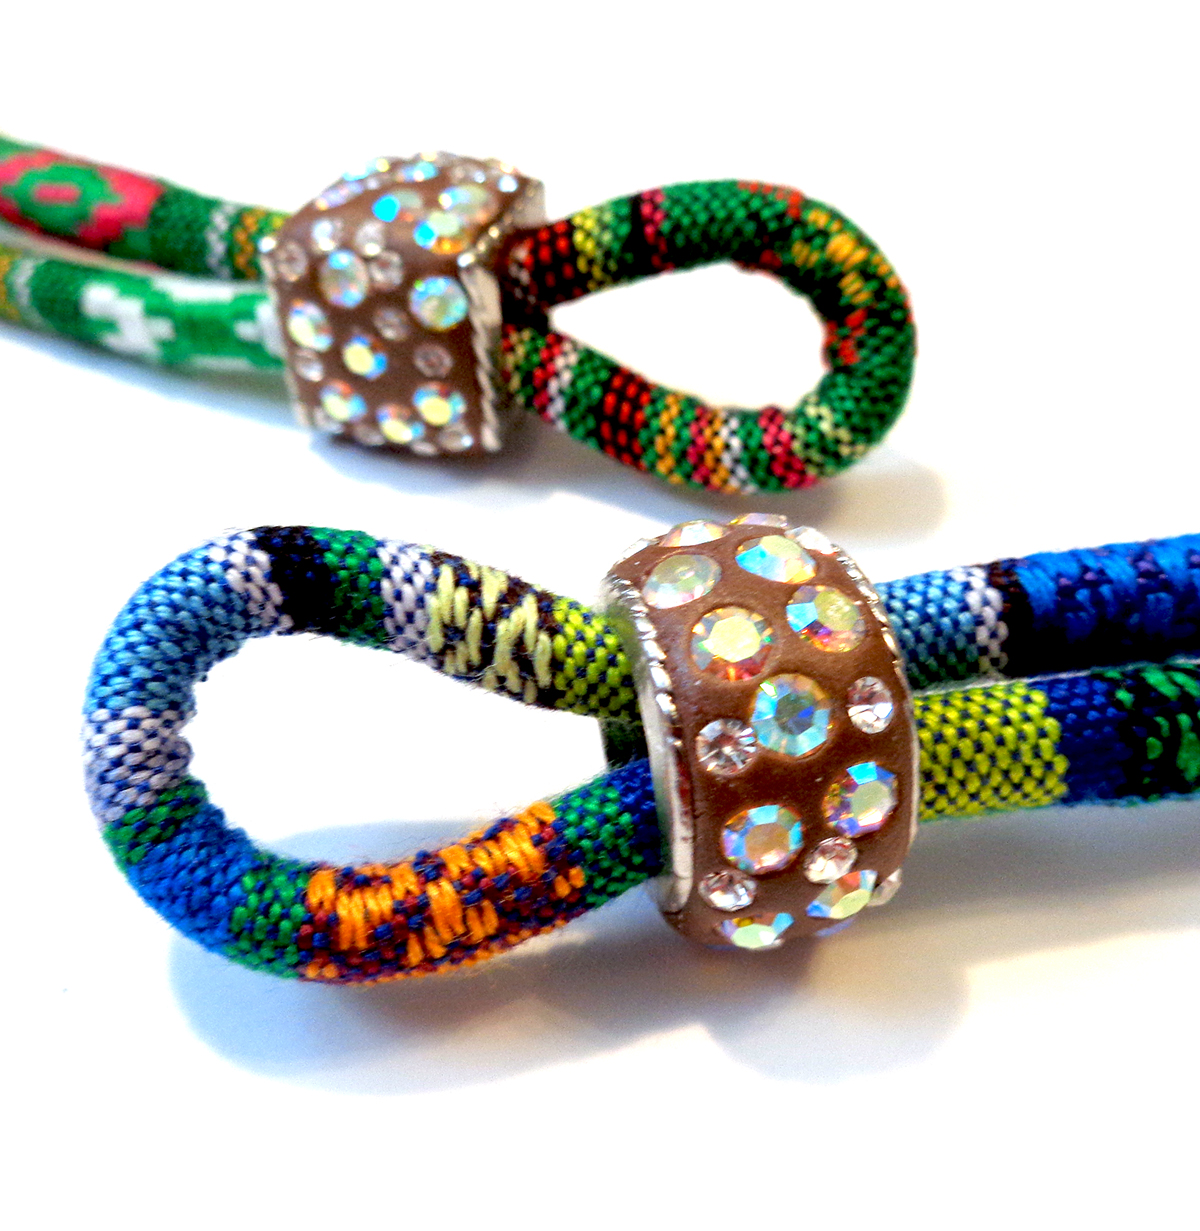
You are seeing unique crystal and clay channel beads...
Materials 2g Delica 8/0 rd gun metal 8 icy...
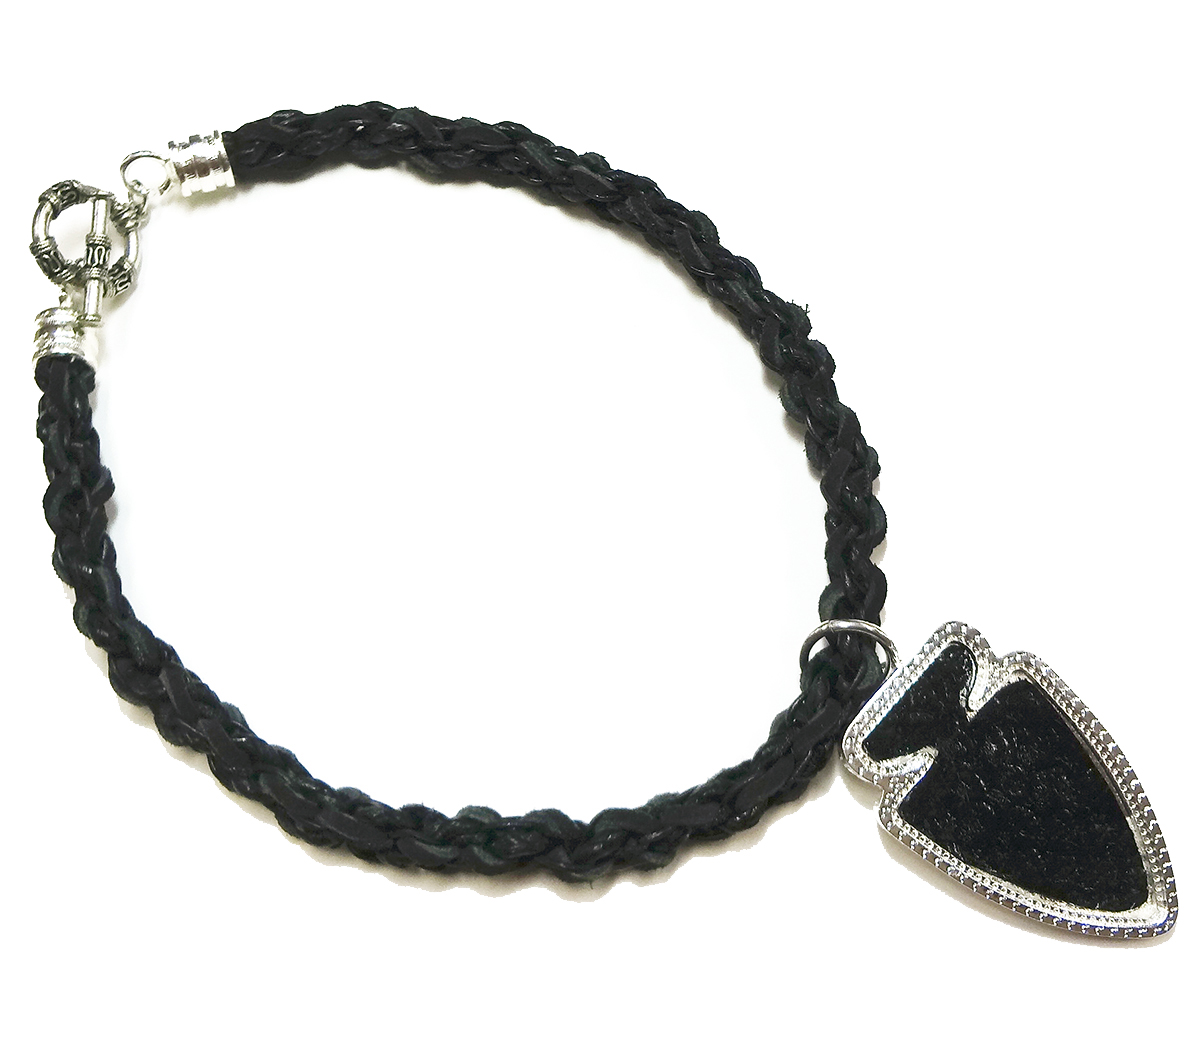
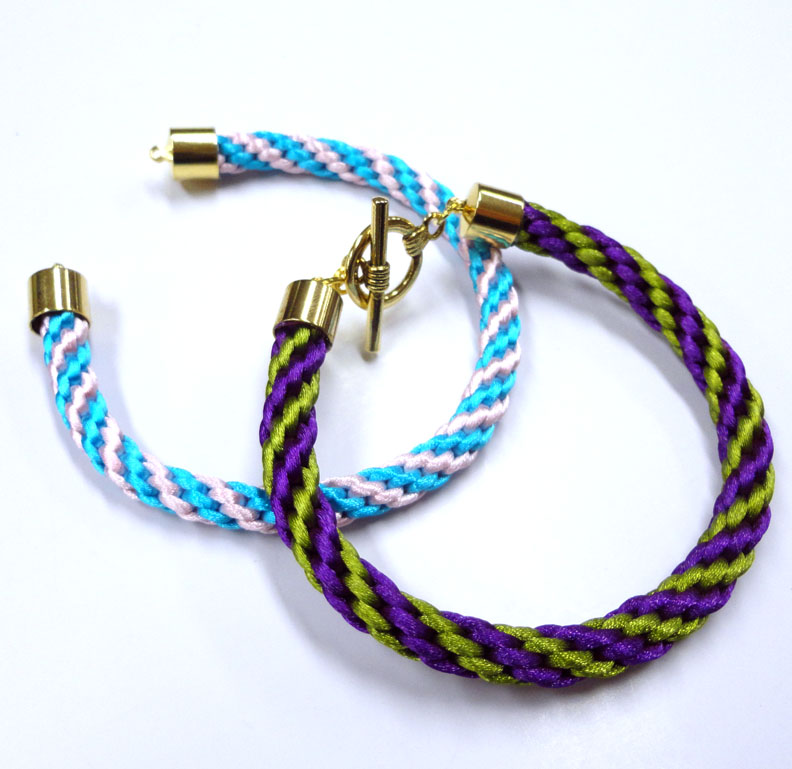
I have designed many kumihimo braids this year using...

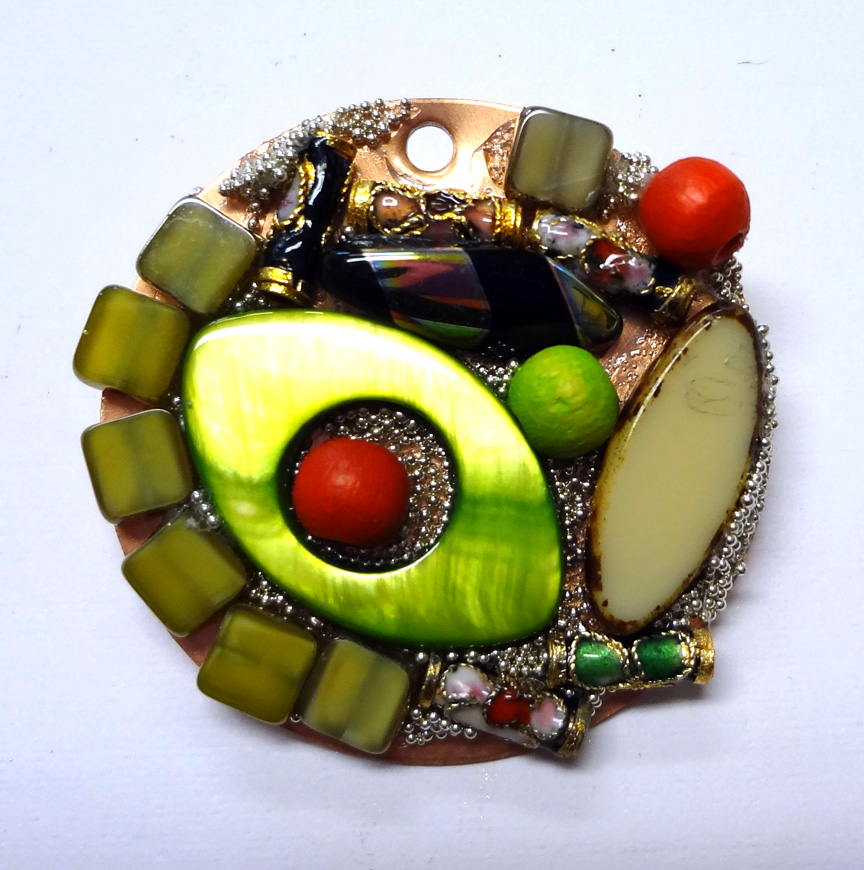
I can never resist a Treasure Mix! I love...
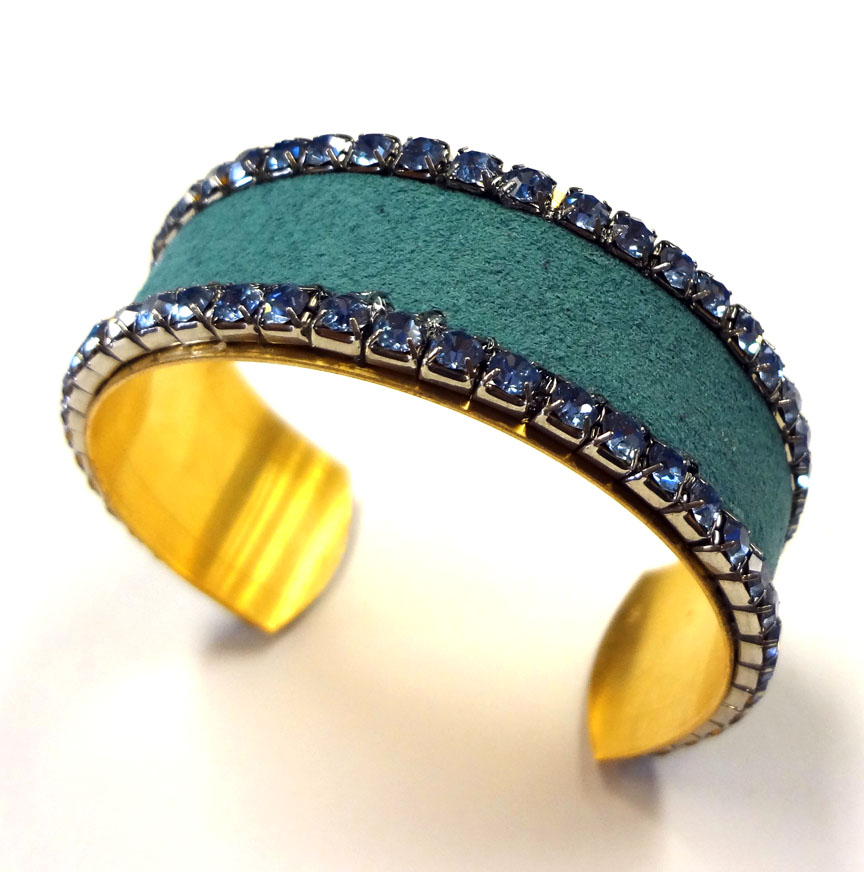
This new cuff has only three components. One of...
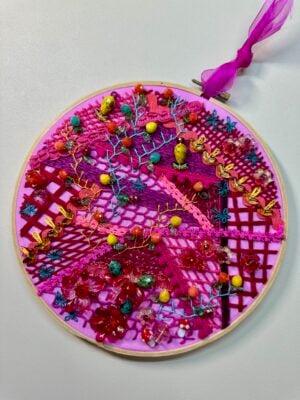
I am always happy when I manage to turn...
This bracelet is the perfect showcase for the new...
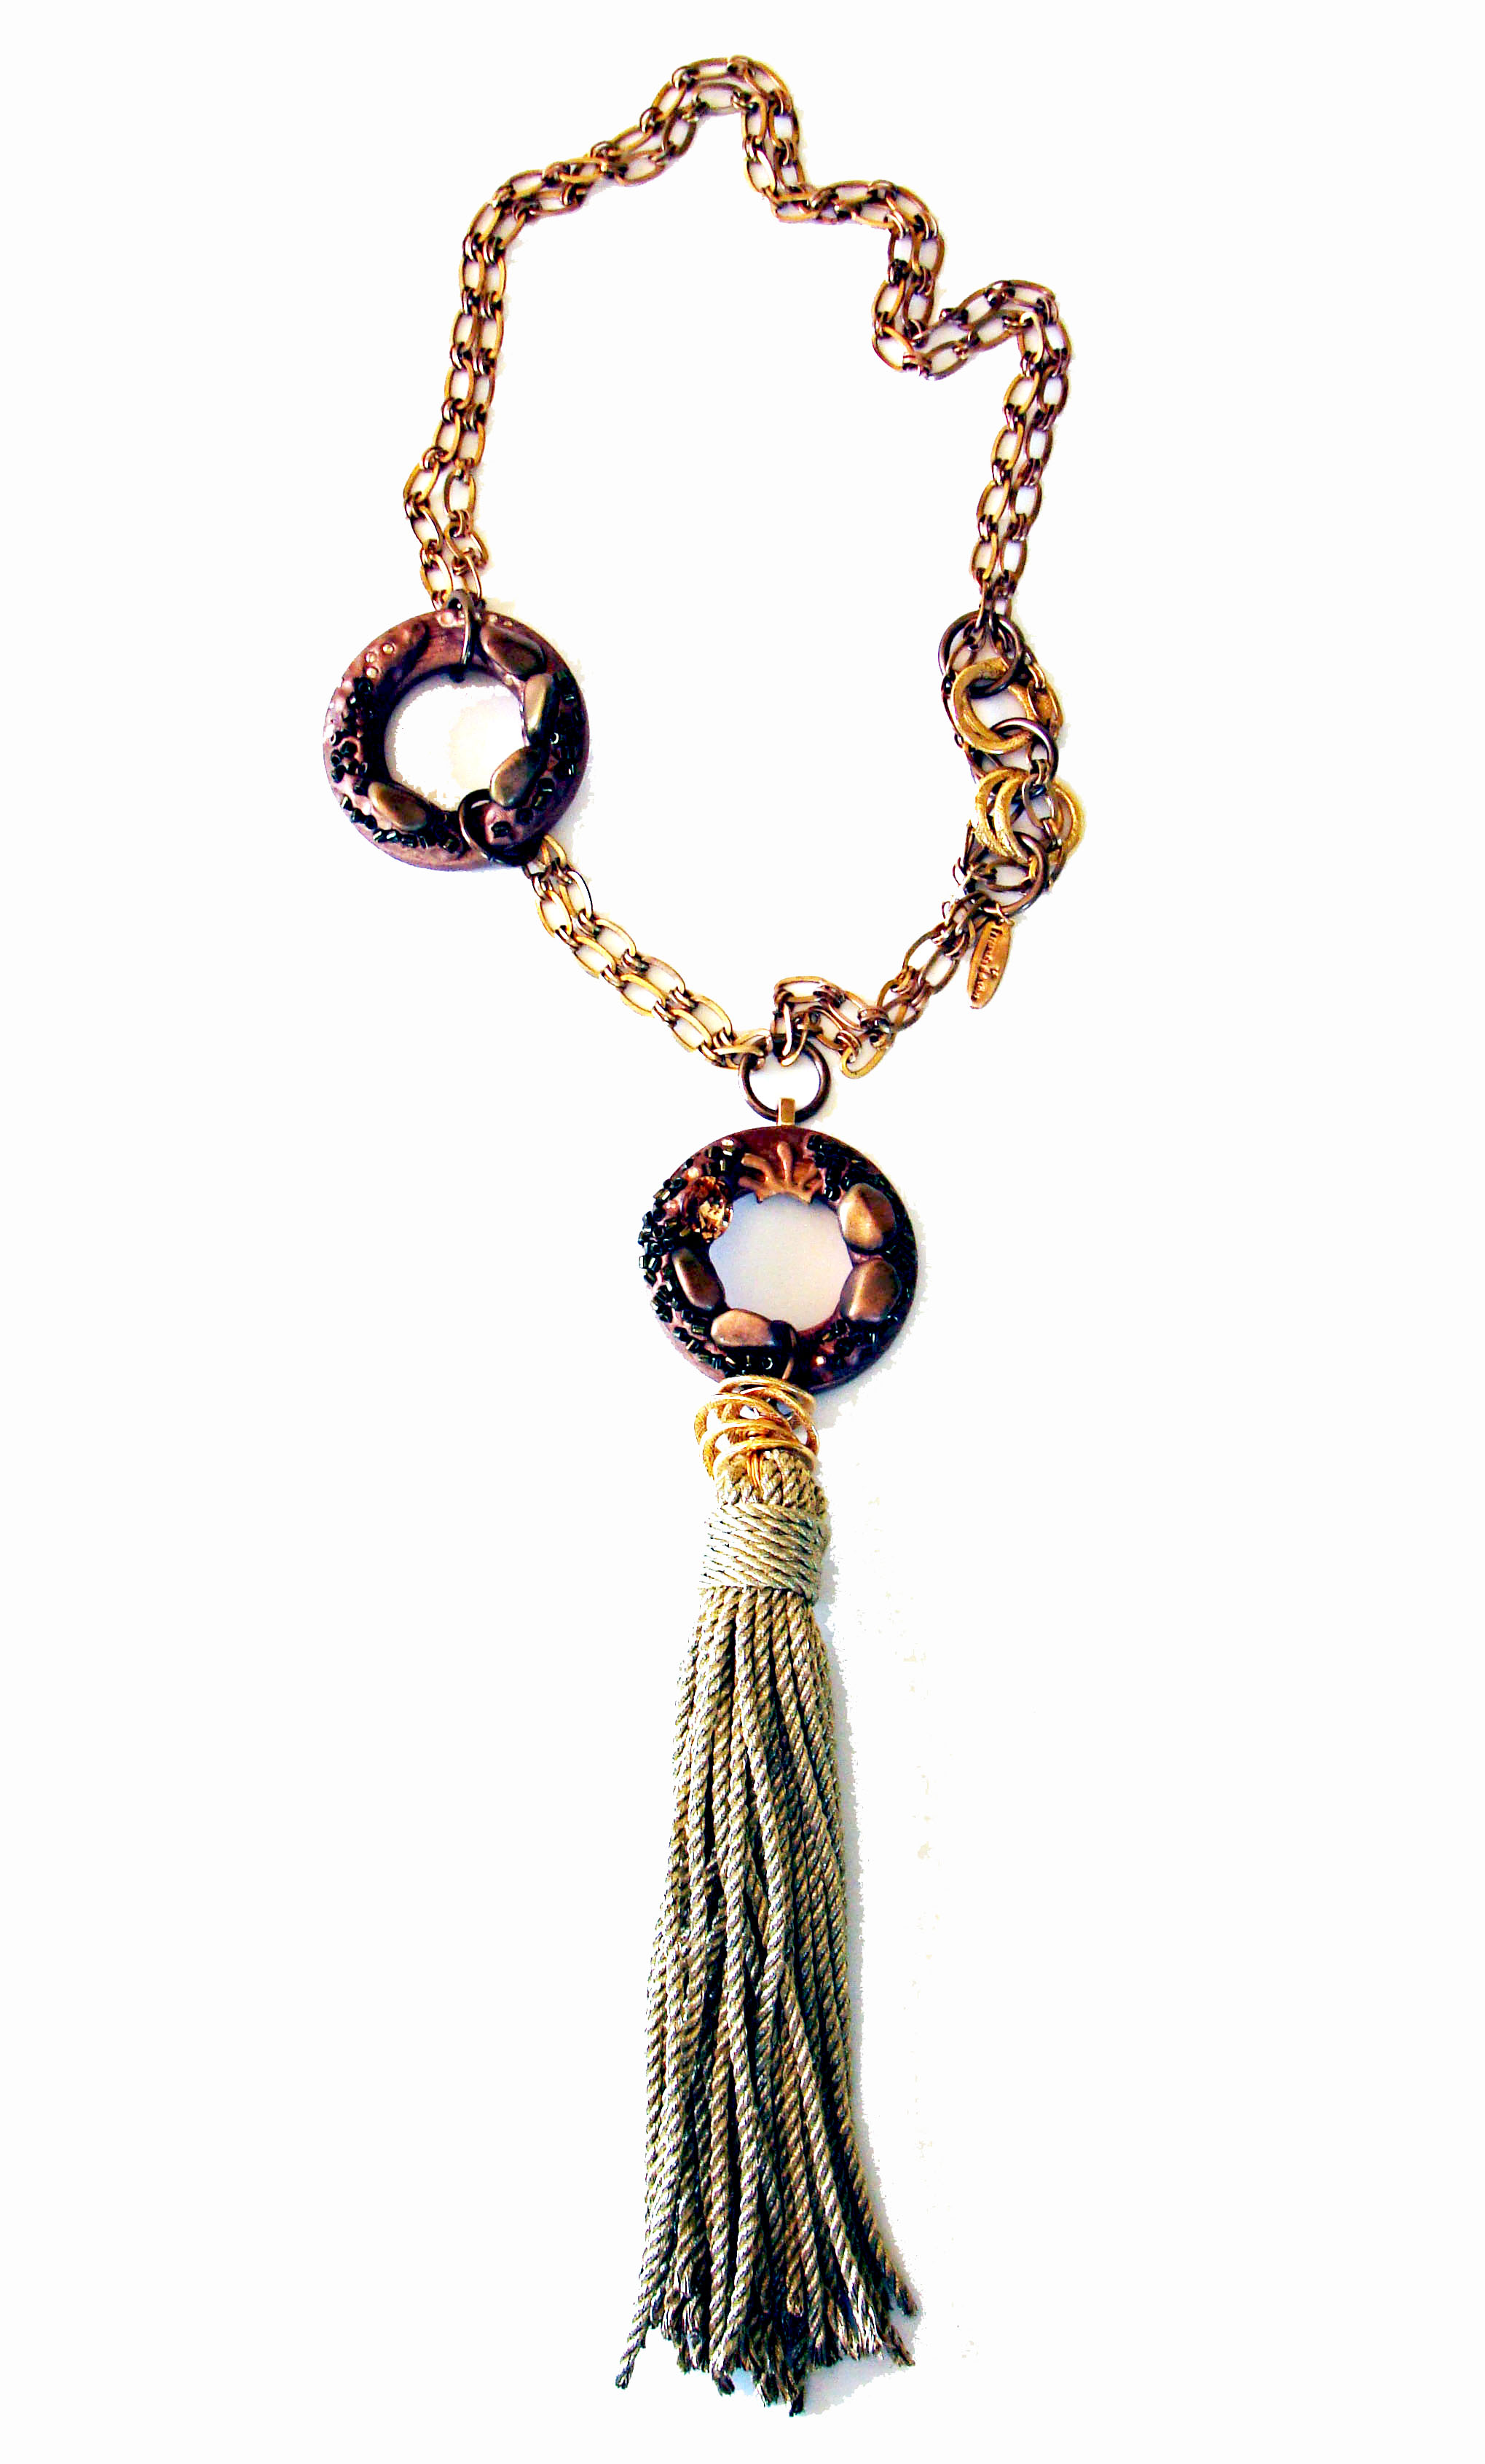
I never would have imagined that I could create...
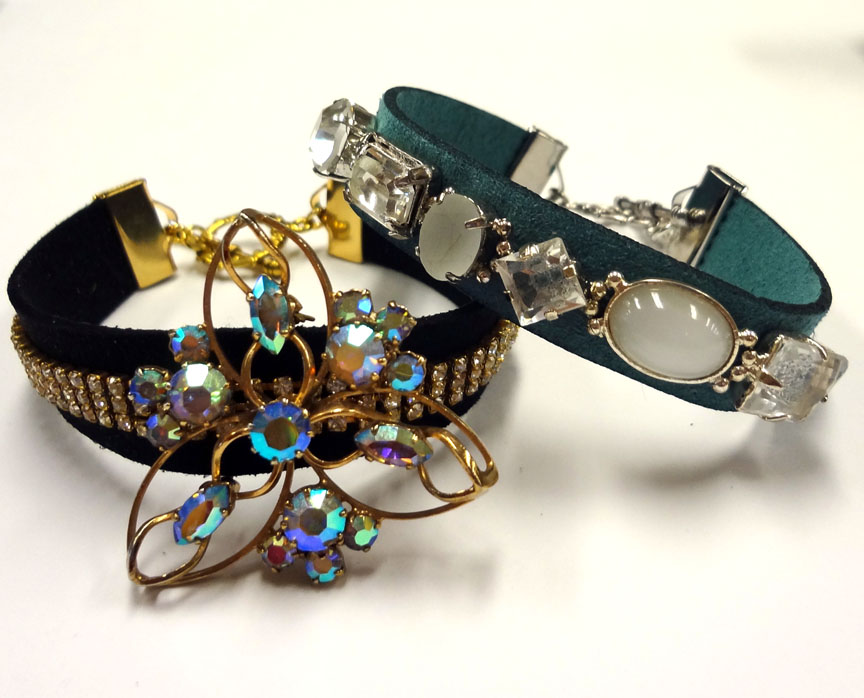
These two bracelets feature beautiful new findings for kumihimo...