Before I put my etching supplies away I wanted...
Etching
Learn how to etch on metal blanks

This new pendant features two Metal Complex blanks that...

Yesterday I introduced you to the technique “etching on...
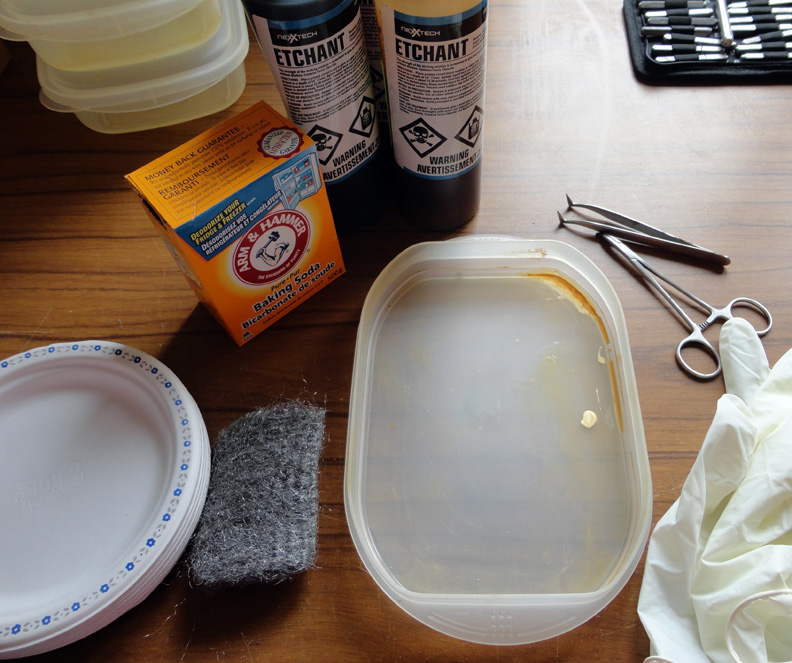
This week I will be showing you a very...