
Yesterday I introduced you to the technique “etching on metal blanks.”

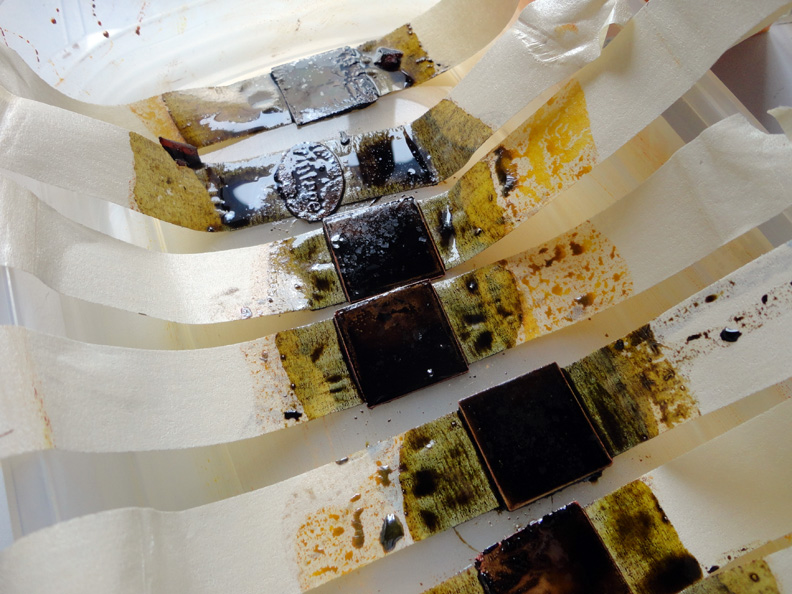
My copper Metal Complex blanks (with artwork face down in etchant) were left in this bowl for two hours.
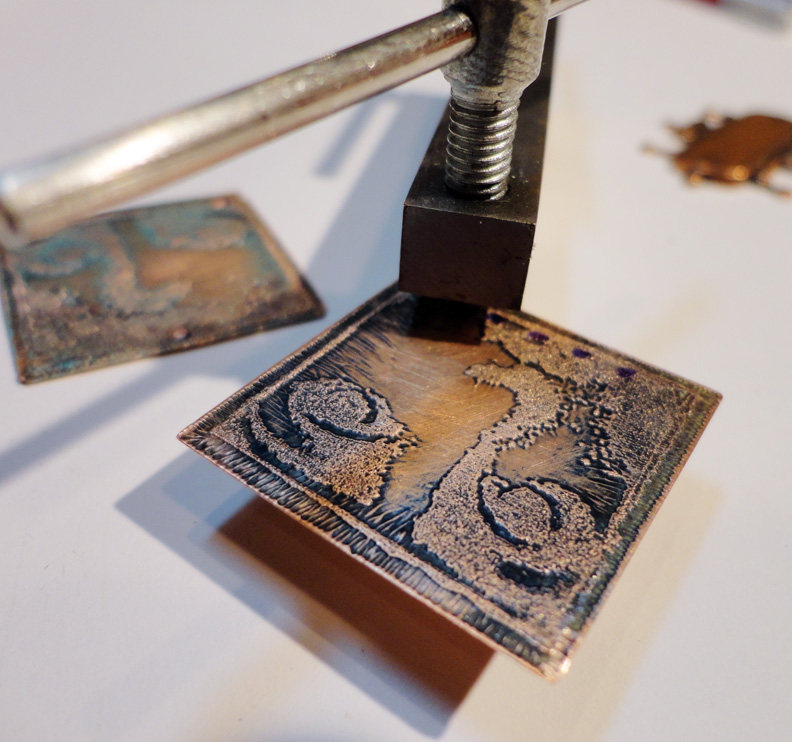
I carefully pulled my blanks out of the etchant and placed them in another bowl.
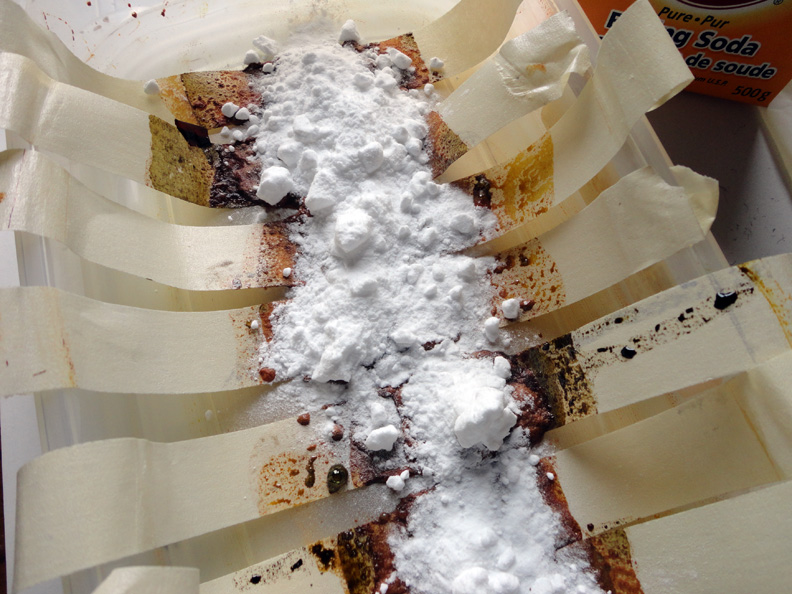
I covered all the metal in baking soda which stops the etching process.
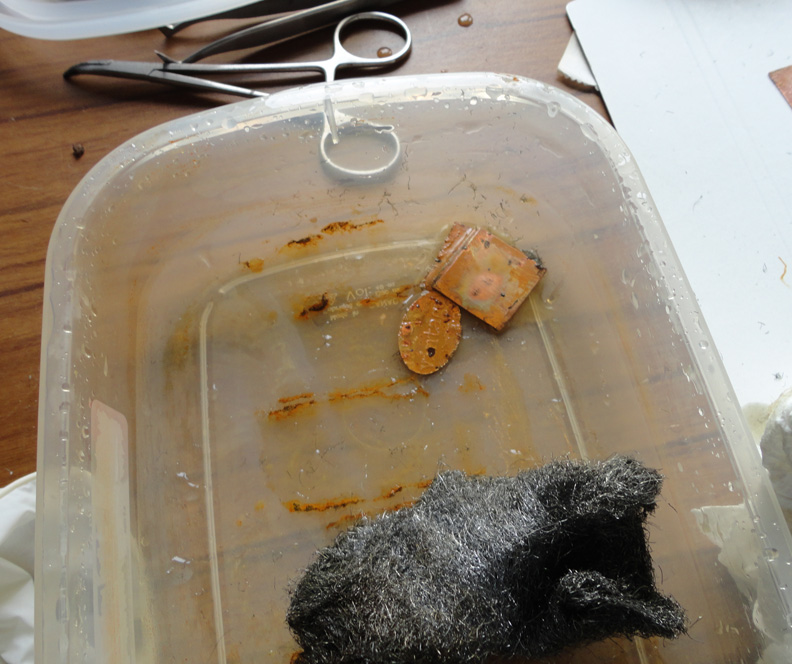
Then I cleaned each blank with a little water and a steel wool pad. Rinsing away all the baking soda is very important.
My blanks looked like this after the first round of washing and cleaning.
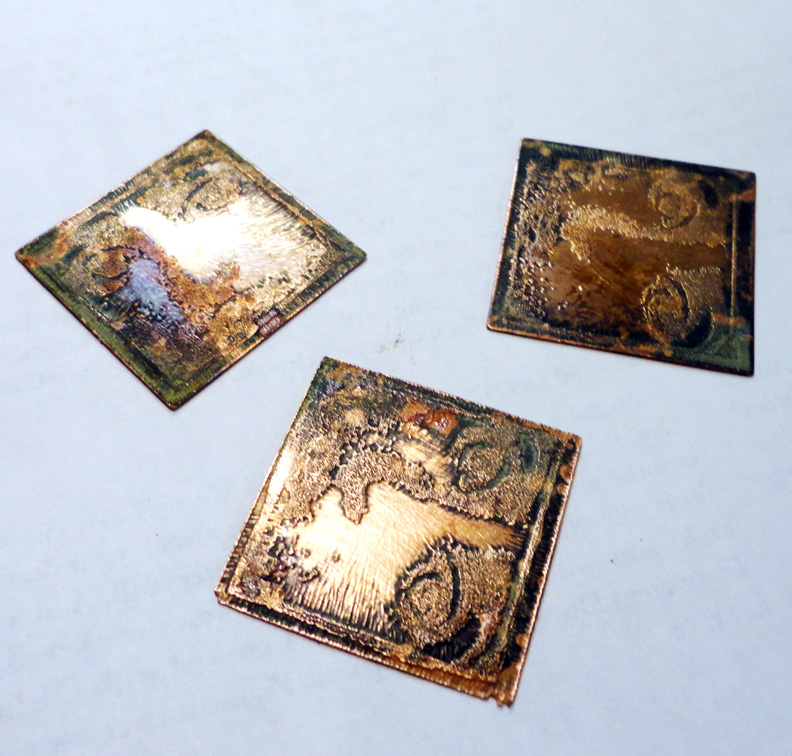
I used a new dry steel wool pad to continue cleaning each piece of metal until it shined.
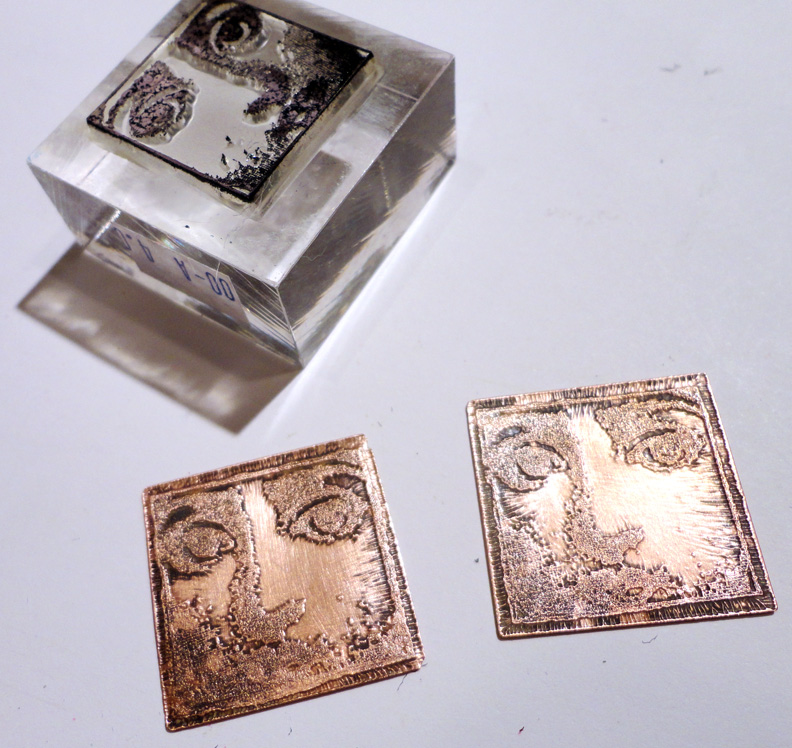
Isn’t it amazing how all the details from the original rubber stamped image are now etched into the metal?
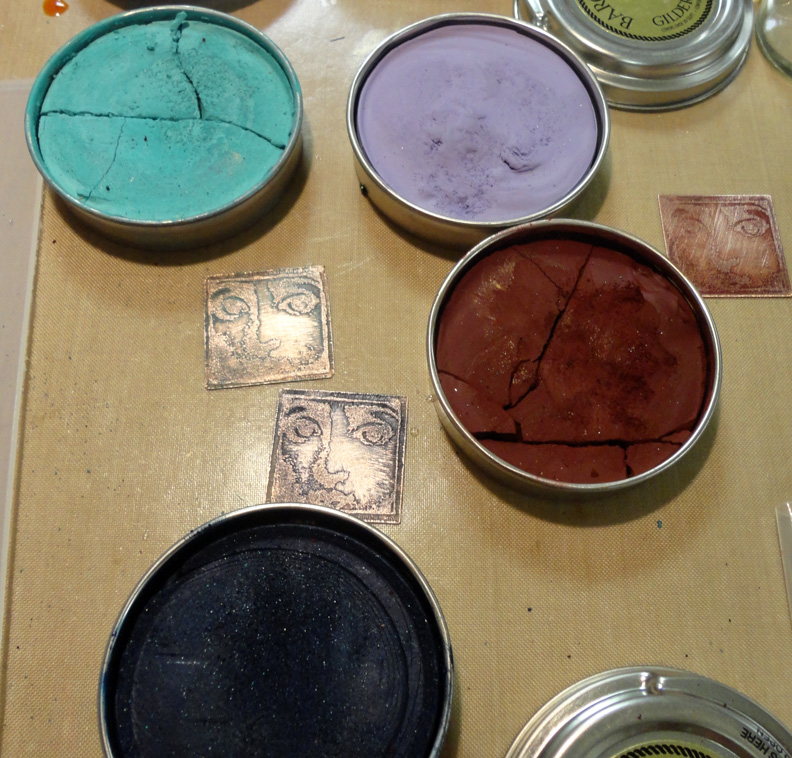
You could use the etched pieces as they are but I prefer to add some colour with Gilder’s Paste.
I used the hole puncher to add holes where I needed them.
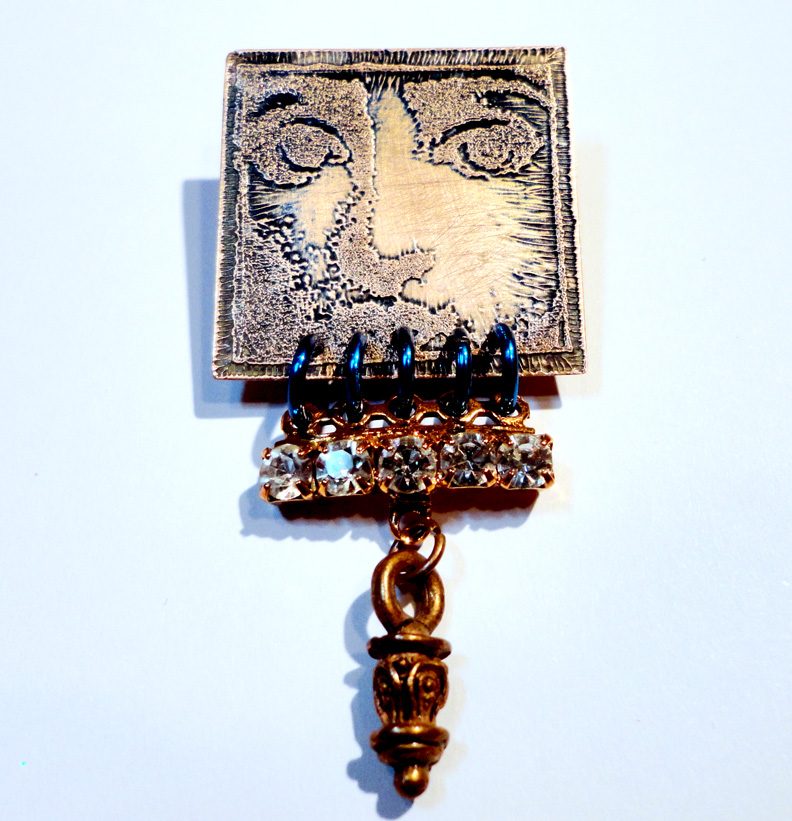
My finished mixed media pendants! There are so many ways to use a piece of etched metal.
 These are just samples of what I like to do. Tomorrow I’ll show you what happens if you leave a piece of metal in etchant overnight!
John Bead Supplies Used
Metal Complex 24g Copper Squares
The finished pendants used components in Carmi’s personal collection.


I have not tried etching yet, but it is on my to do list. It is amazing what it can do. Also amazing is the transformation you gave the image with your gilders paste. Totally different look and love all the components you added to it. Looking forward to tomorows post to see those results.