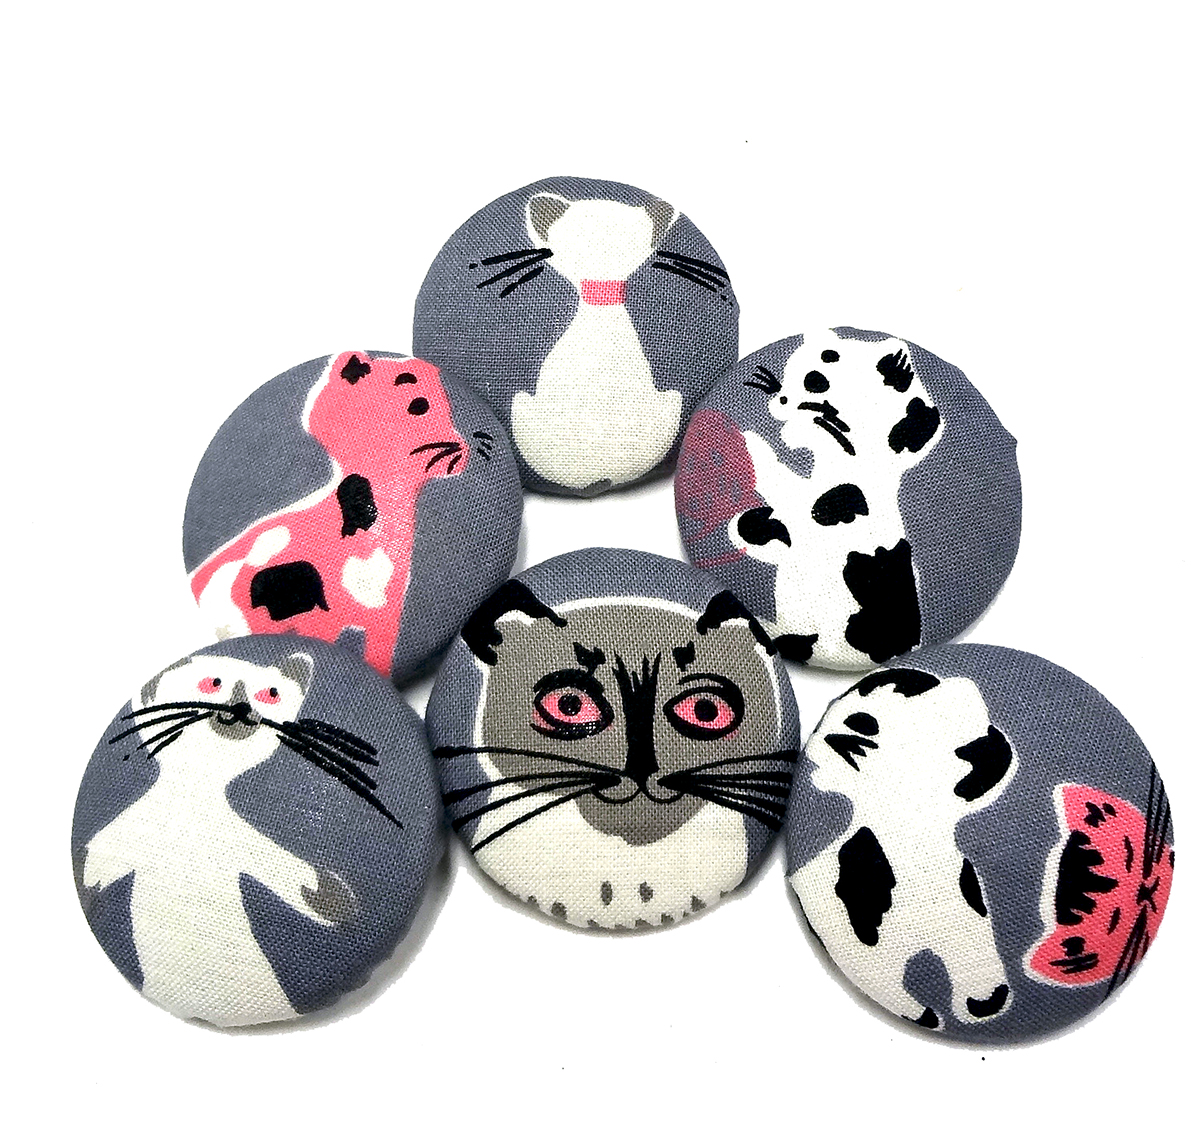
Do you need to make or sell button making...
Buttons
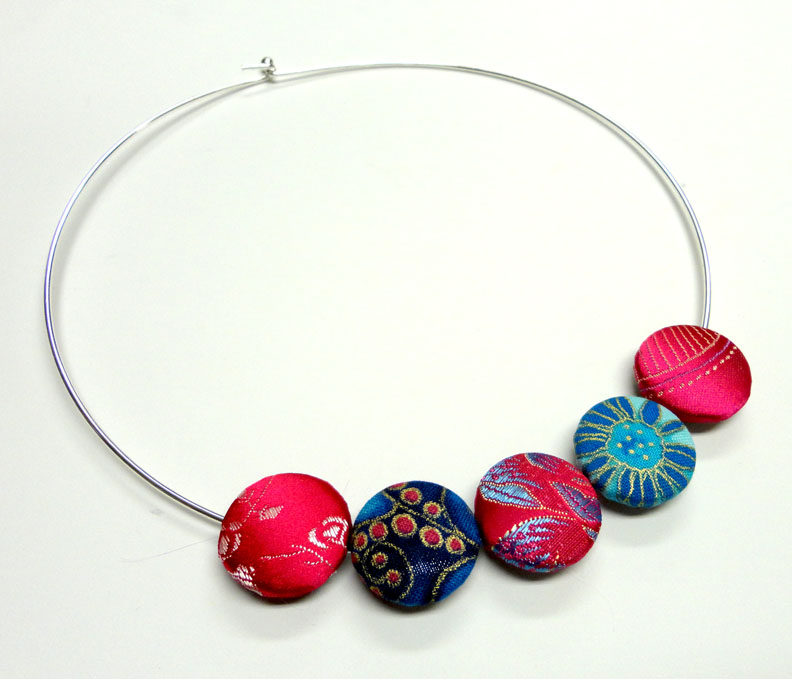
These are the samples I made for the class...
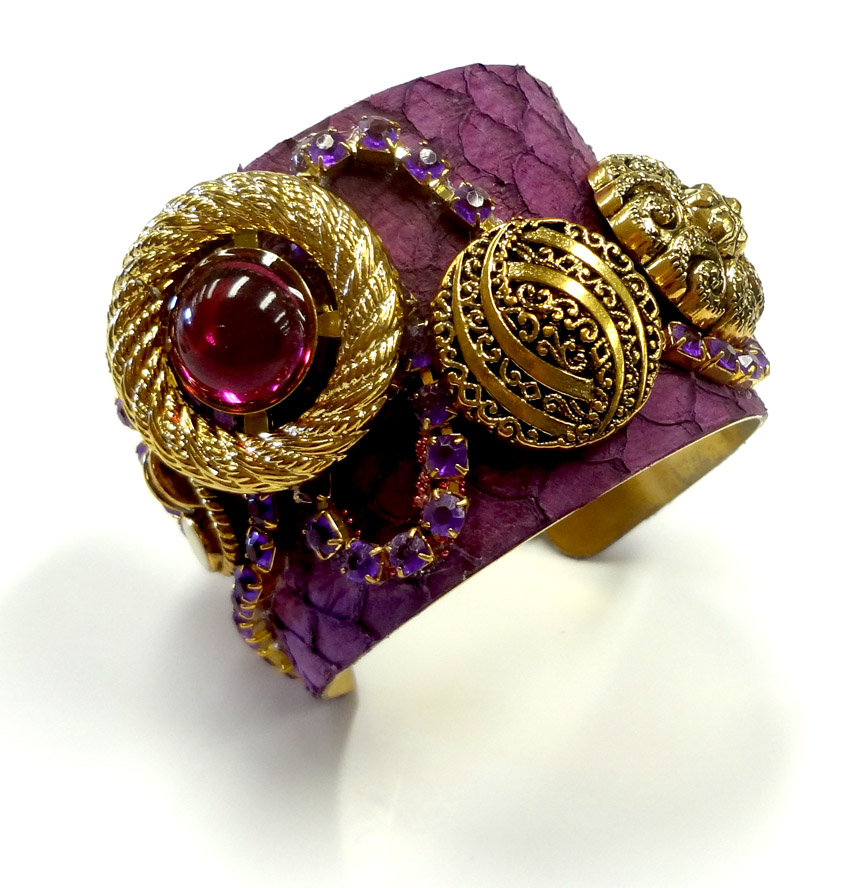
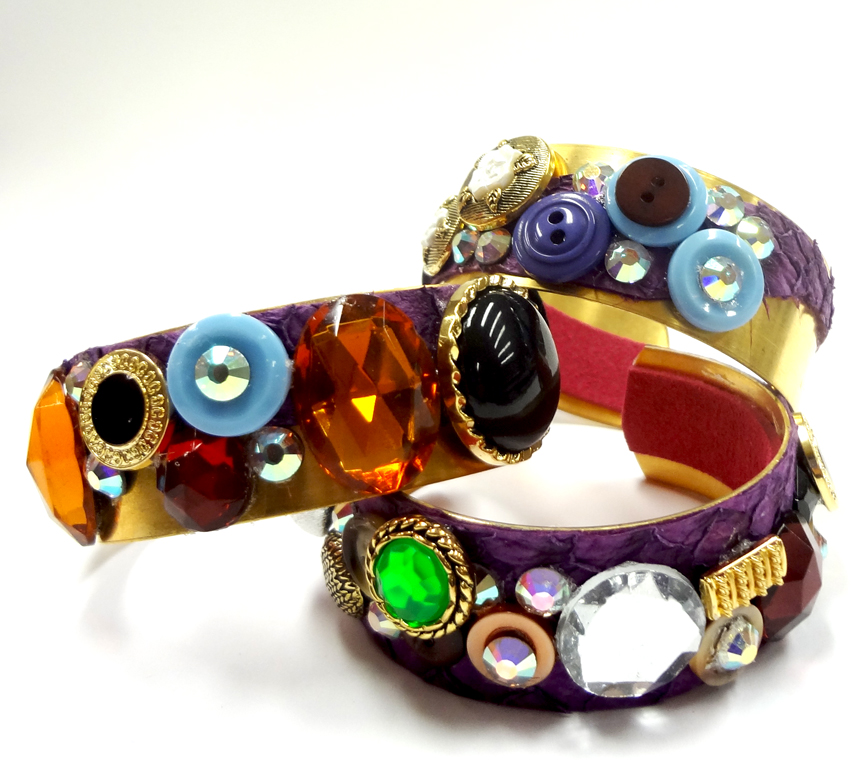
This is one of the cuffs I brought as...
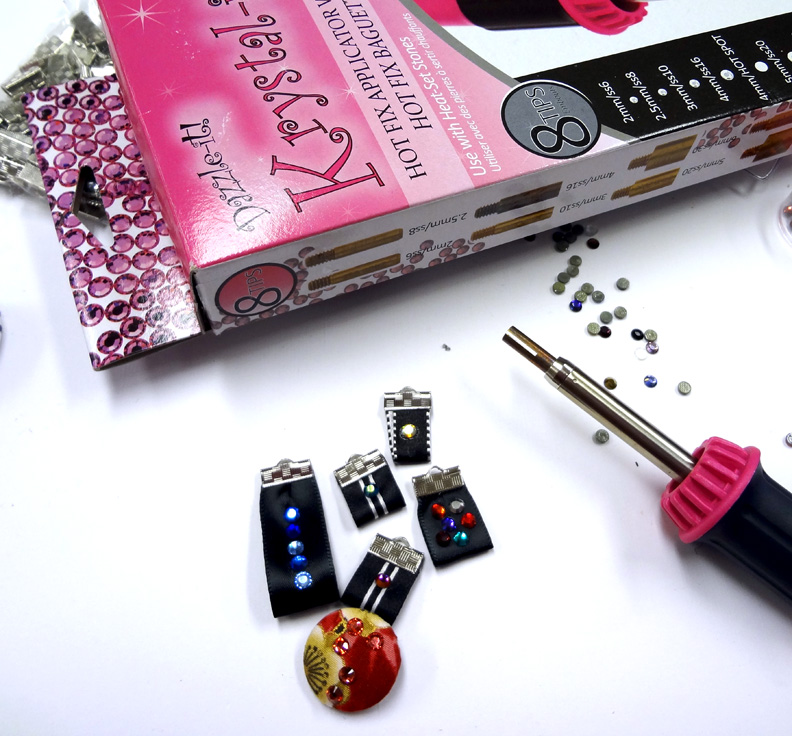
My table looks like it is going to a...
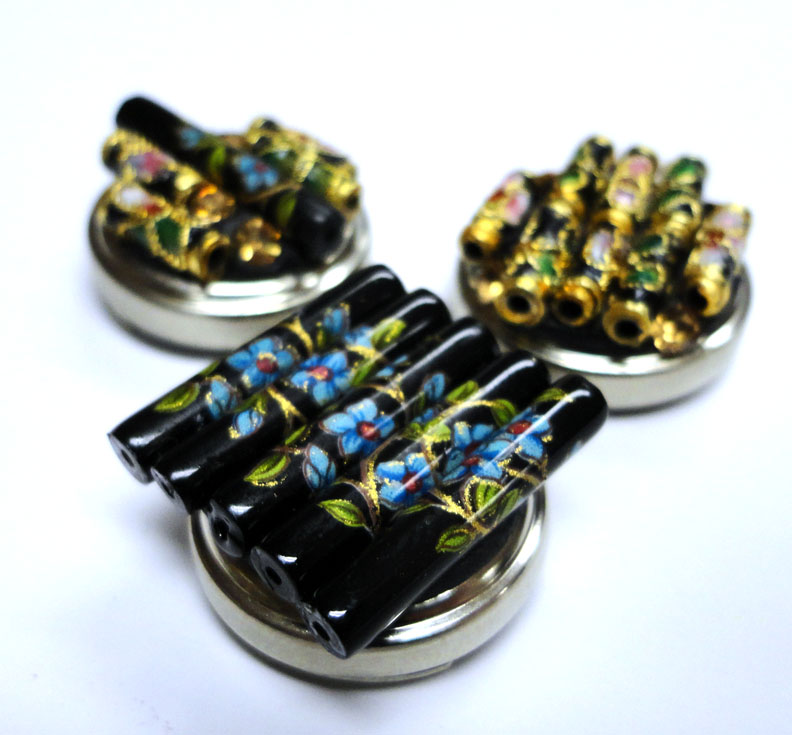
I have always loved buttons. Vintage or new. Glass,...
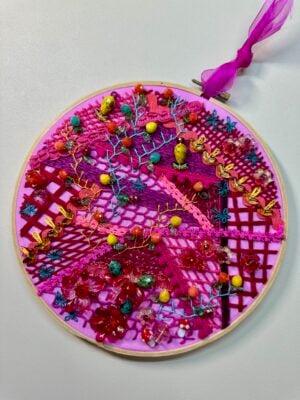
I have something very different to show you today: ...