Our Global Chic product line was beautifully captured in...
Chain

Fernando DaSilva for John Bead made with SWAROVSKI ELEMENTS...

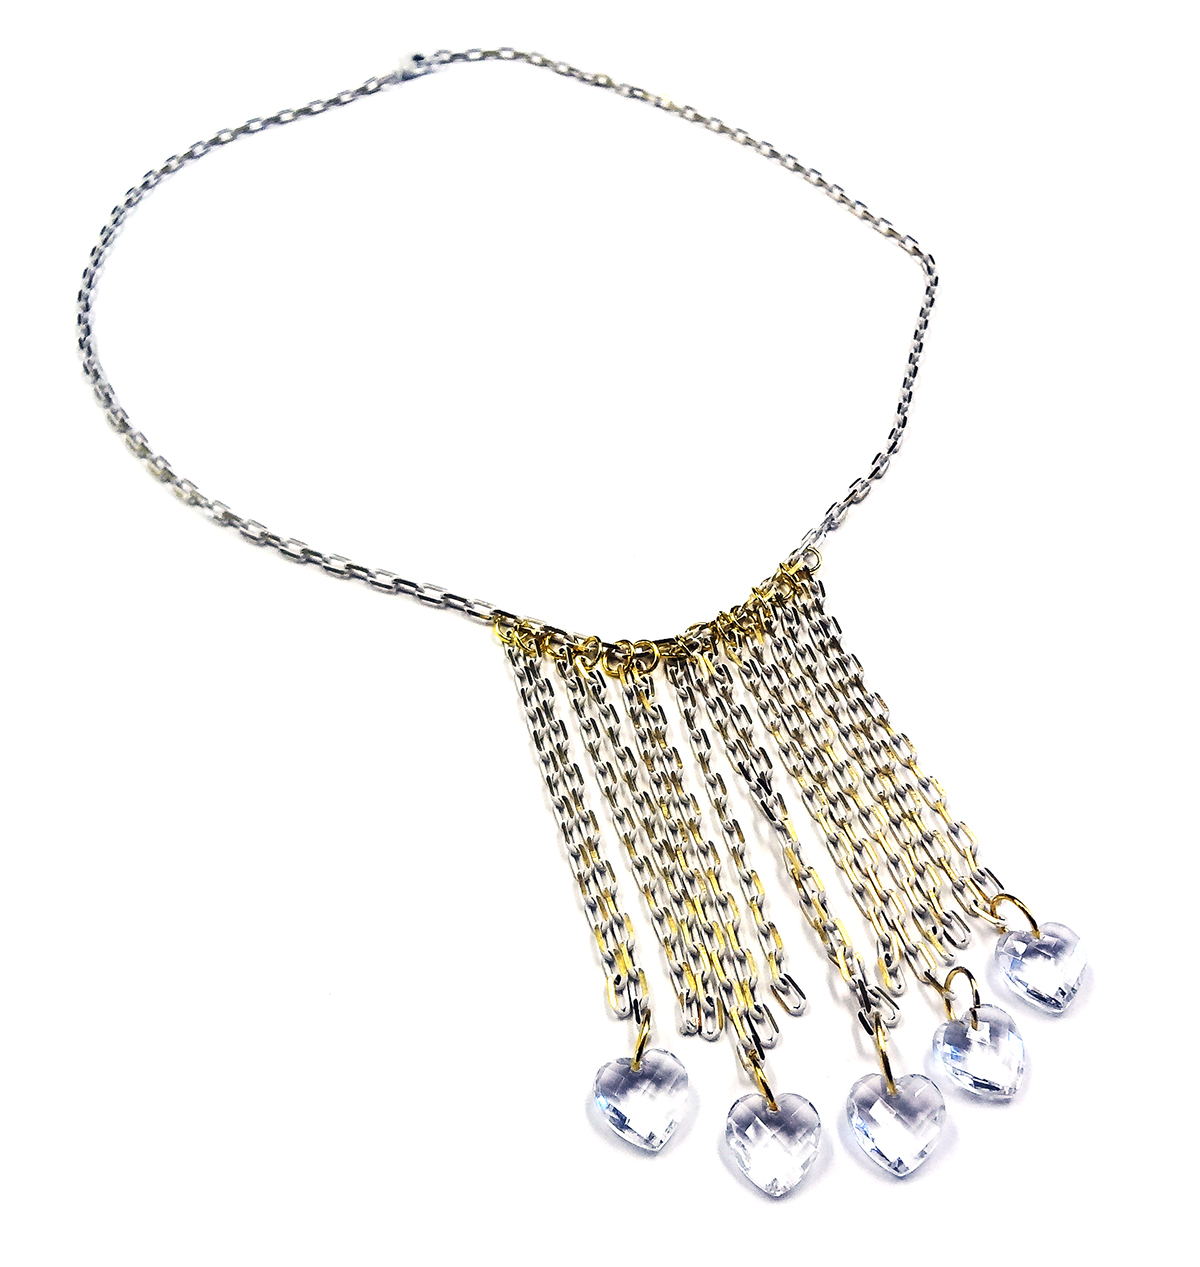
This exquisite necklace by Thanh Tran brilliantly showcases our...
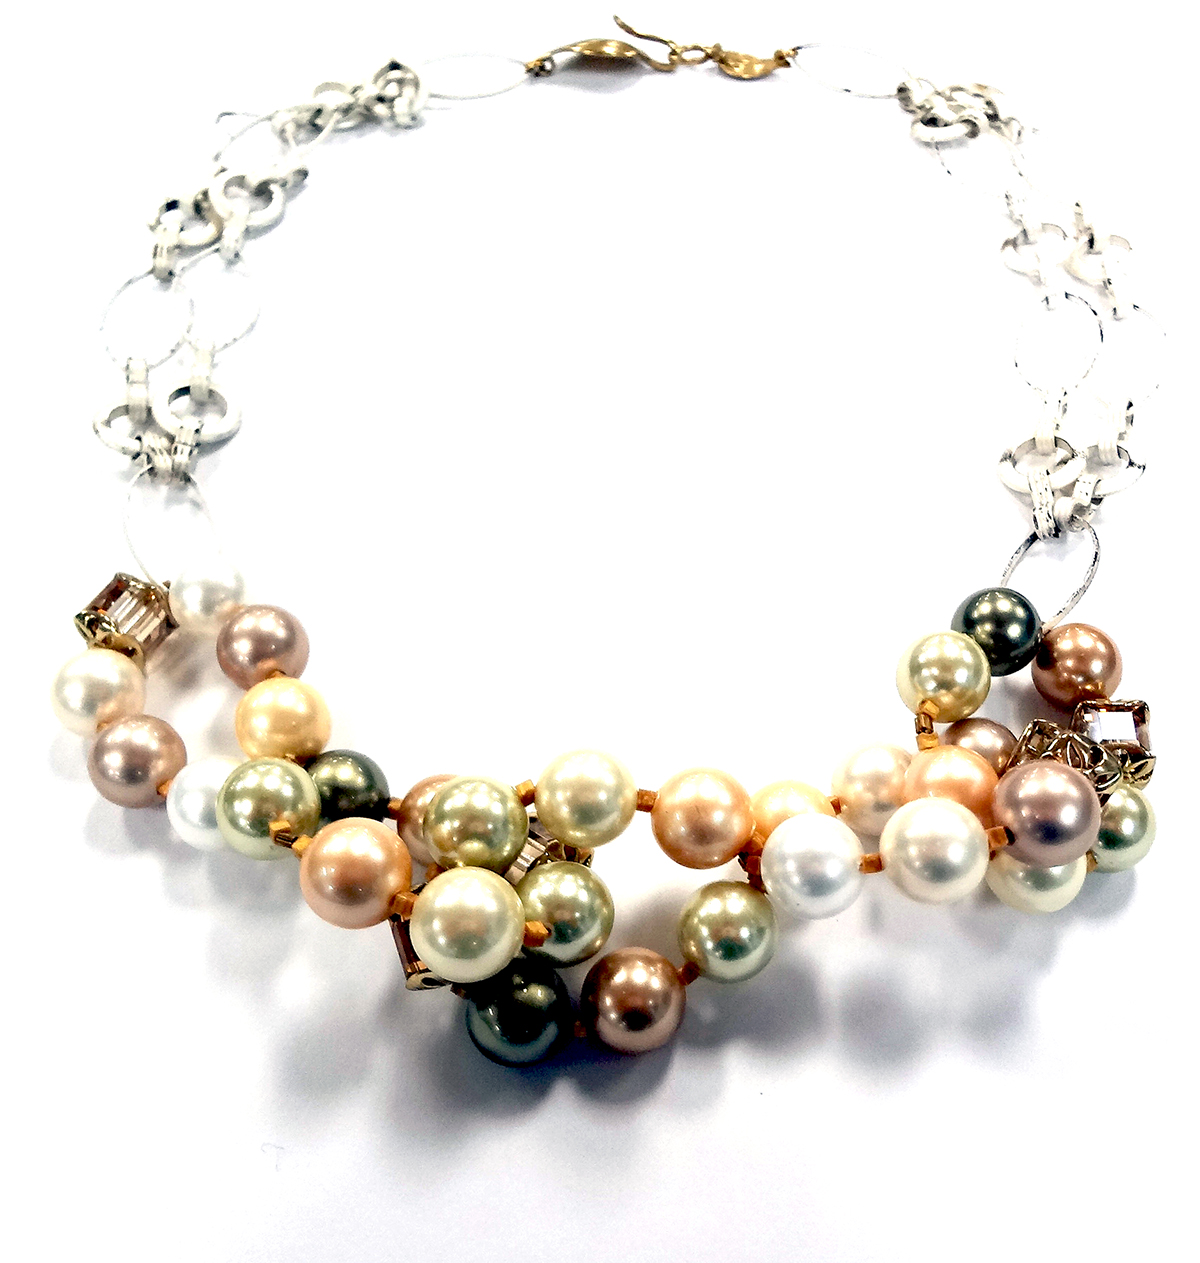
The Pearlvine necklace by Fernando Dasilva features pearls as...
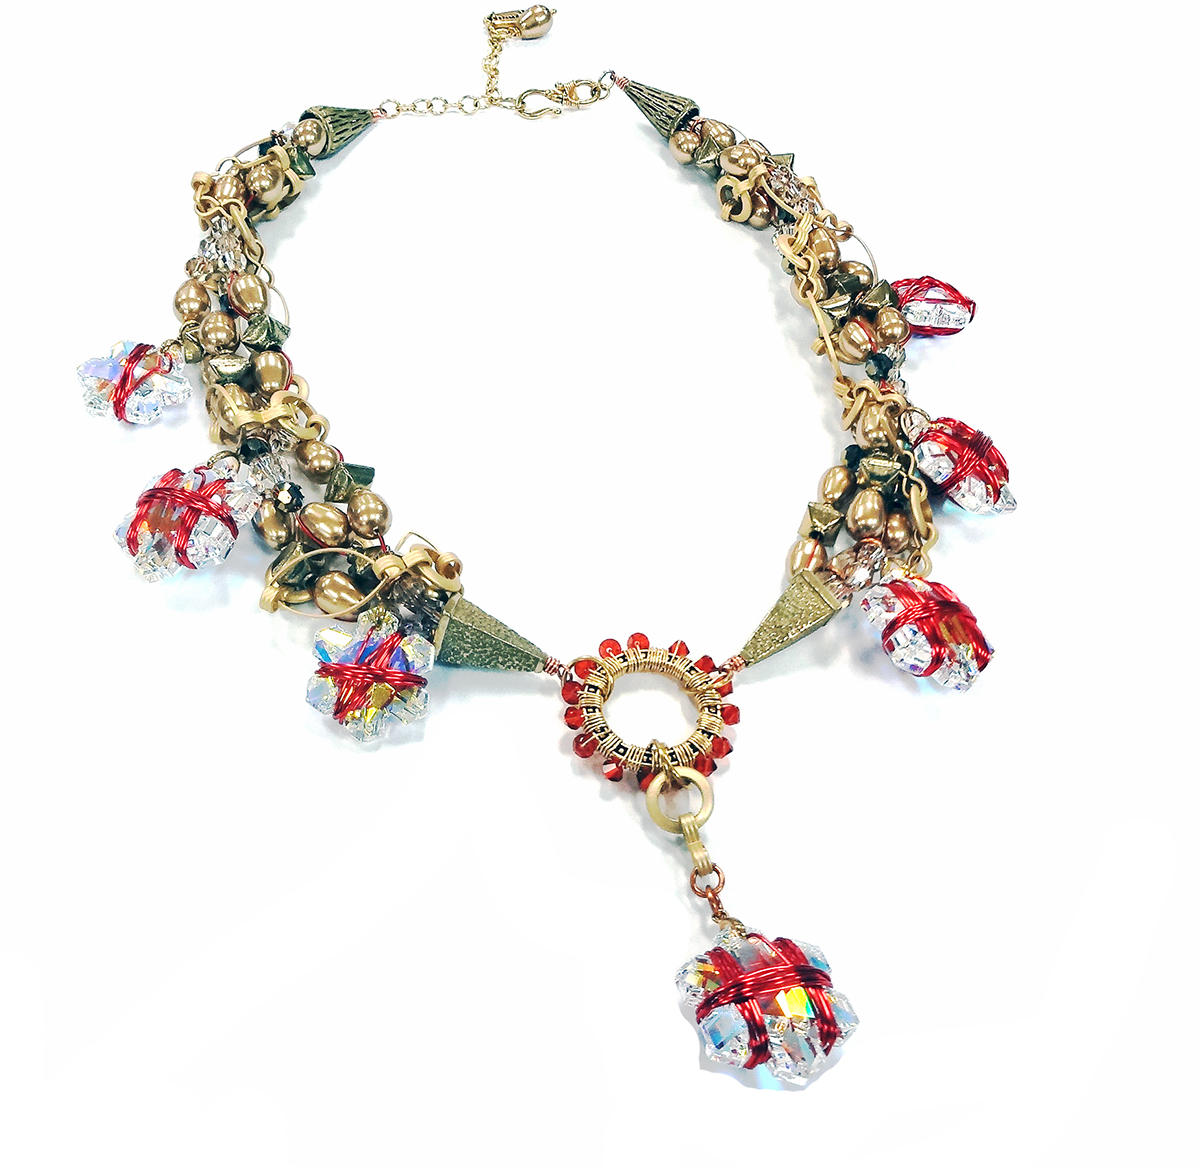
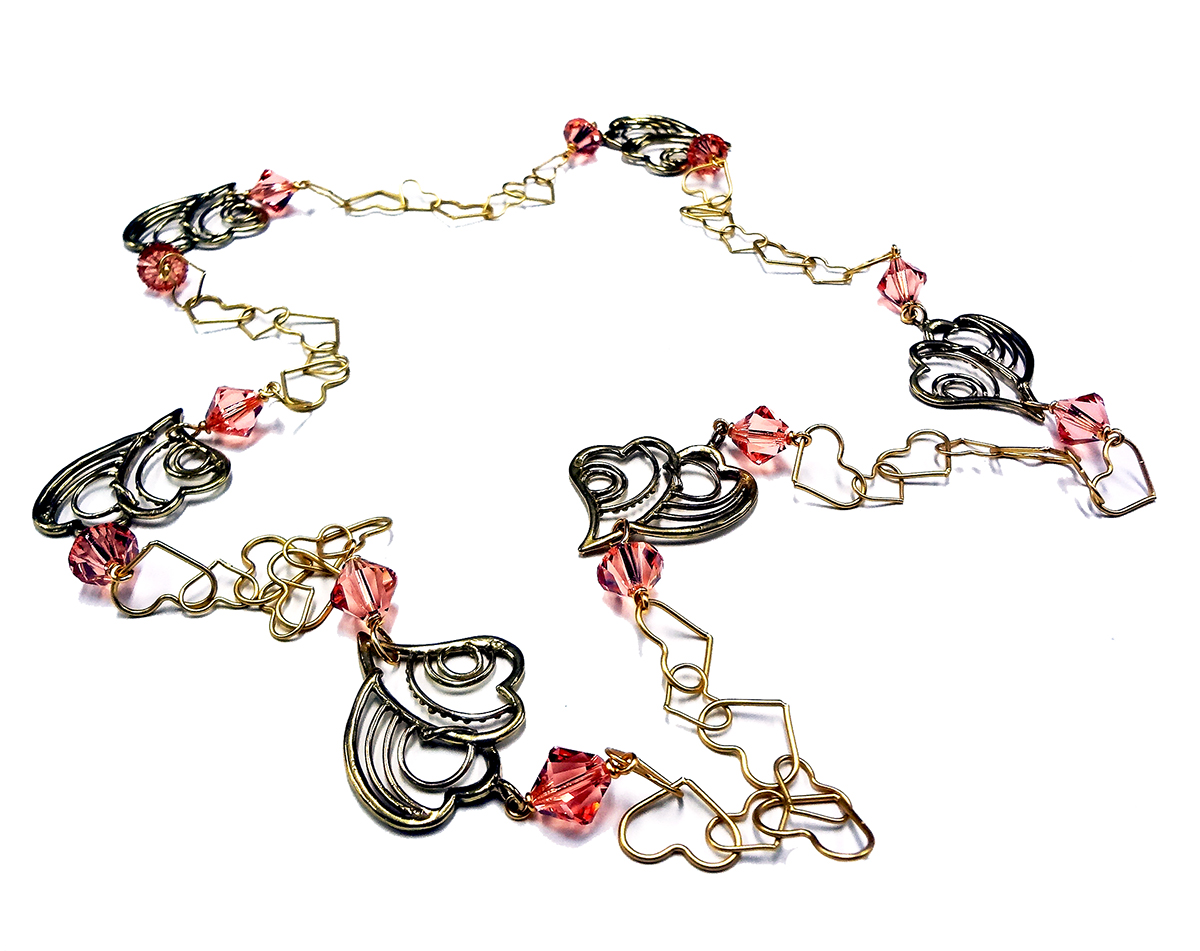
Fernando Dasilva for John Bead made with SWAROVSKI...
This is another Nancy Donaldson design featuring our white...
This featured pendant by Nancy Donaldson is just one inspiring...
This is a wonderful necklace I discovered in our...
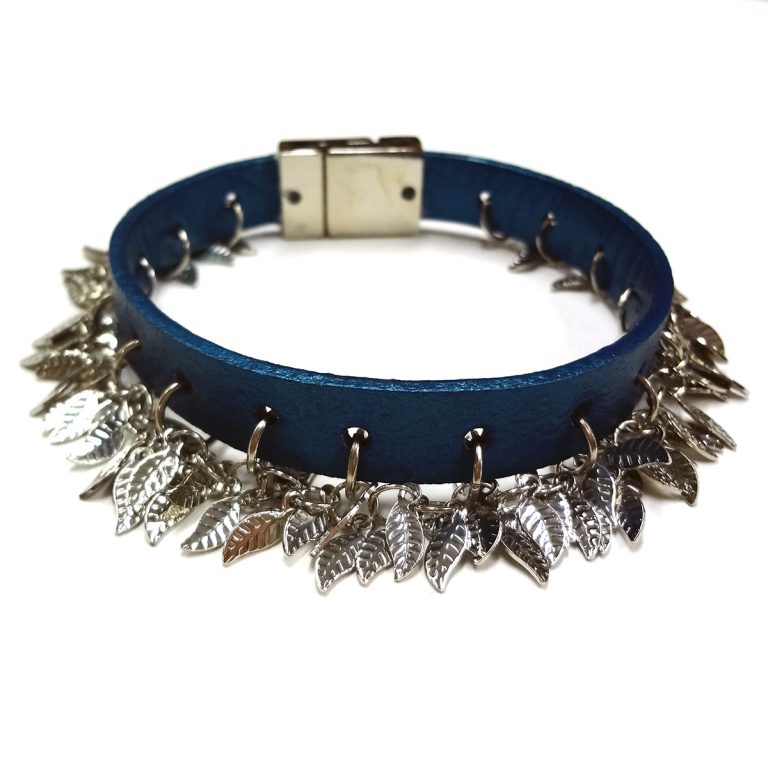
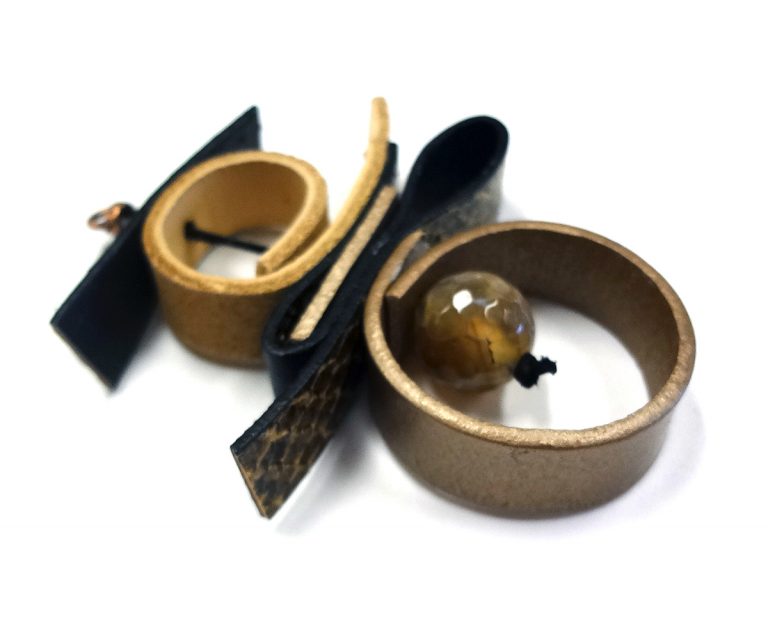
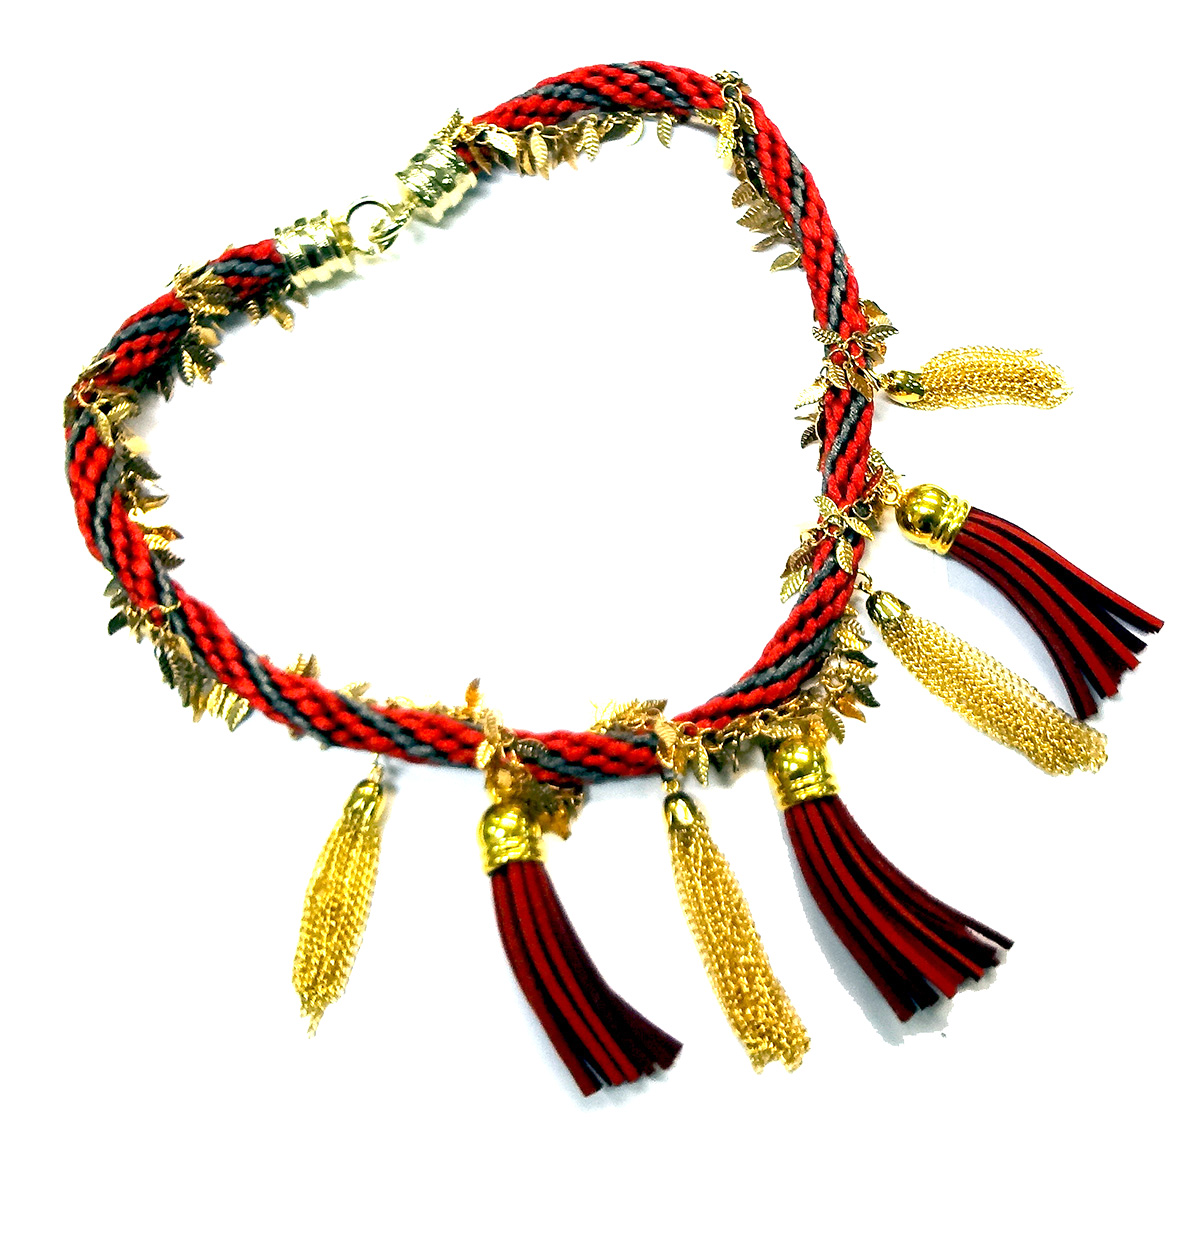
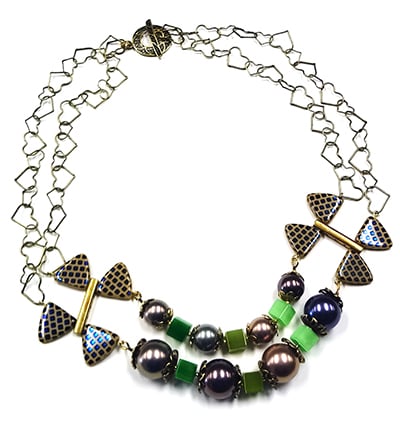
This bracelet features two new lines we love; Flat...
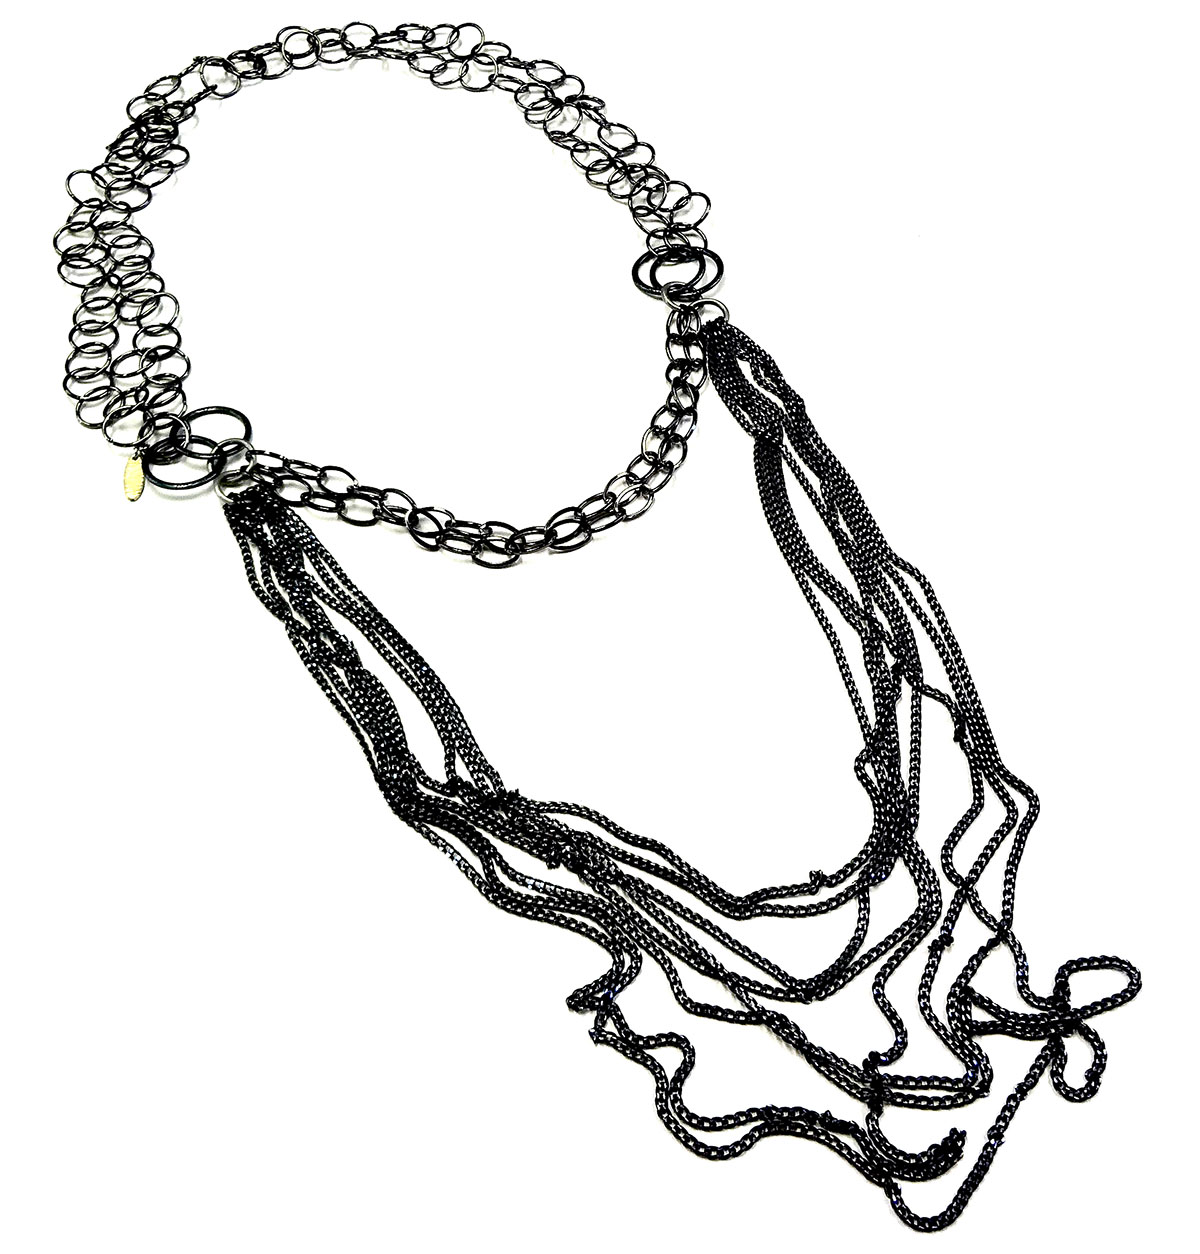
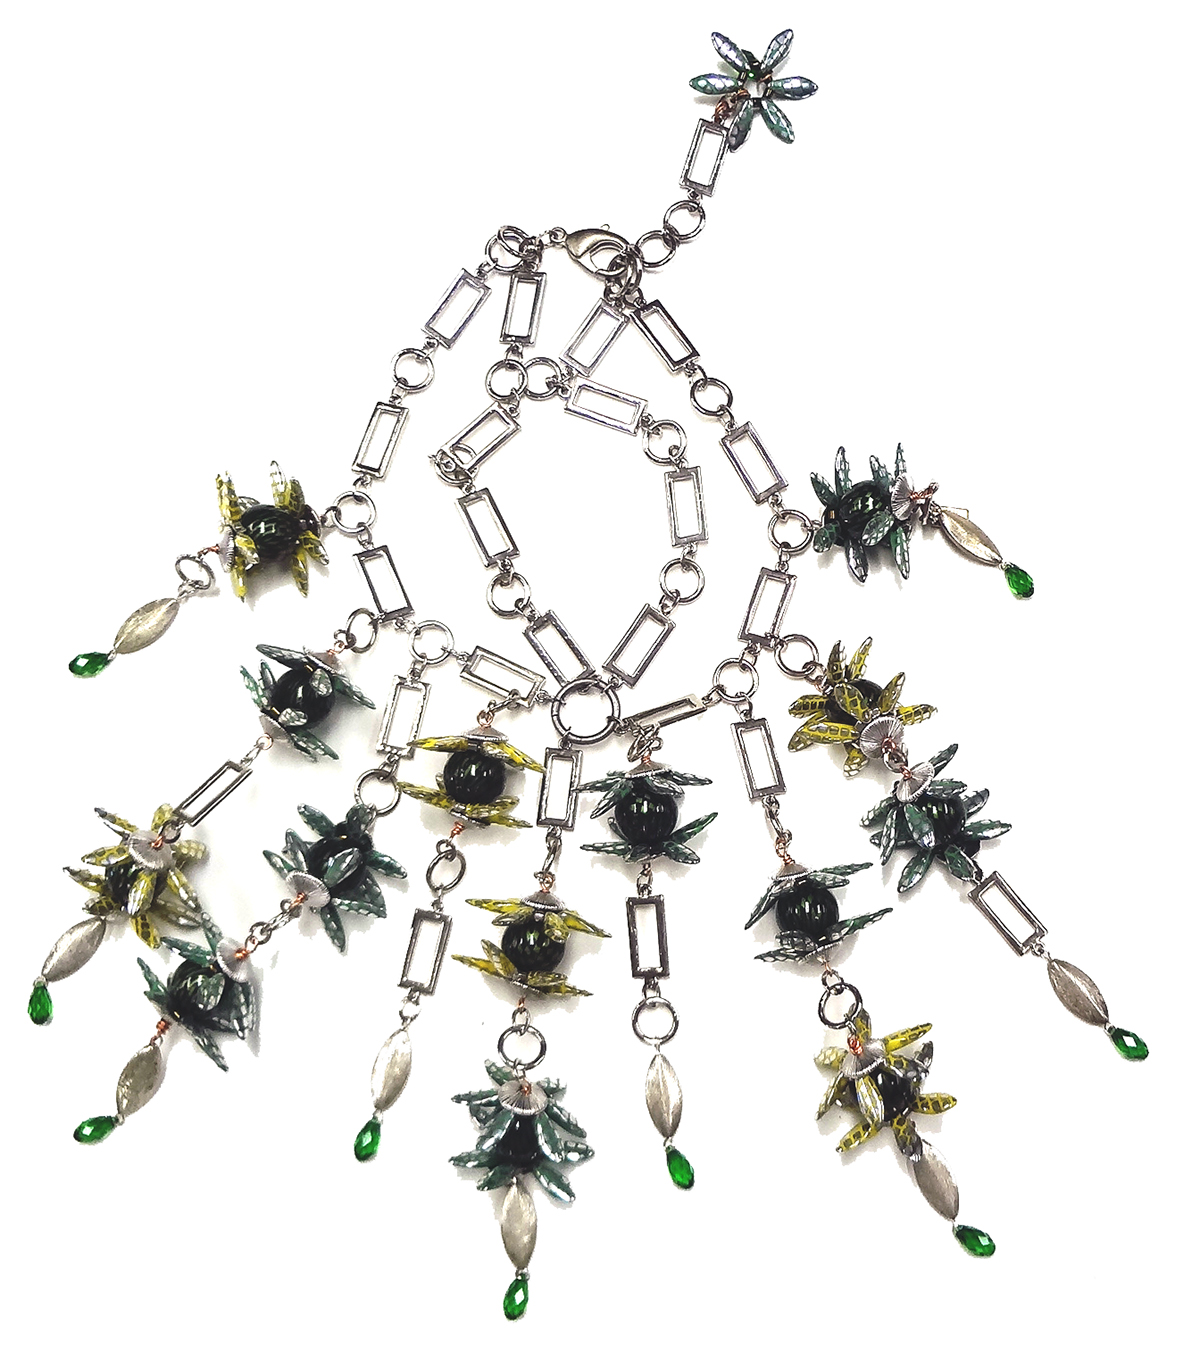
Materials 2g Delica 8/0 rd gun metal 8 icy...
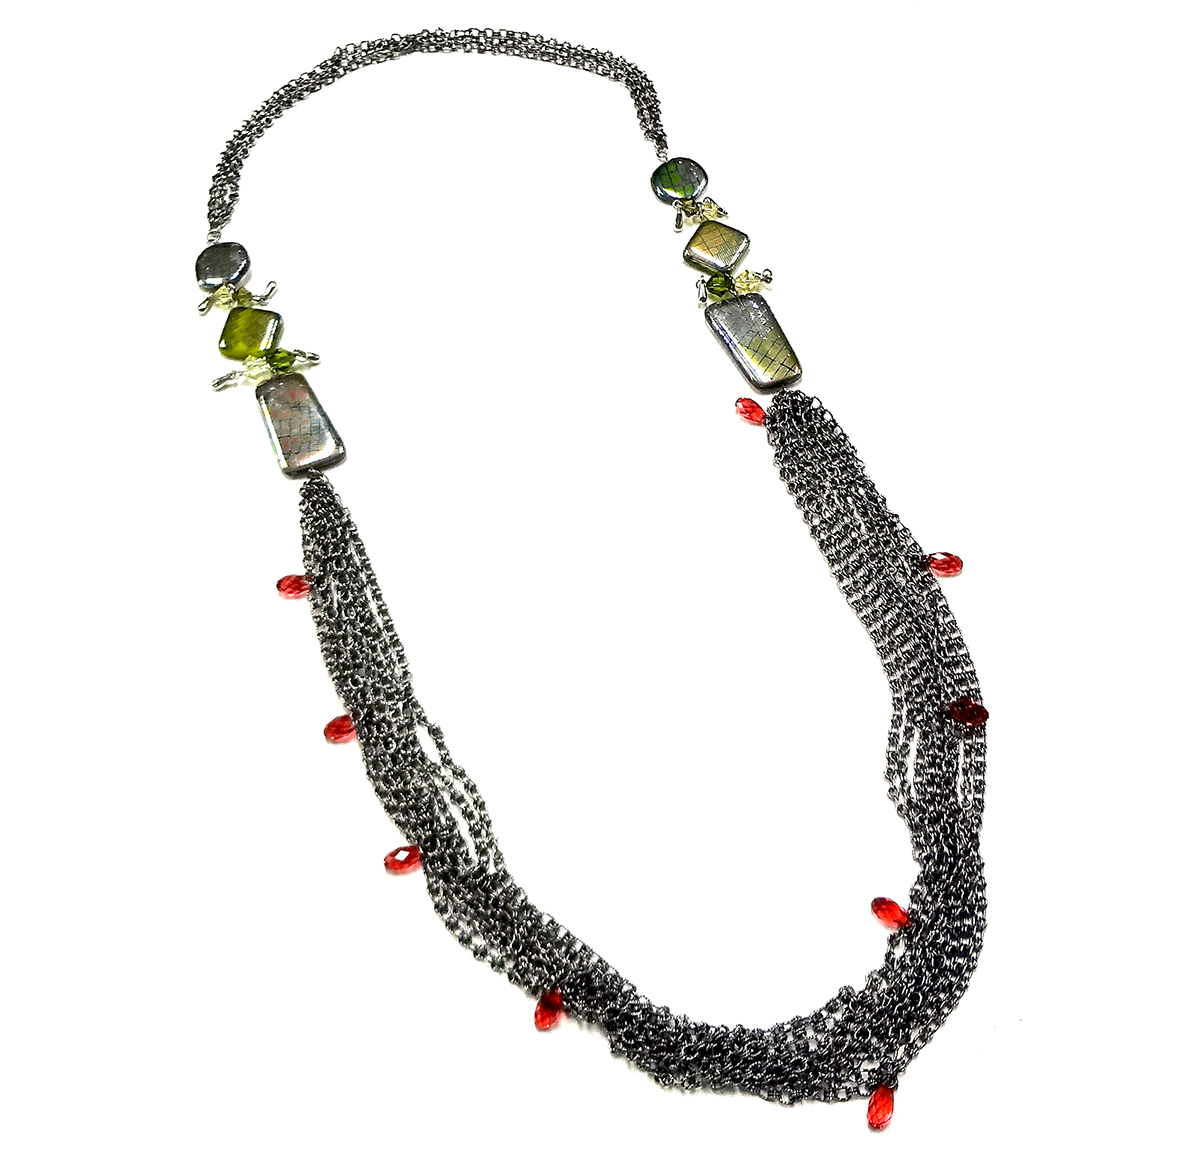
Material: 7ft antique brass fancy 17x9mm chain 18 pcs...
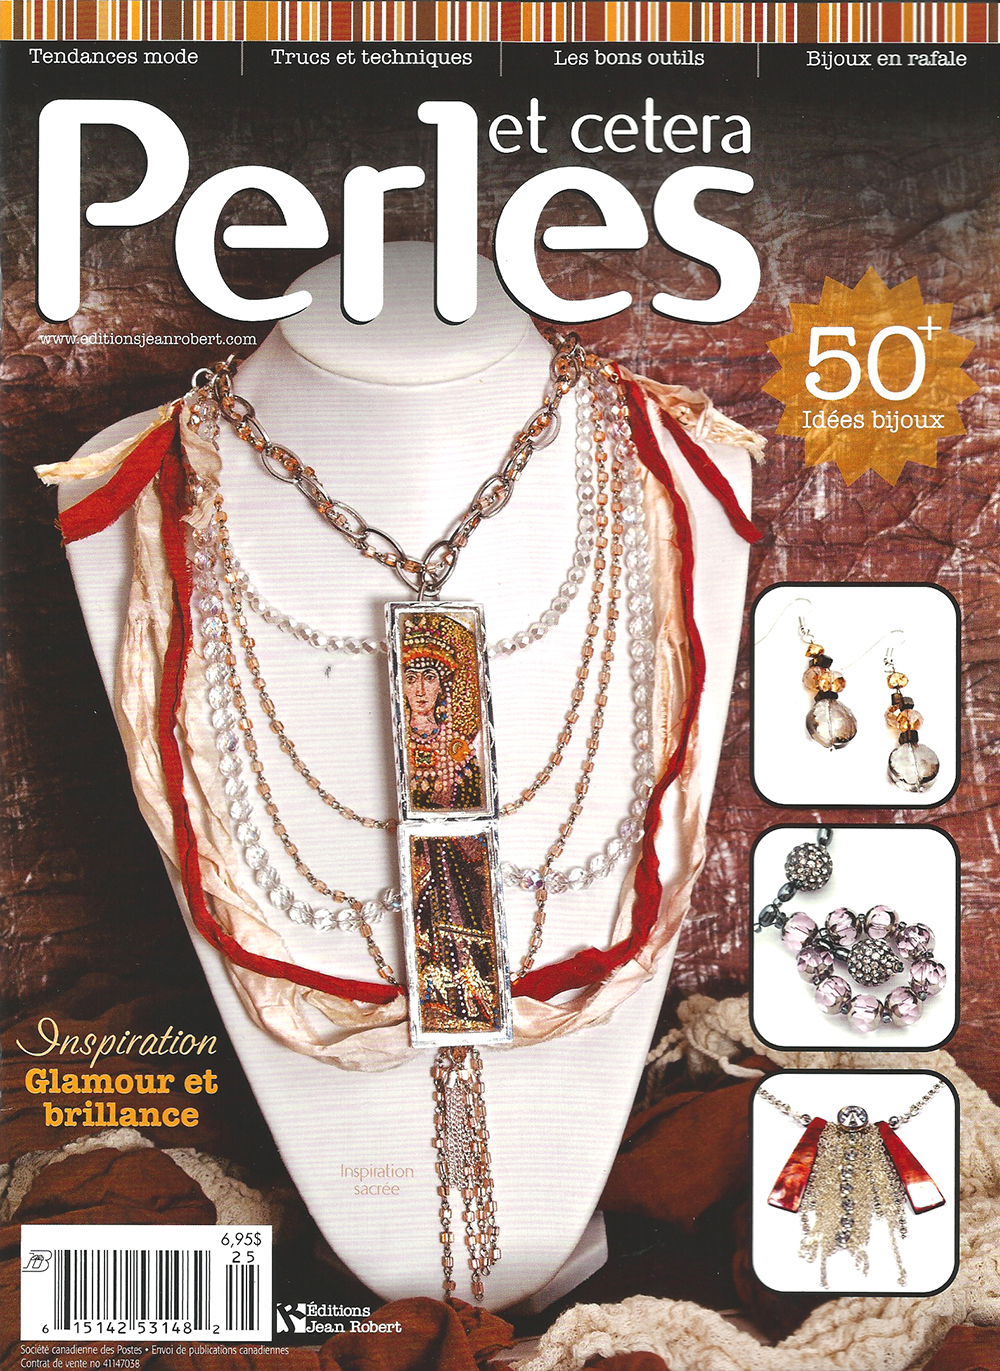
The current GLAMOUR issue of Perles et cetera is...
This necklace is featured on our new banner (with...

I believe the simplest of designs can create the...
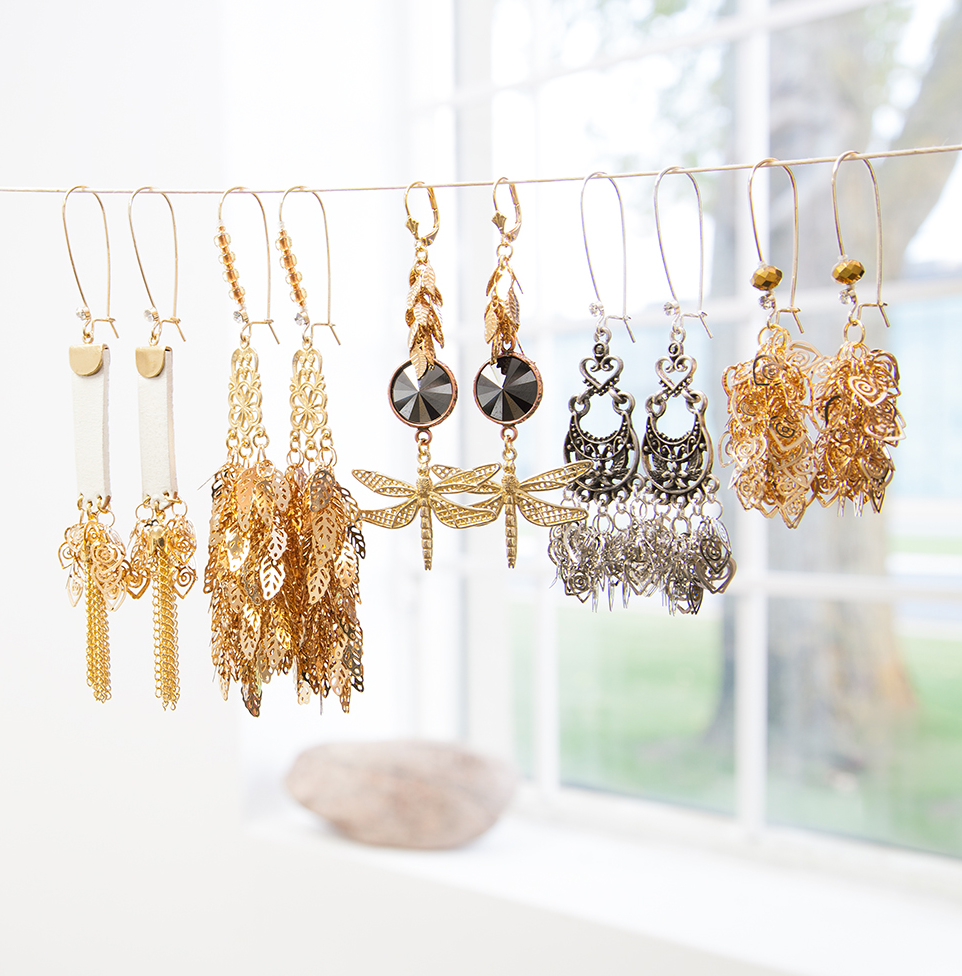
These earring are so new and fresh! They were...
The repetition of a single shape creates an...
This is the Crystaloise necklace designed by Fernando Dasilva...
Fernando Dasilva made a series of these necklaces for...
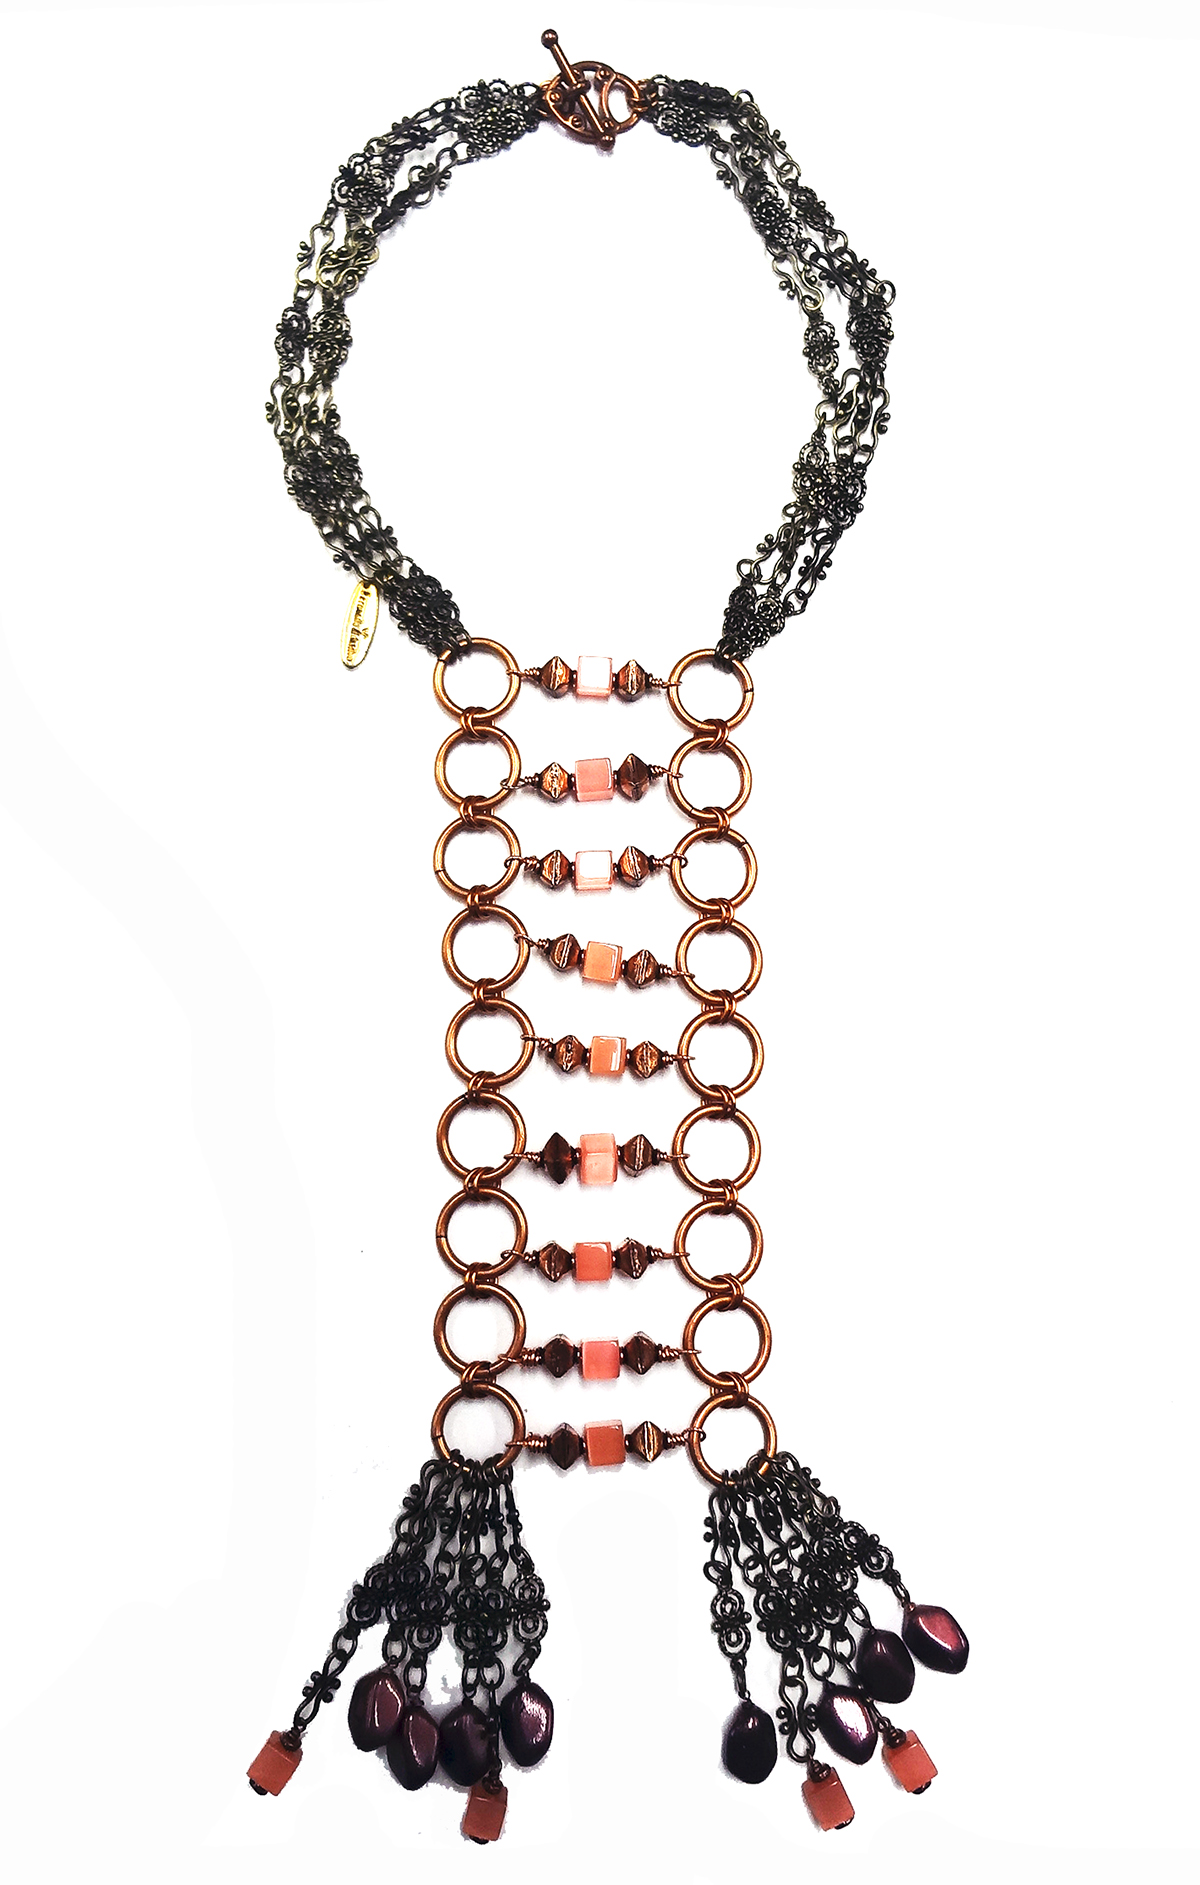
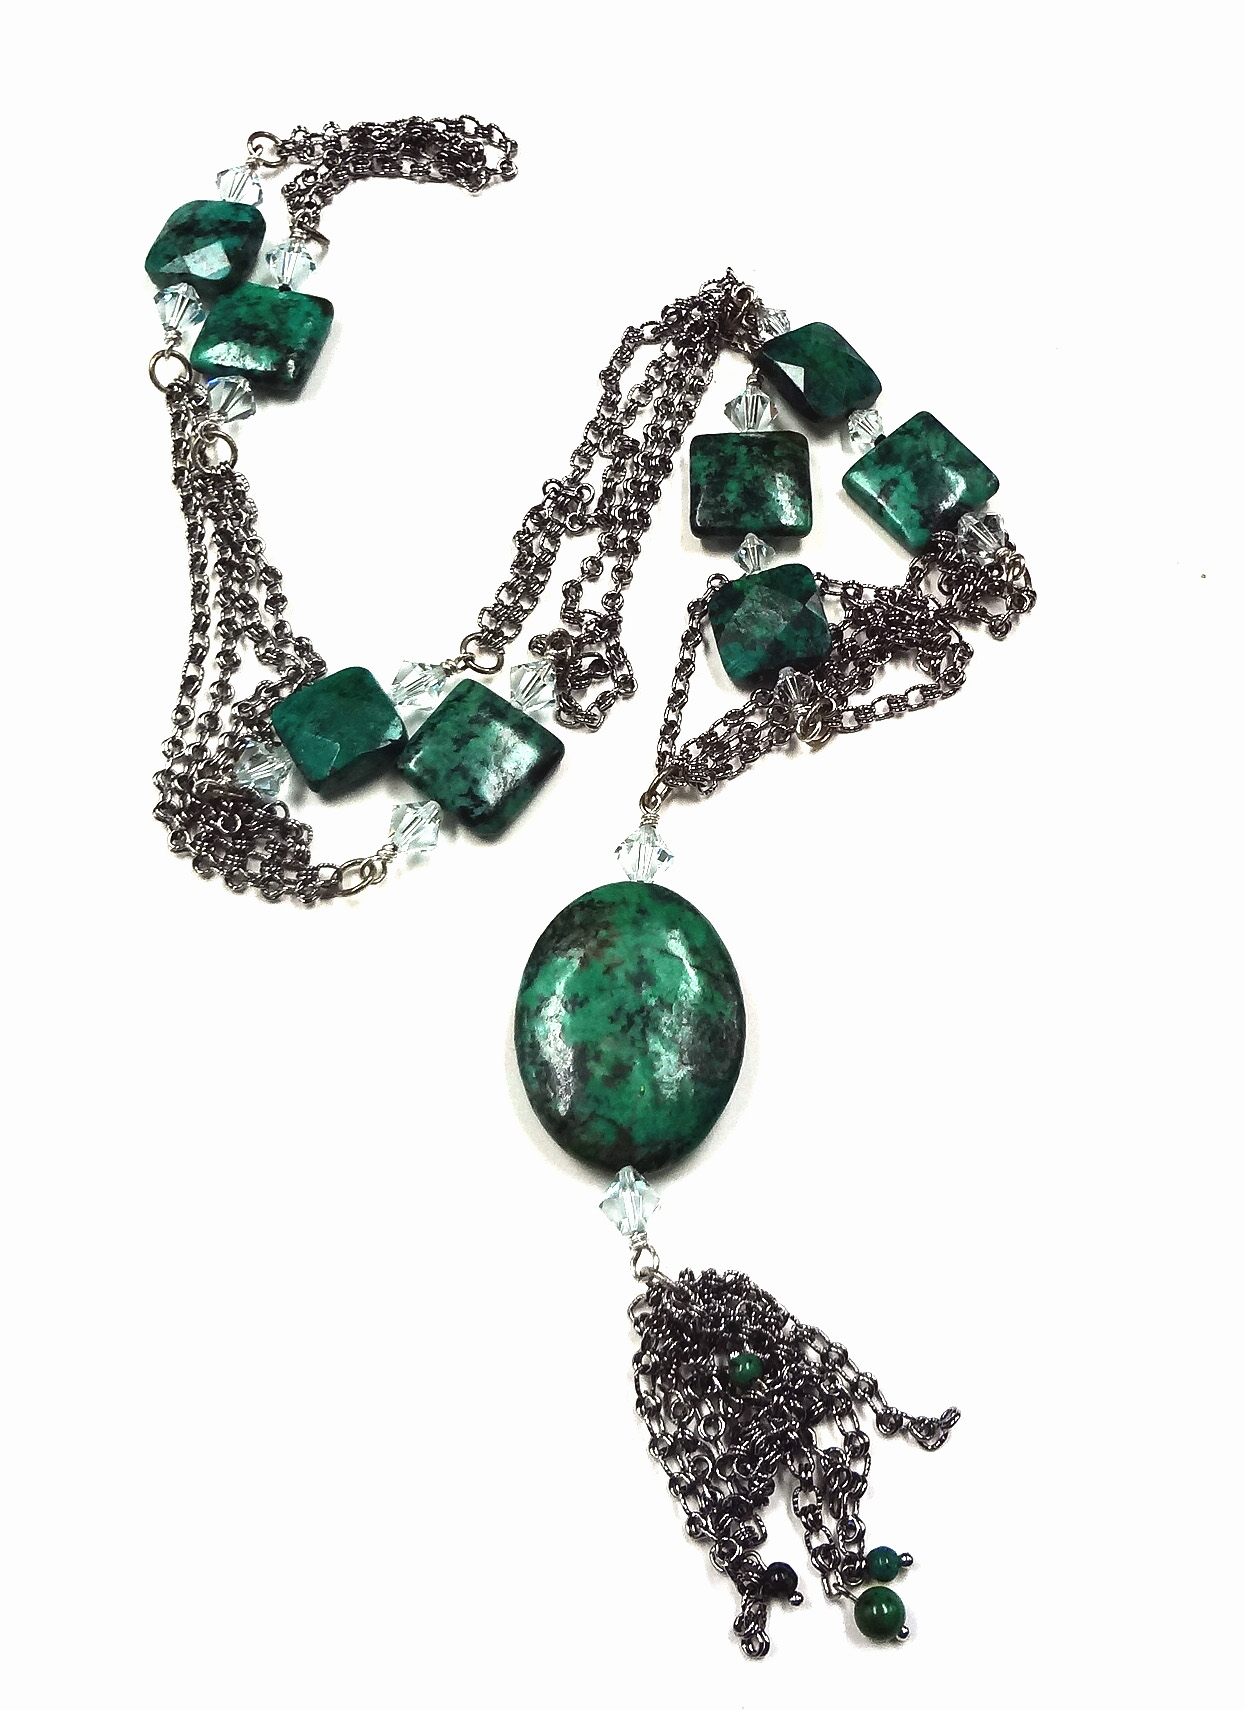
This is a wonderful project featuring purple and green,...
Is there anything more exciting that a necklace that...
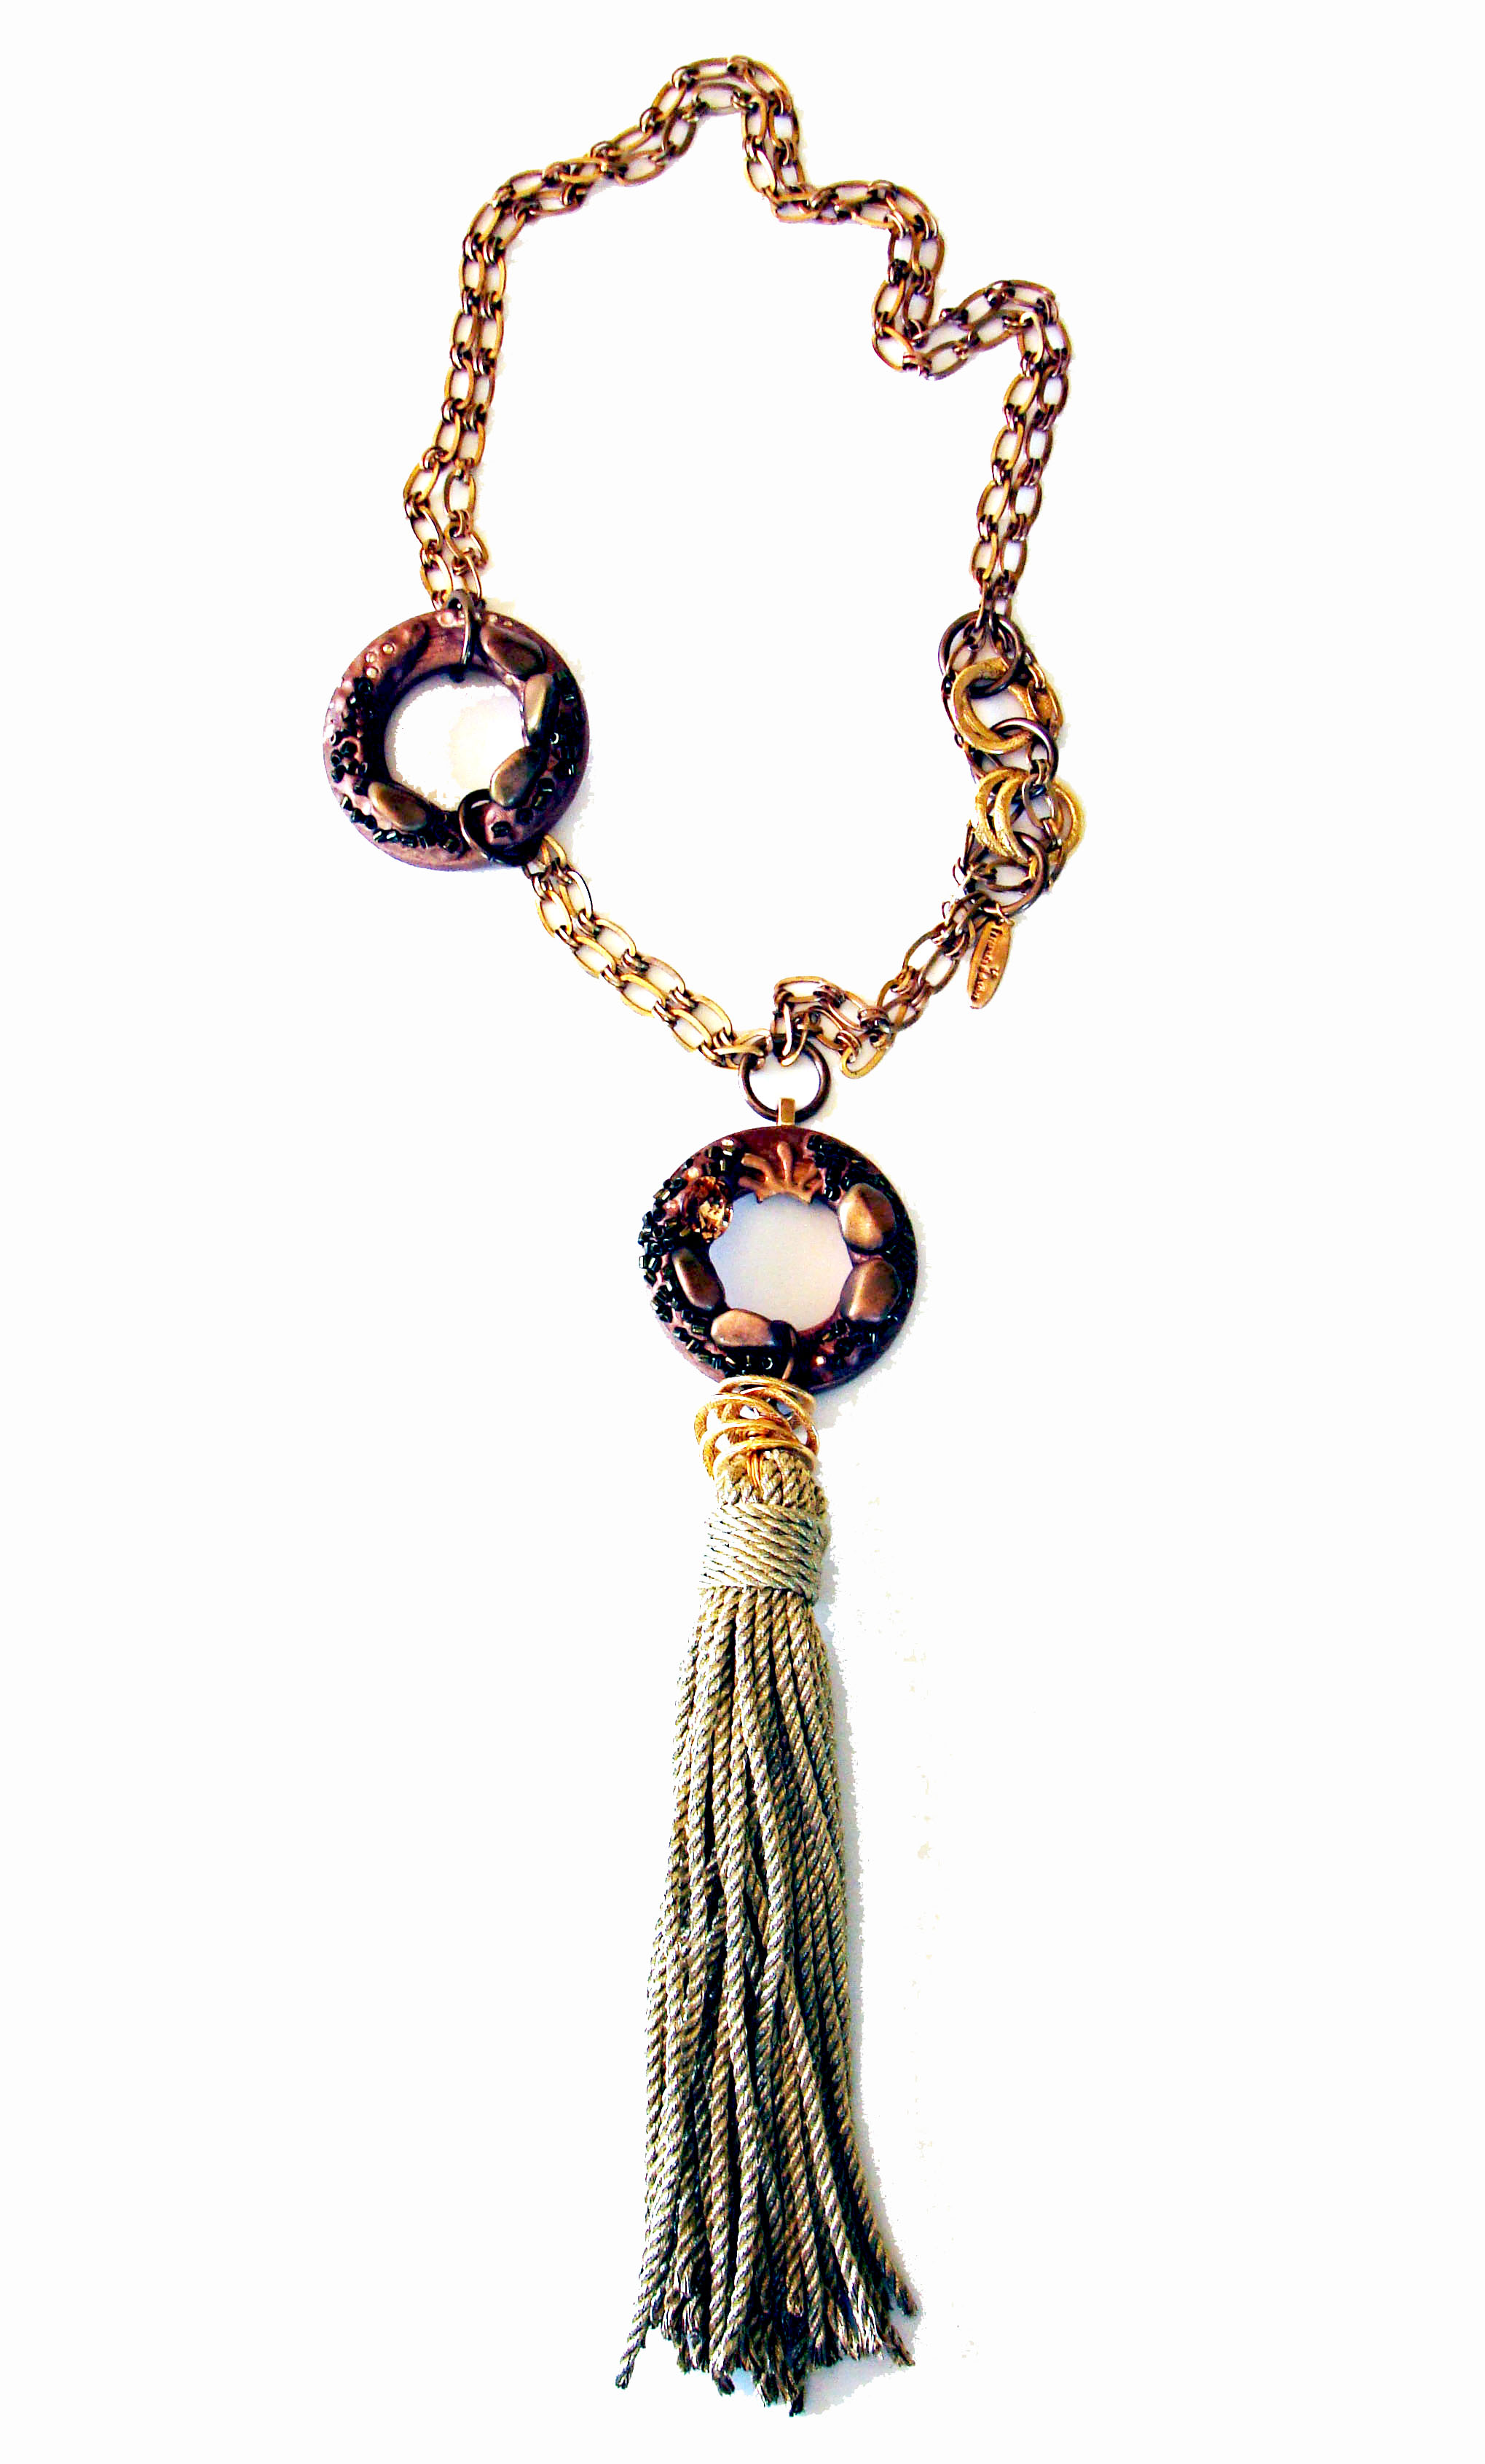
This is the NINE DROPS necklace by Fernando Dasilva....