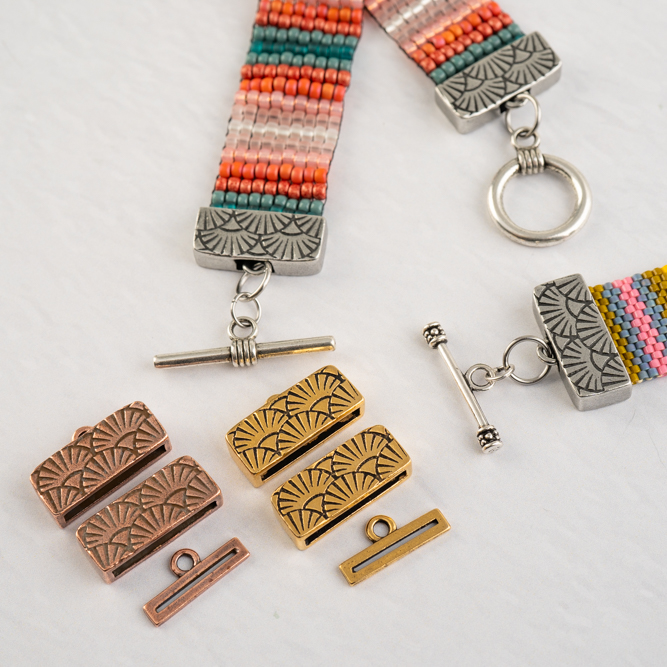
PDF GUIDE Box Cap Stitch Ends Guide Meet the...
Findings

This PDF guide is a consolidation of tutorials showing...
Loom pattern from Danielle Wickes is here: Loom Pattern...
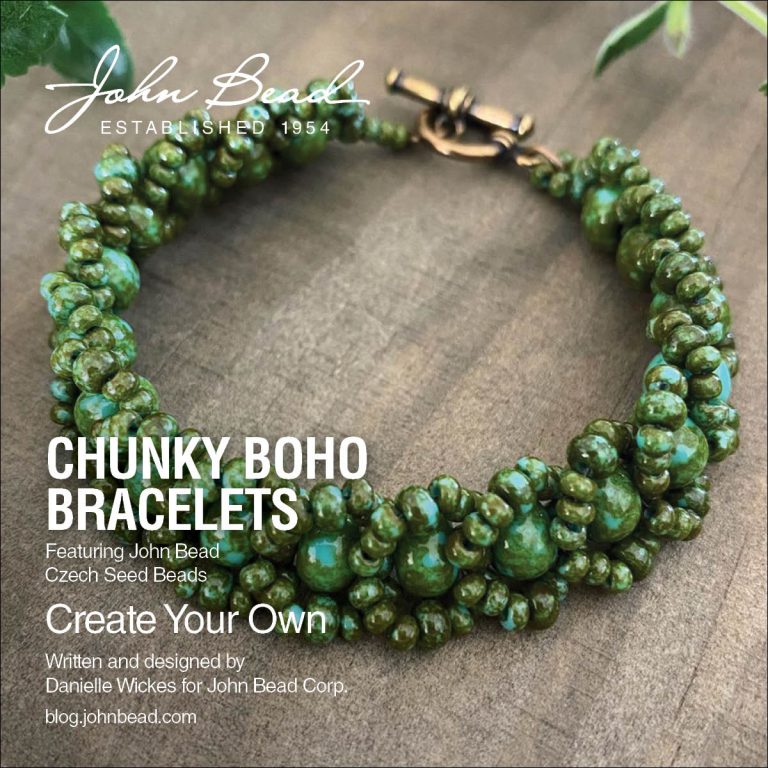
Step by Step for Chunky Boho Bracelets The Chunky...
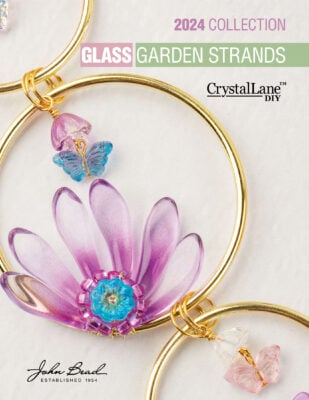
We have a great collection of pendant frames and...
We have a spotlight on 2mm semi-precious beads right...
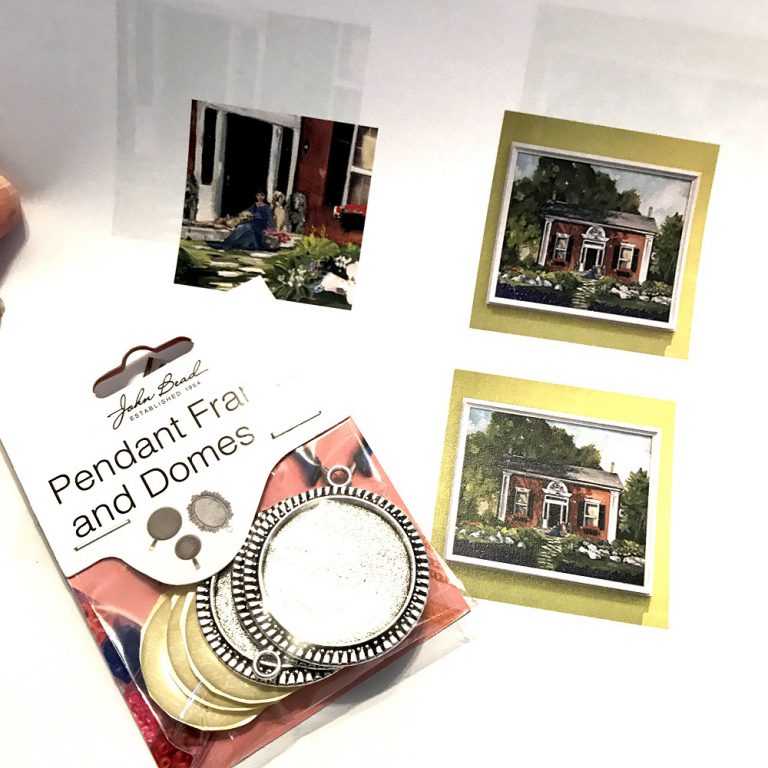
We have many new sizes of pendant frames with...
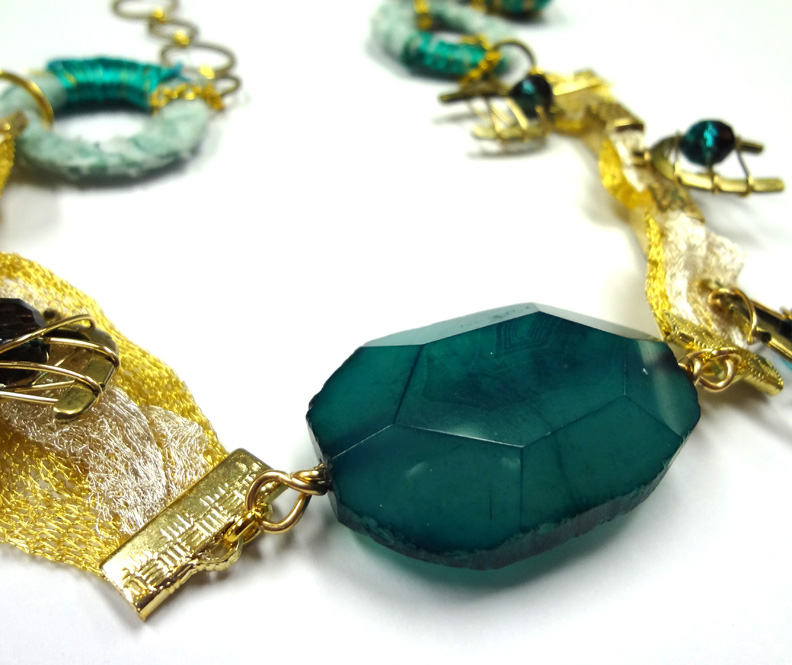
Artistic Wire Mesh is also now available at John...
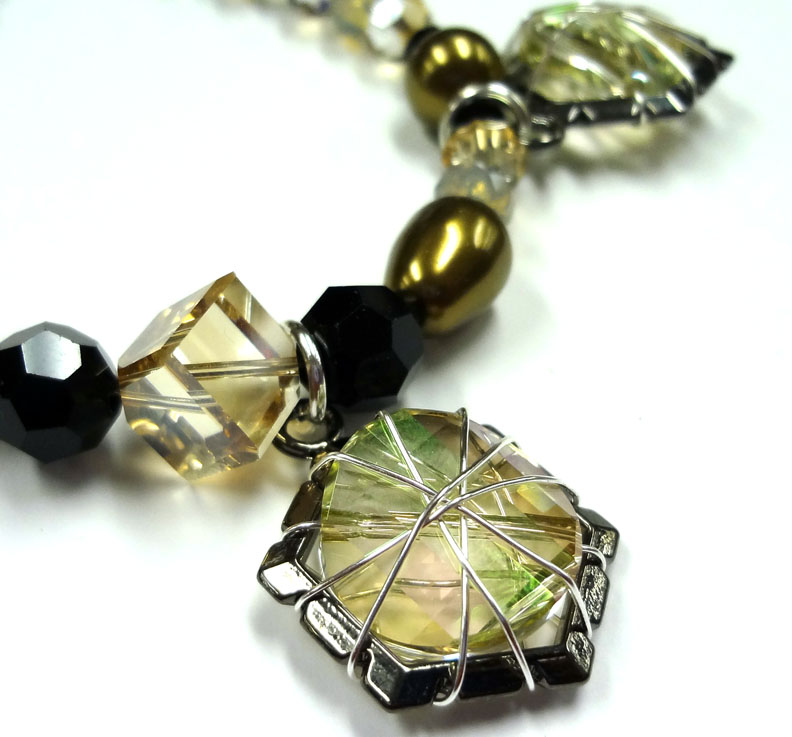
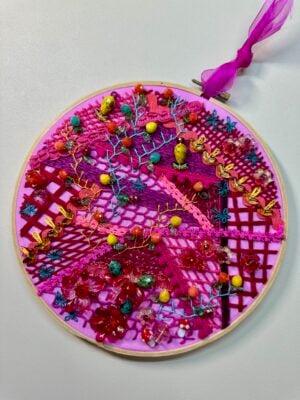
Is this bead component not a show stopper? Yesterday...
I made this pendant and knew that only a...

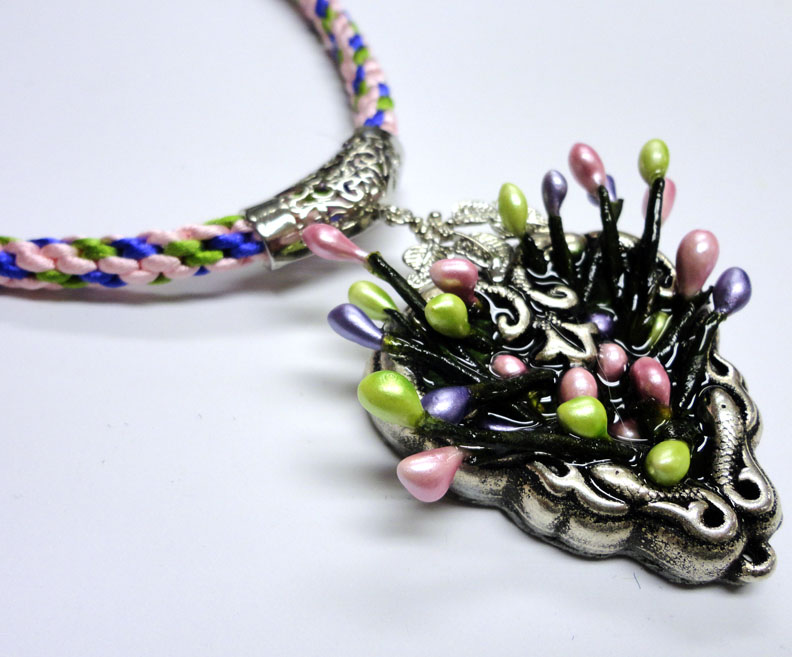
The new kumihimo findings are available in 3 sizes:...
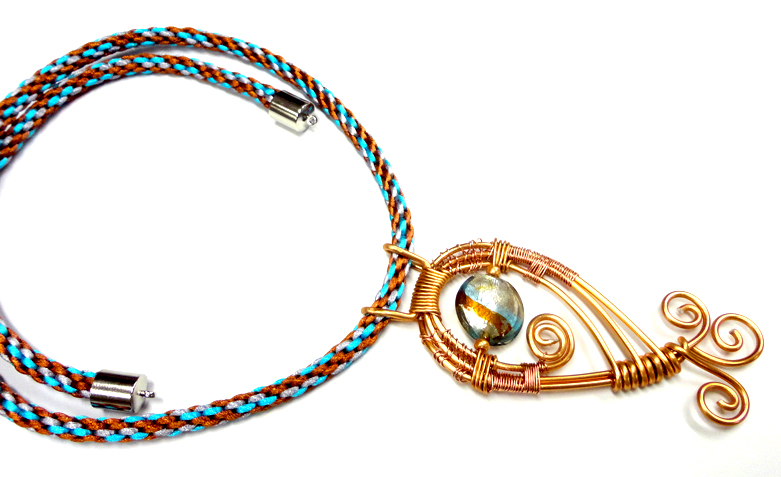
Yesterday’s post featured a beautiful copper pendant. What I...