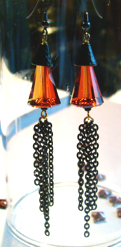
We have a wonderful costume design idea for anyone...
Pliers

Fernando DaSilva for John Bead made with SWAROVSKI ELEMENTS...

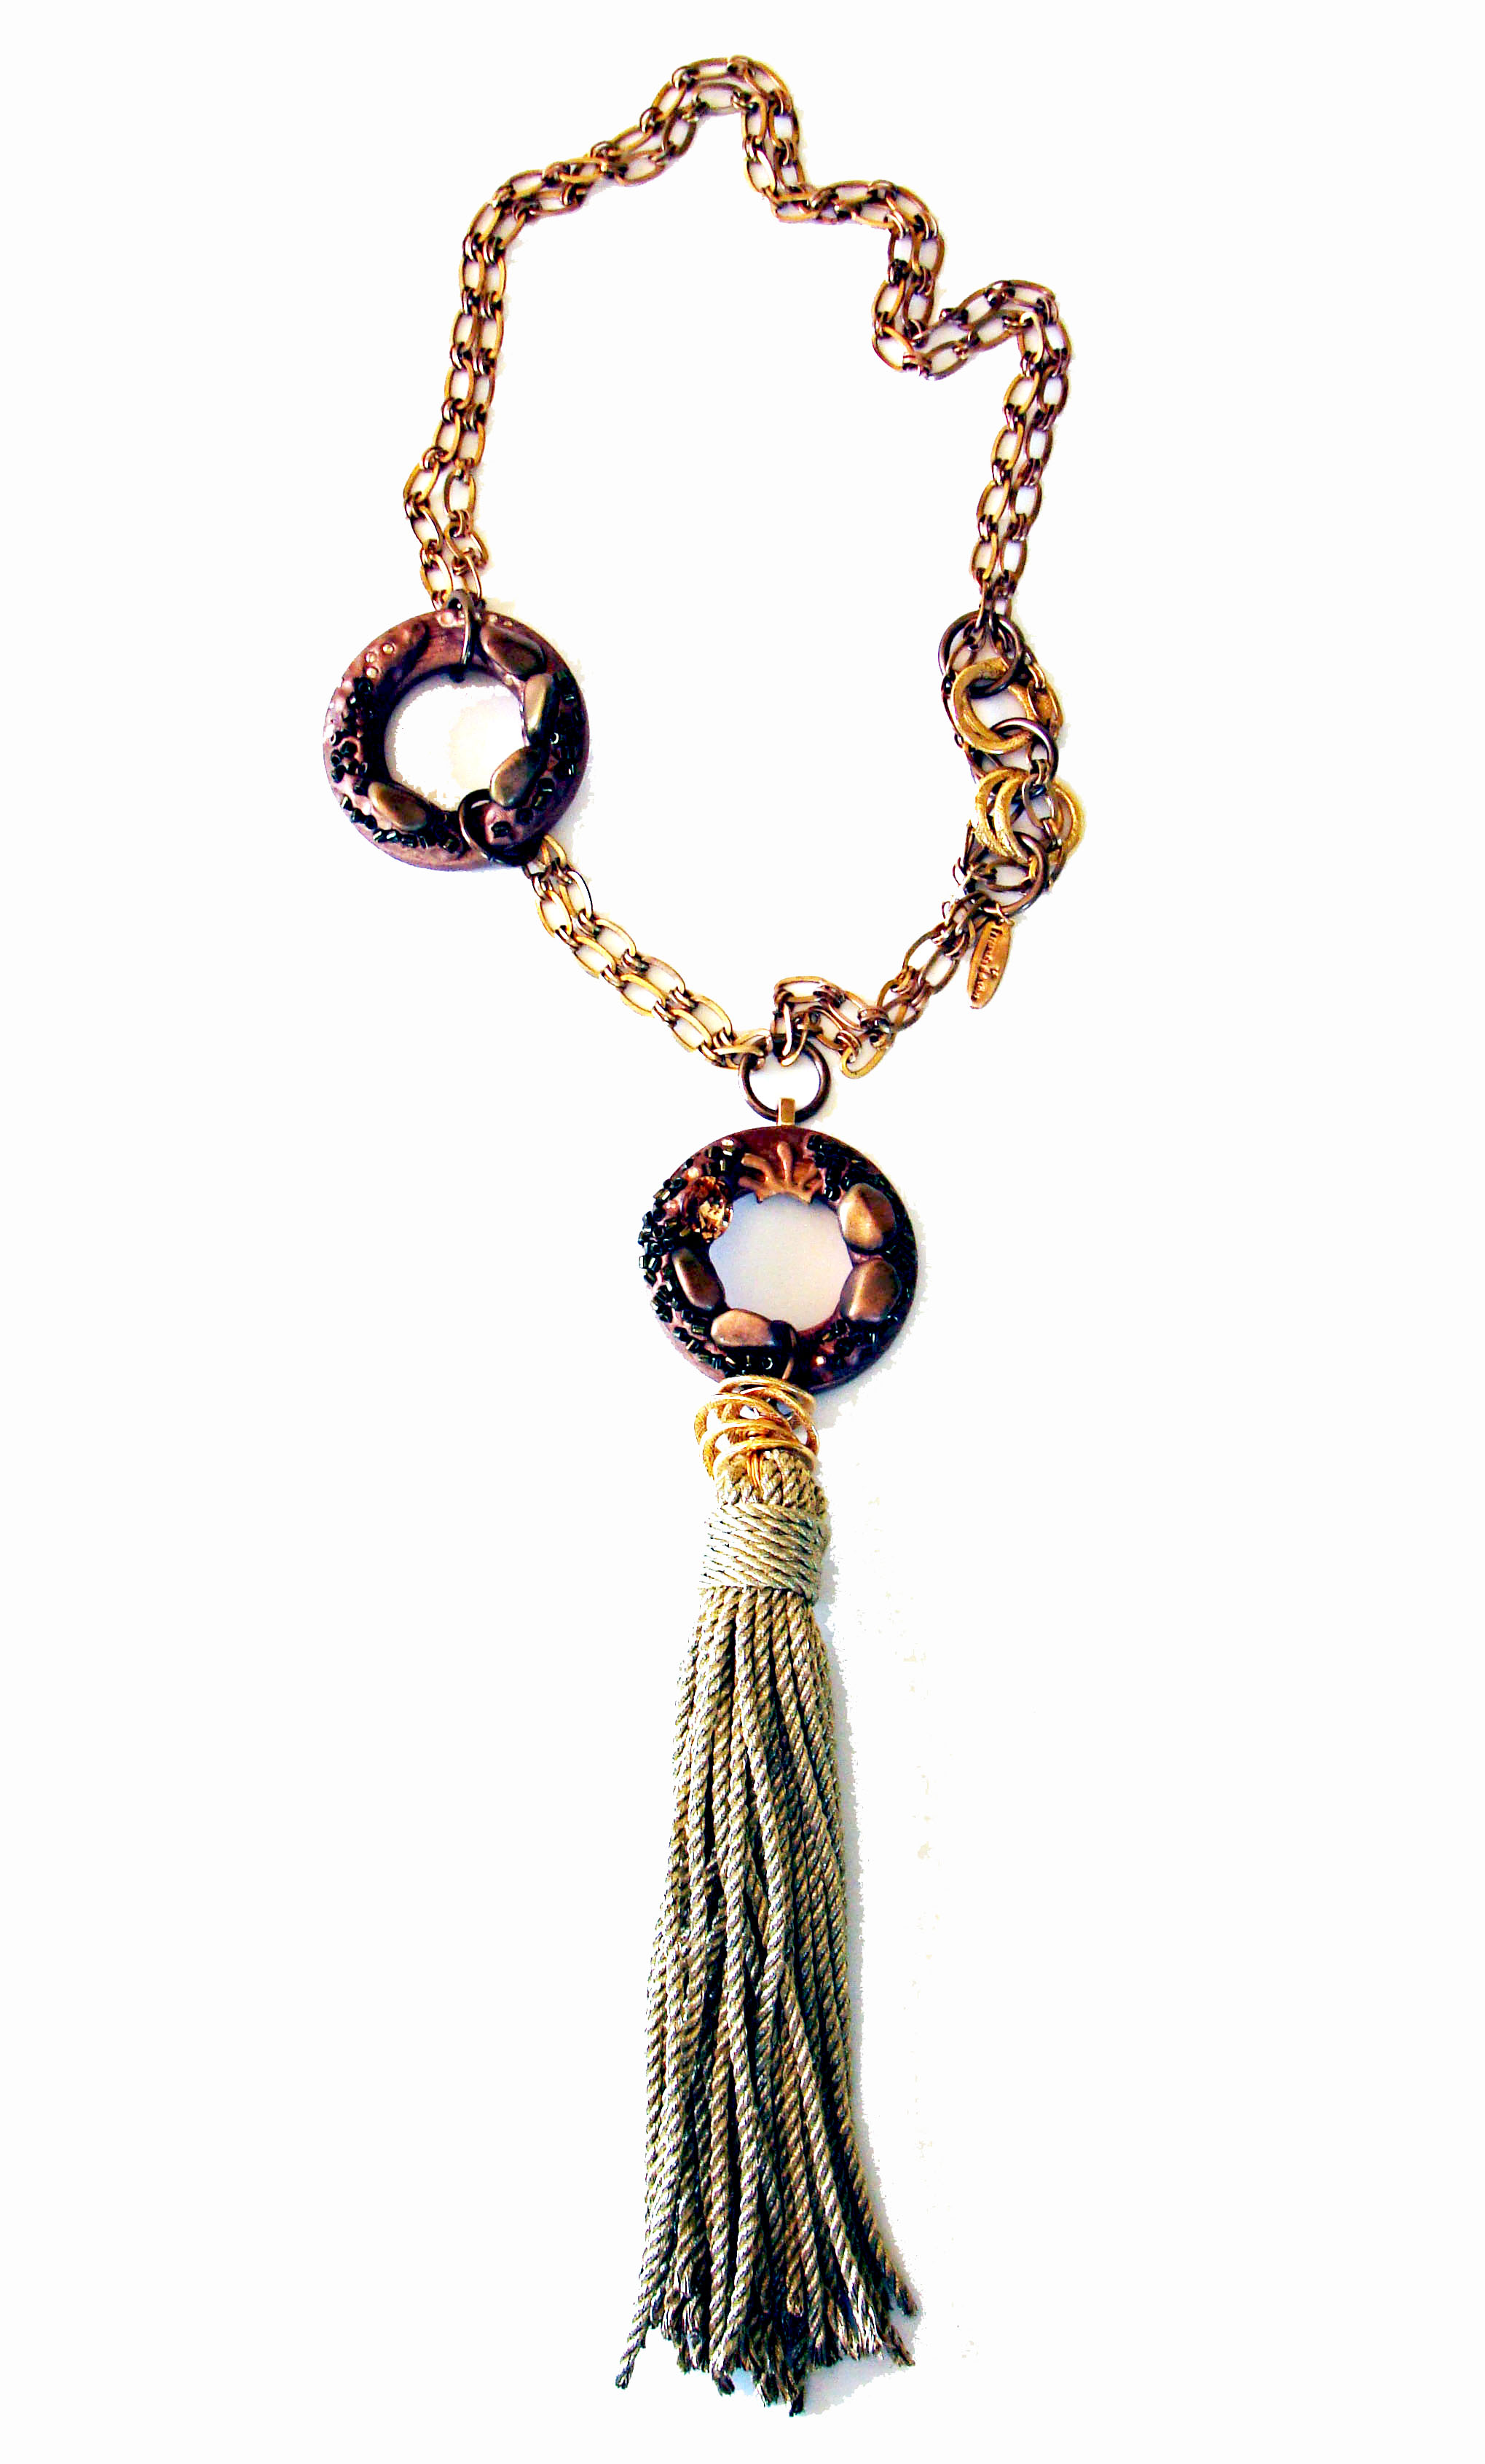
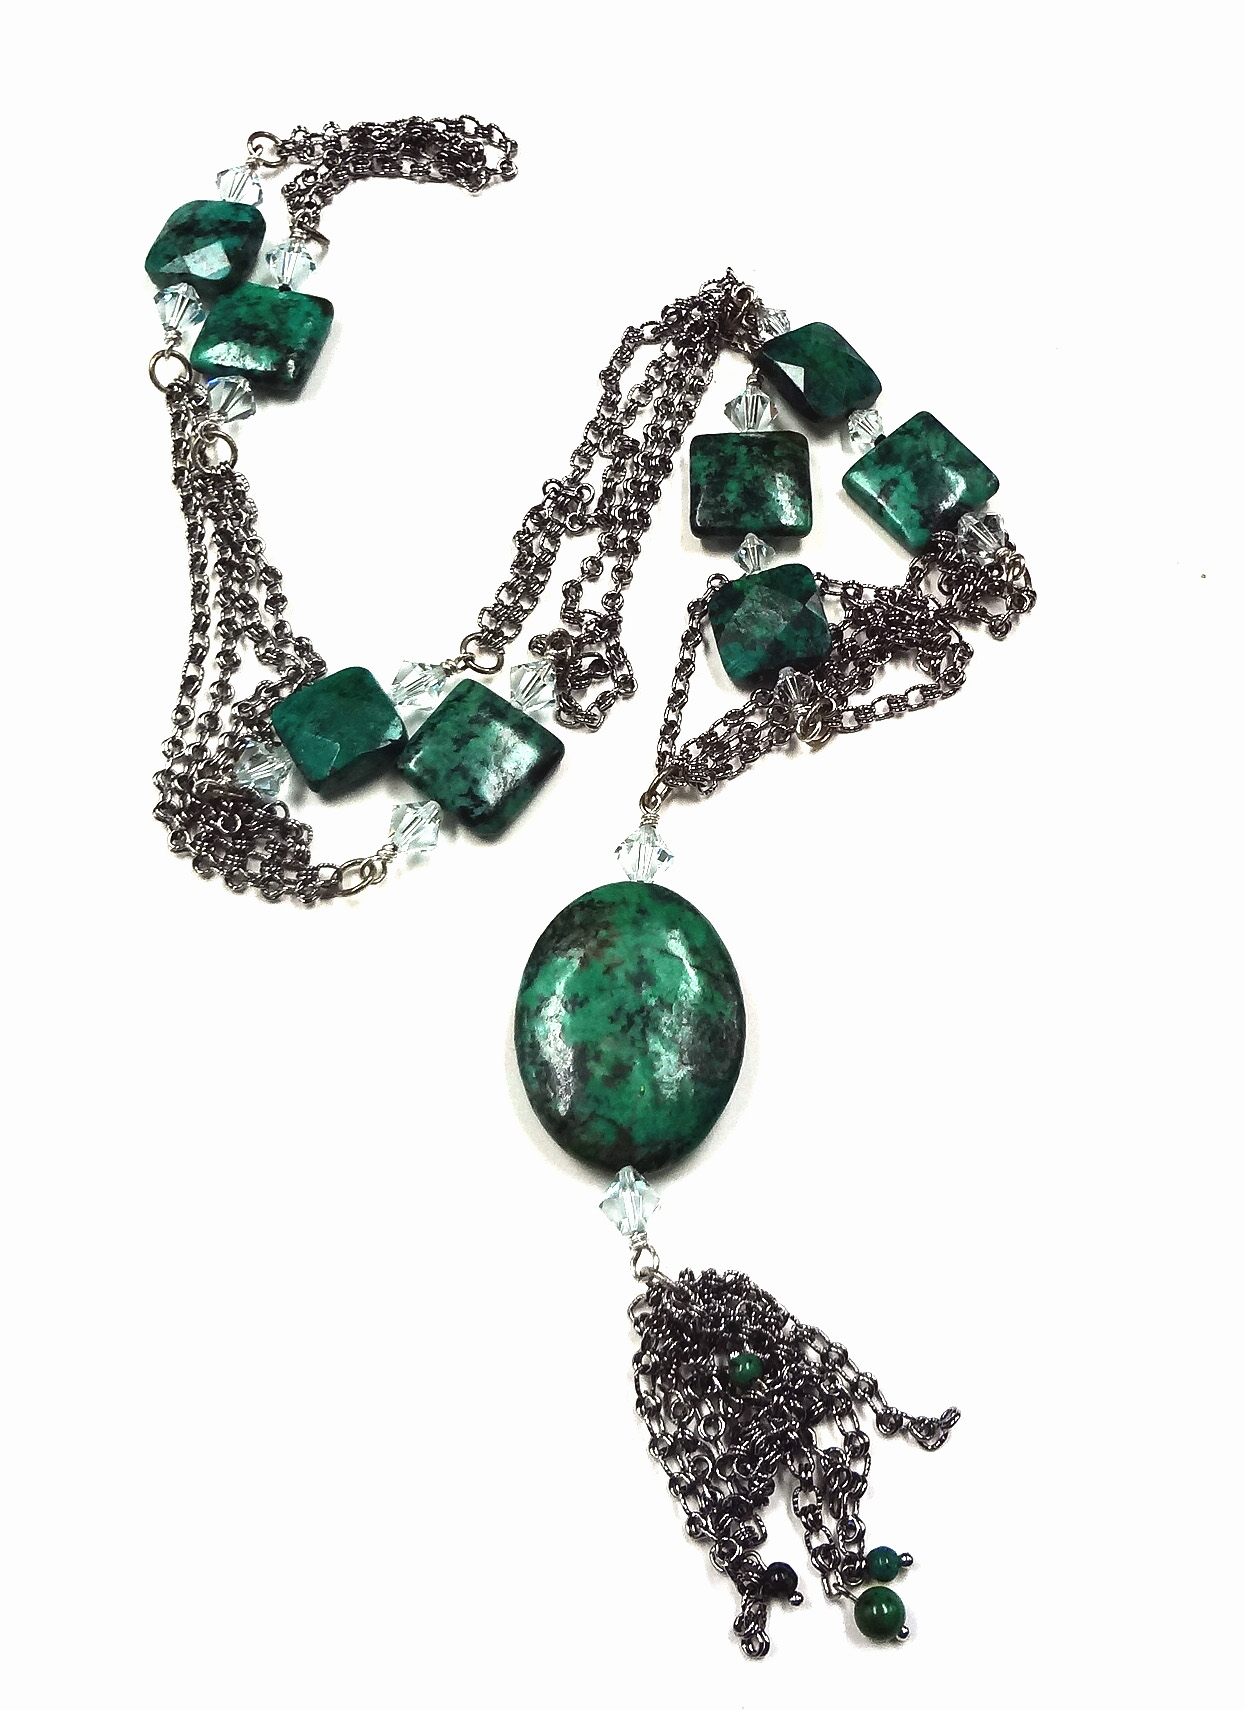
My “Vintage Imagery Statement Necklace” with Metal Complex...
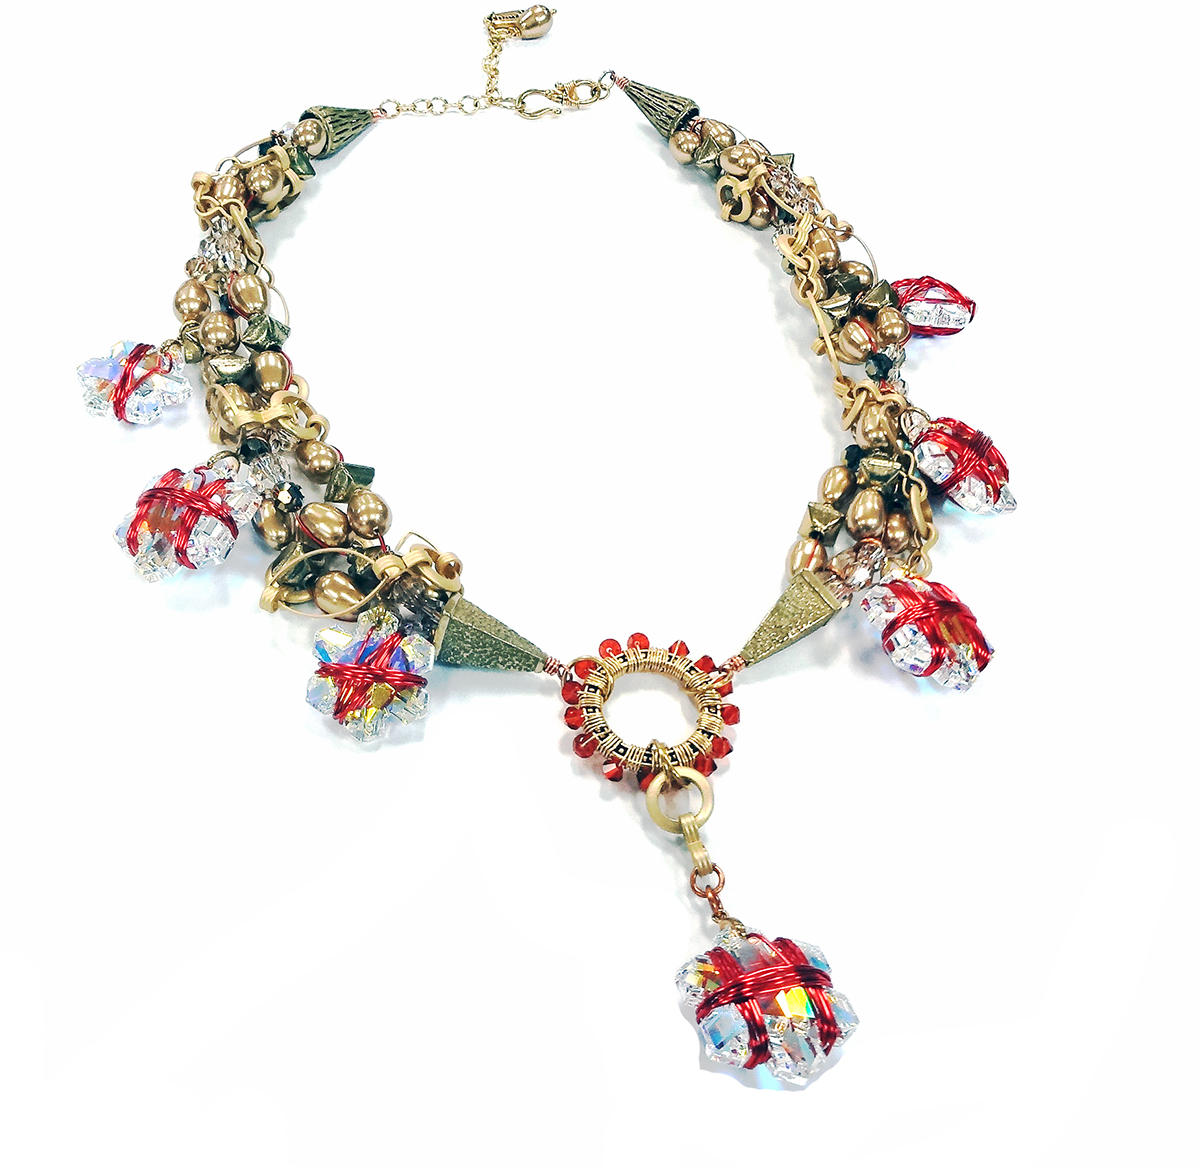
Fernando Dasilva for John Bead made with SWAROVSKI...
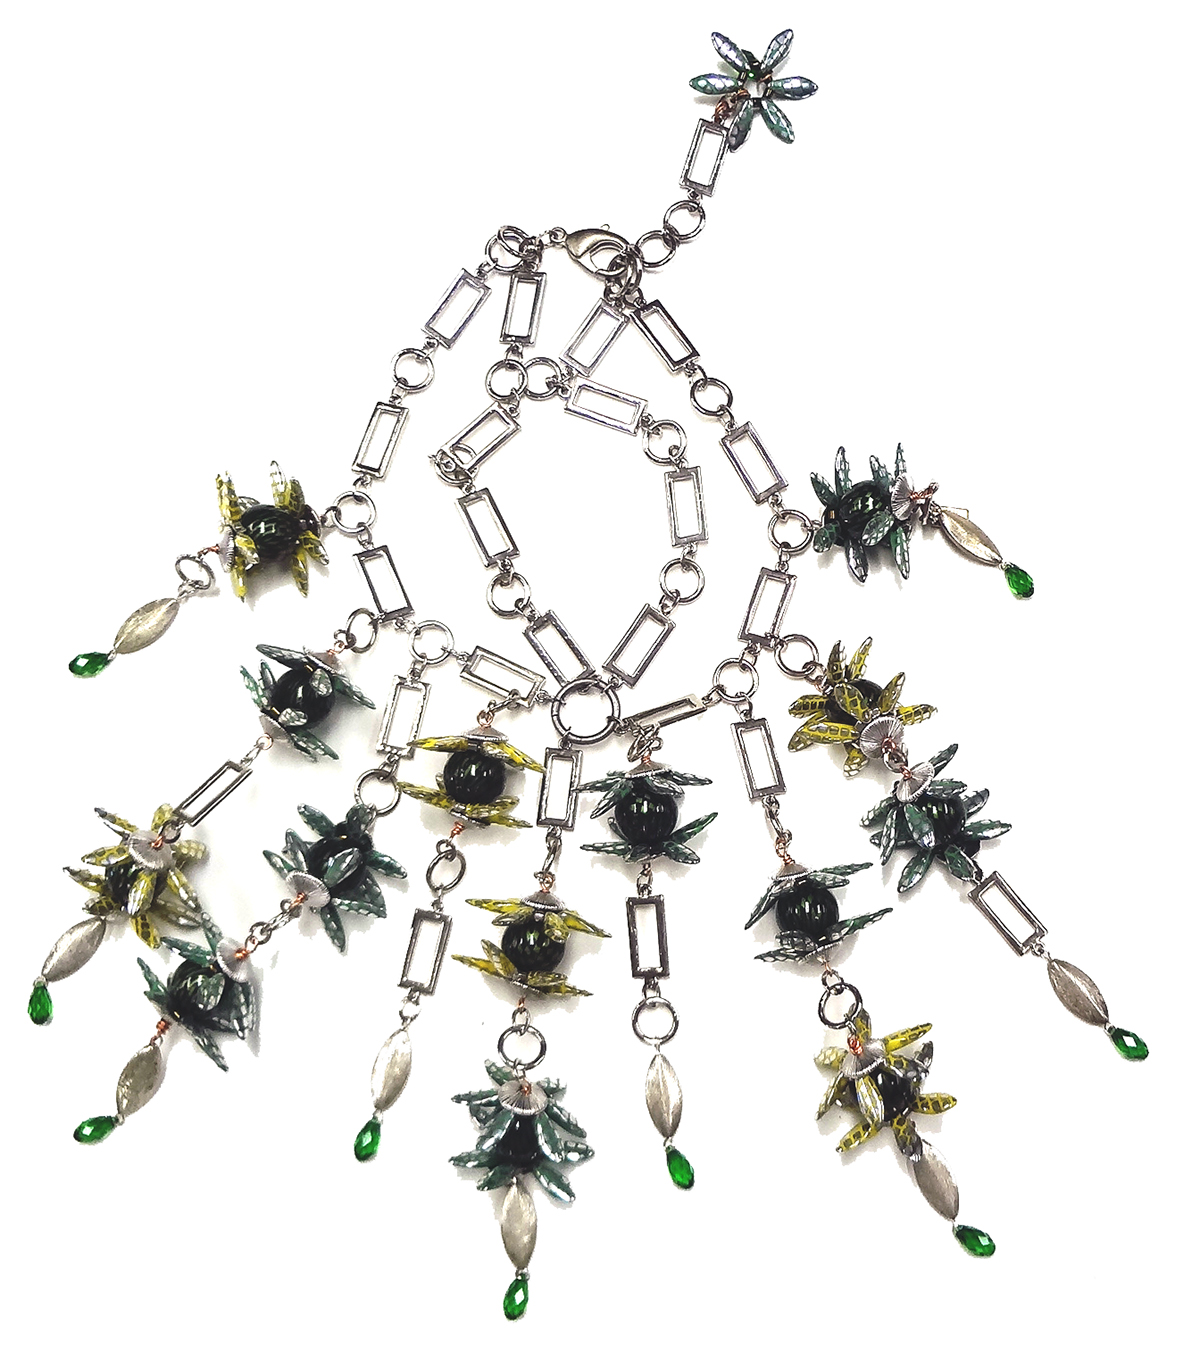
Materials 2g Delica 8/0 rd gun metal 8 icy...
The current GLAMOUR issue of Perles et cetera is...
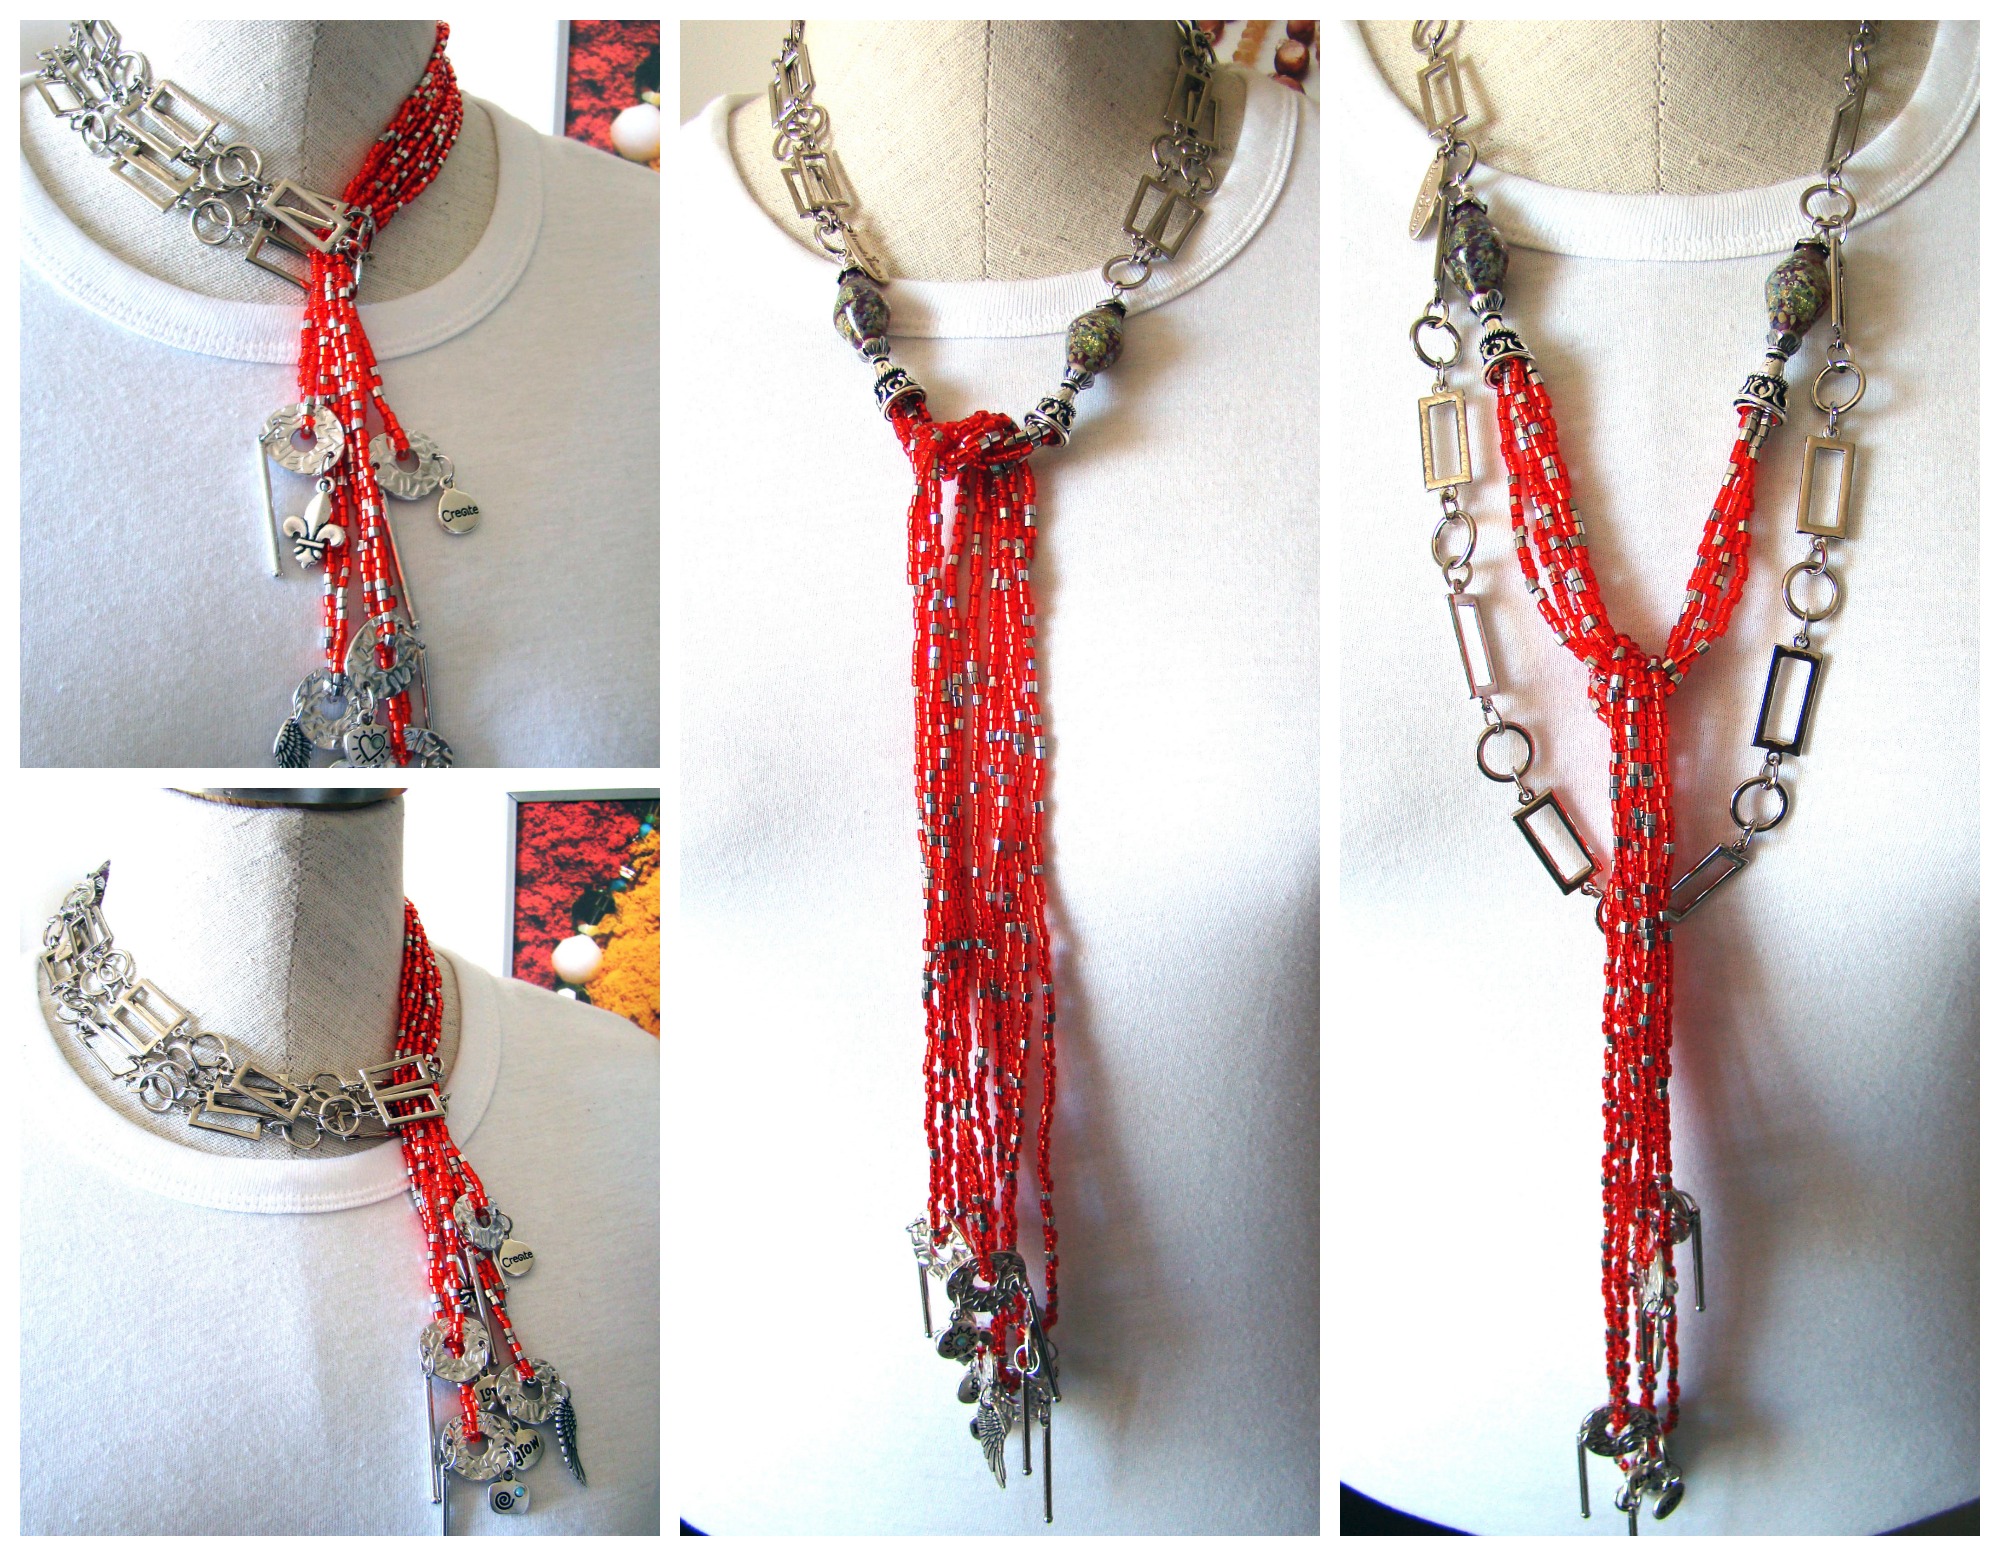
ONE NECKLACE – SO MANY DIFFERENT LOOKS! Just For...
The repetition of a single shape creates an...
This new project will help you with some of...
This is the Crystaloise necklace designed by Fernando Dasilva...
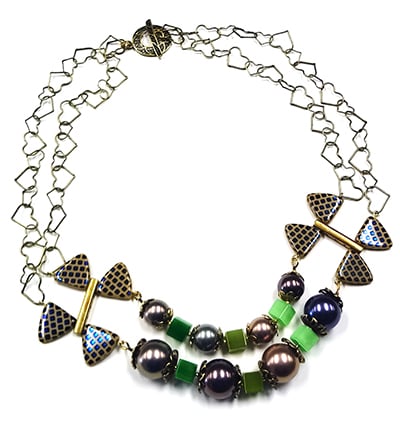
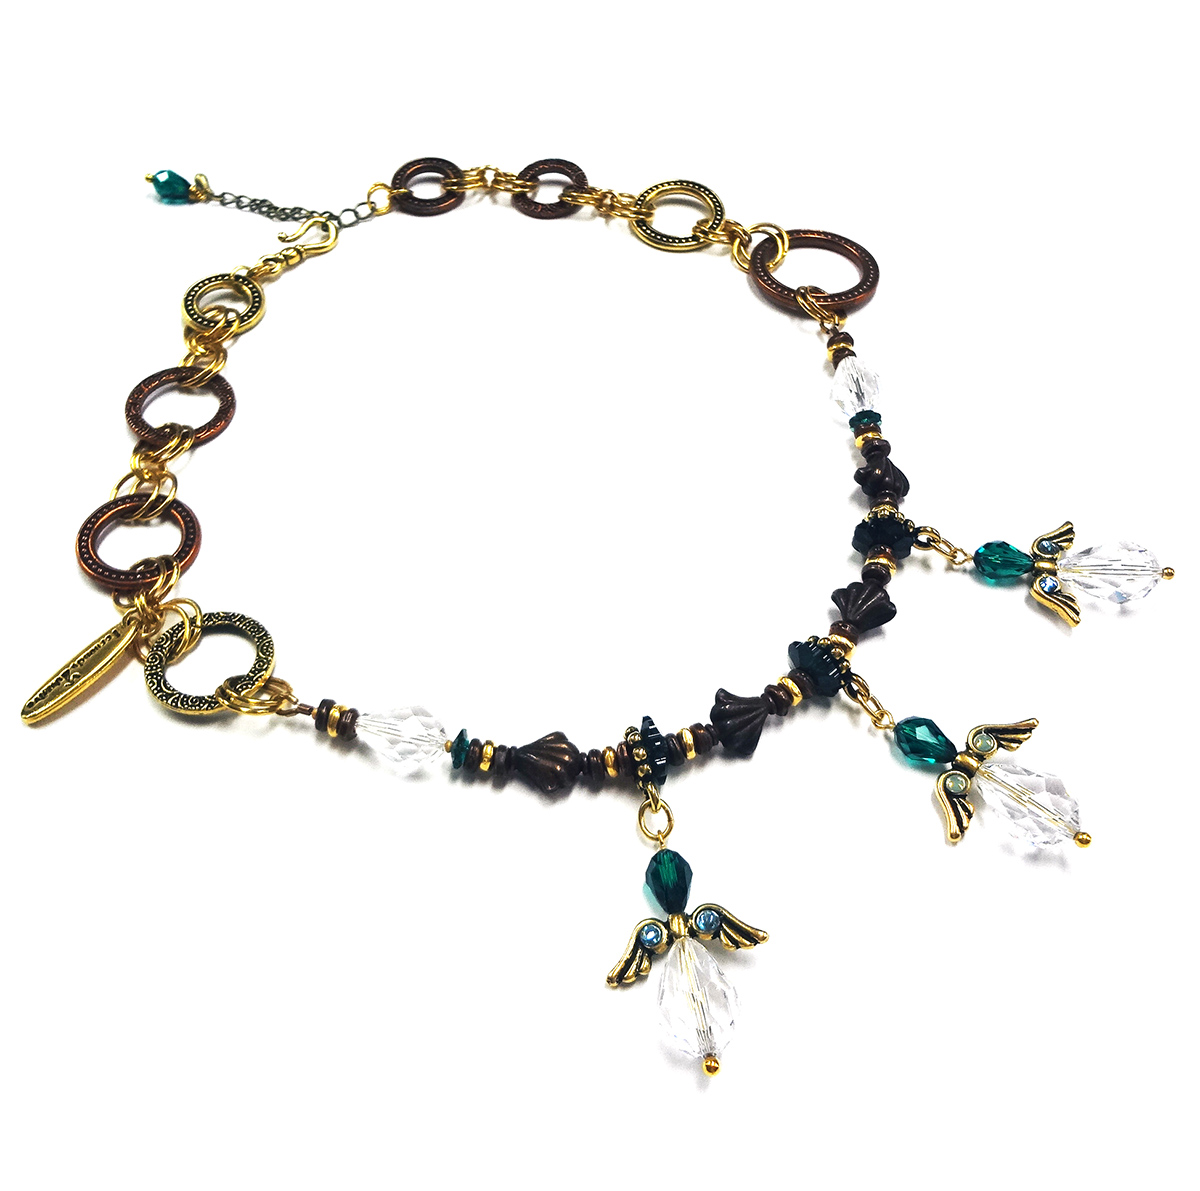
This is a wonderful project featuring purple and green,...

Fernando has created many pieces of jewelry which...
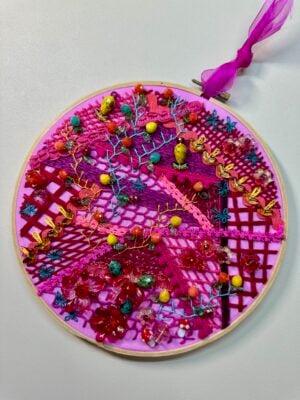
Earlier this week I posted my pictures of this...
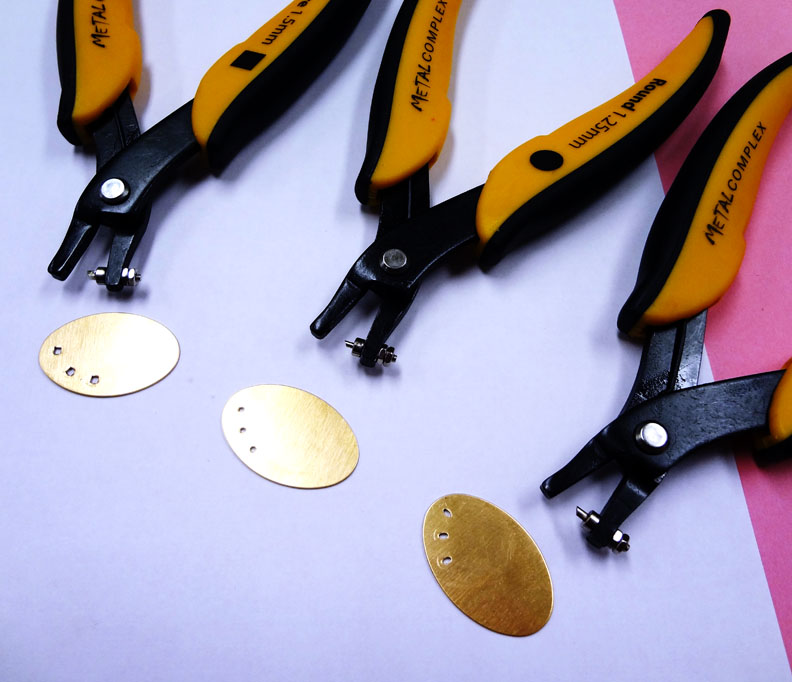
The Metal Complex Tool Section has just expanded! Let...