We have been selling and showing wonderful finished pieces...
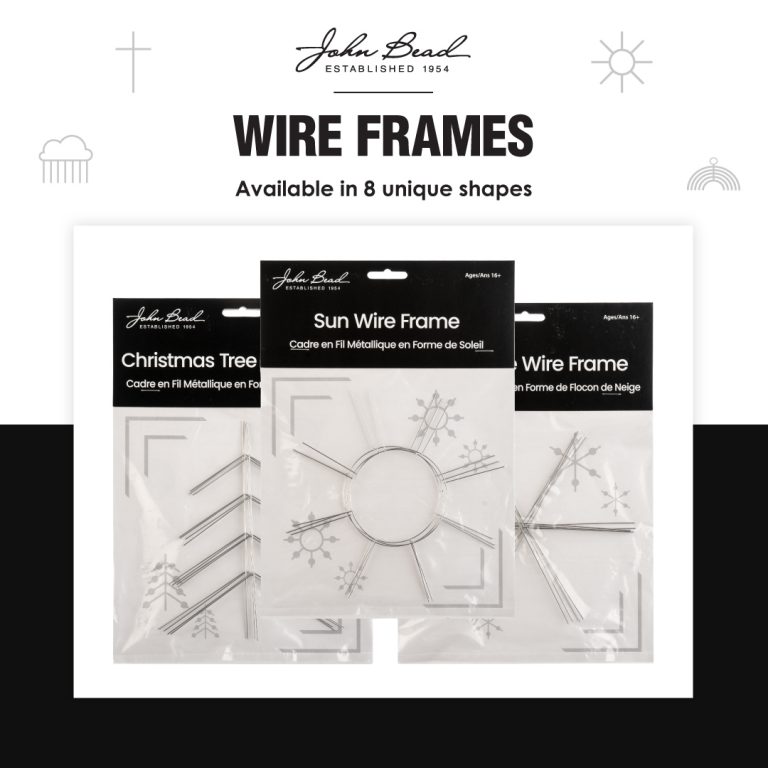
Wire Frames

How Do You Hang or Display Your Beaded Project?...

How Do You Finish Each Open Prong? Once you...

What Beads Work On the Wire Frames? Virtually...

Tips on Bead Sizes and Tight Spaces ...

Tips on Adding Wire If you are...

Tips On Using Wire Frames for the First Time...