Hello John Bead friends! I will be showing you the results of my first attempt to experiment with the new Dazzle-It kumihimo square disk. You’ll find easy to follow written directions and images in the square disk kit. I followed them in order to make this first sample. This flat braid design is known as a Anda-Gumi Braid.

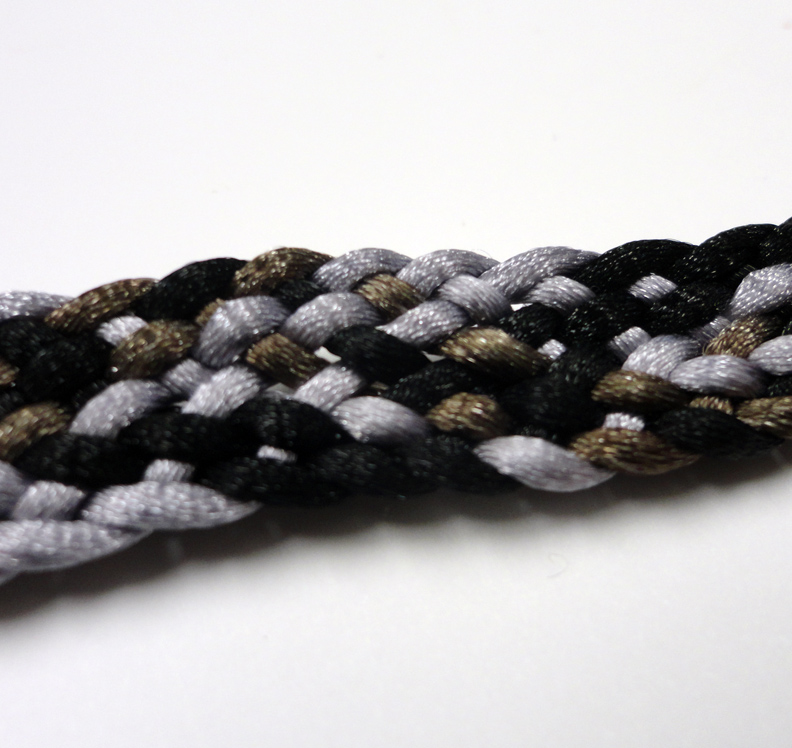
I am quite pleased with this flat braid! I also really like the rattail colour combination I choose.
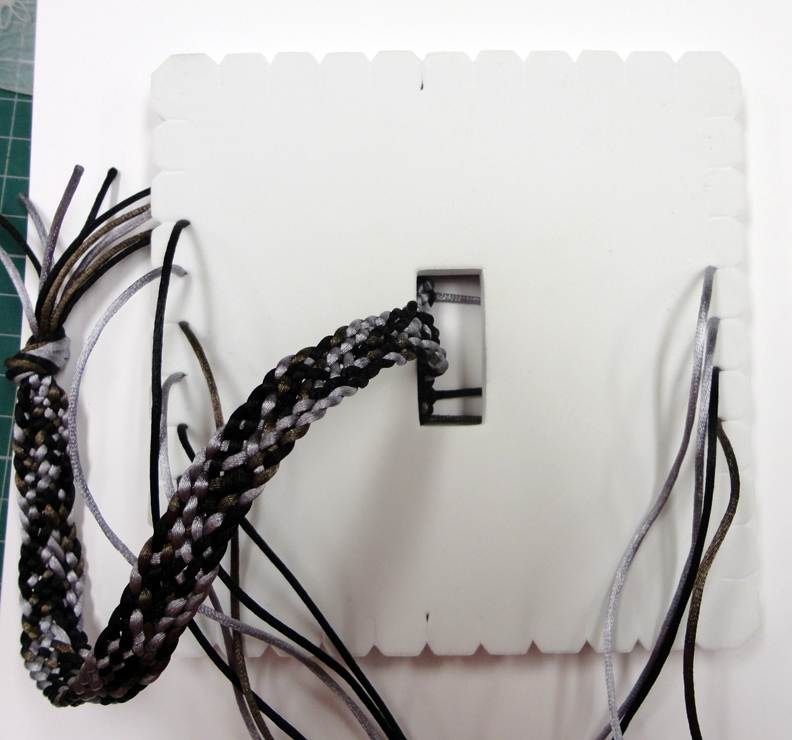
The square kumihimo disk can be used to make both flat and rounded cords.
My first flat braid is a little wonky…..my knots are not perfect. But you have to start at the beginning to learn a new skill. And I definitely need to make a few braids if I want perfection.
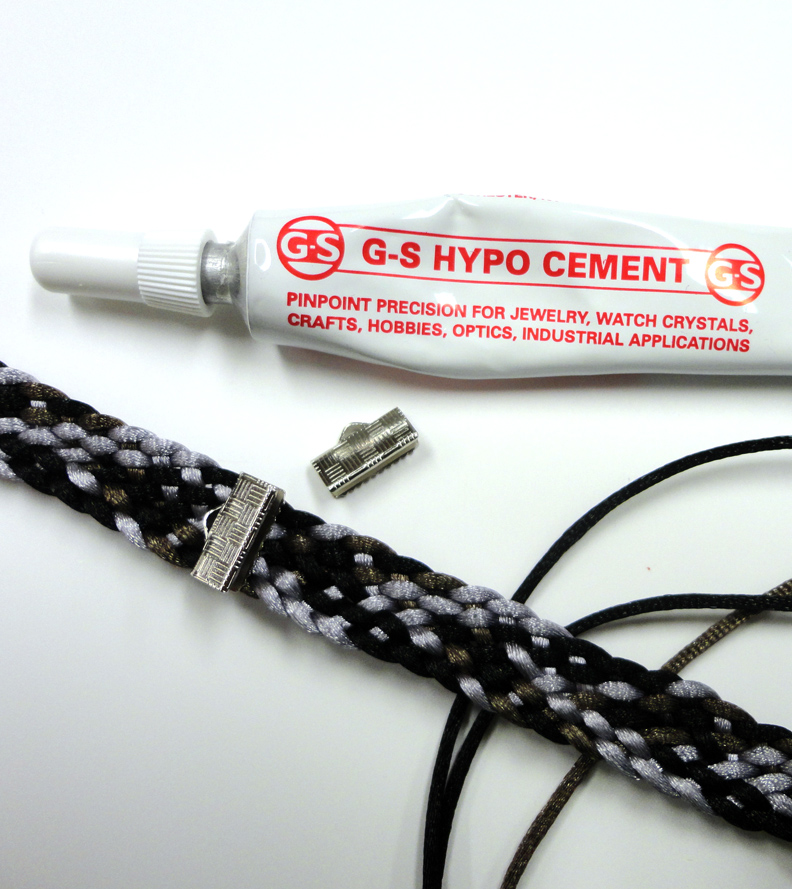
The other skill I need to learn is how to finish the ends of a flat braid. For this I pulled out some ribbon clamps and my Hypo Cement.
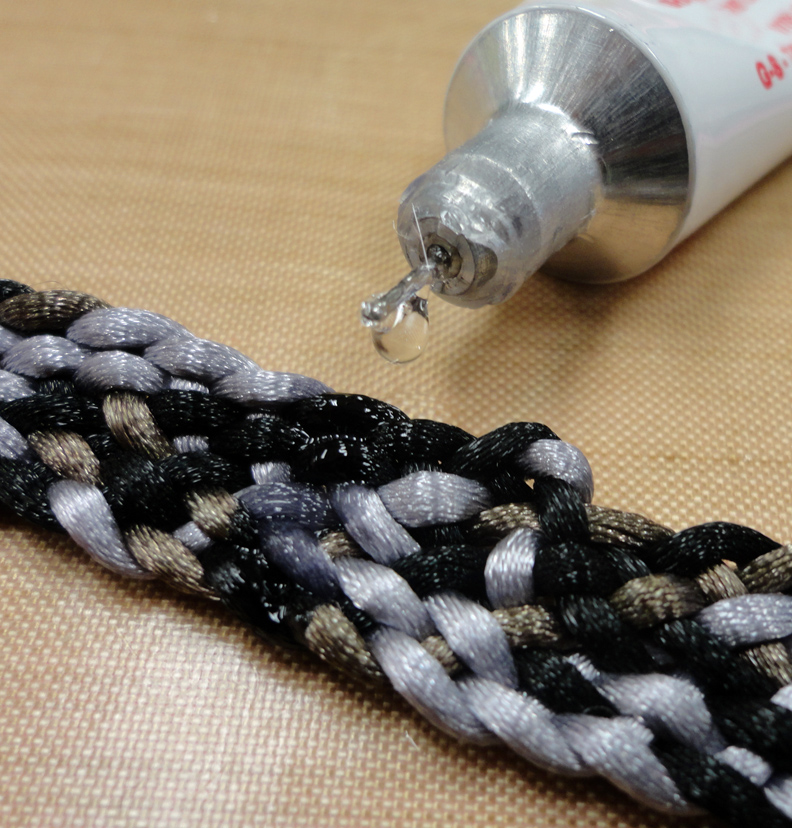
When I cut my cord it would unravel faster then I could get all the ends into my clamp. So I dropped a line of Hypo Cement in the area I would cut to make these sections stay together.
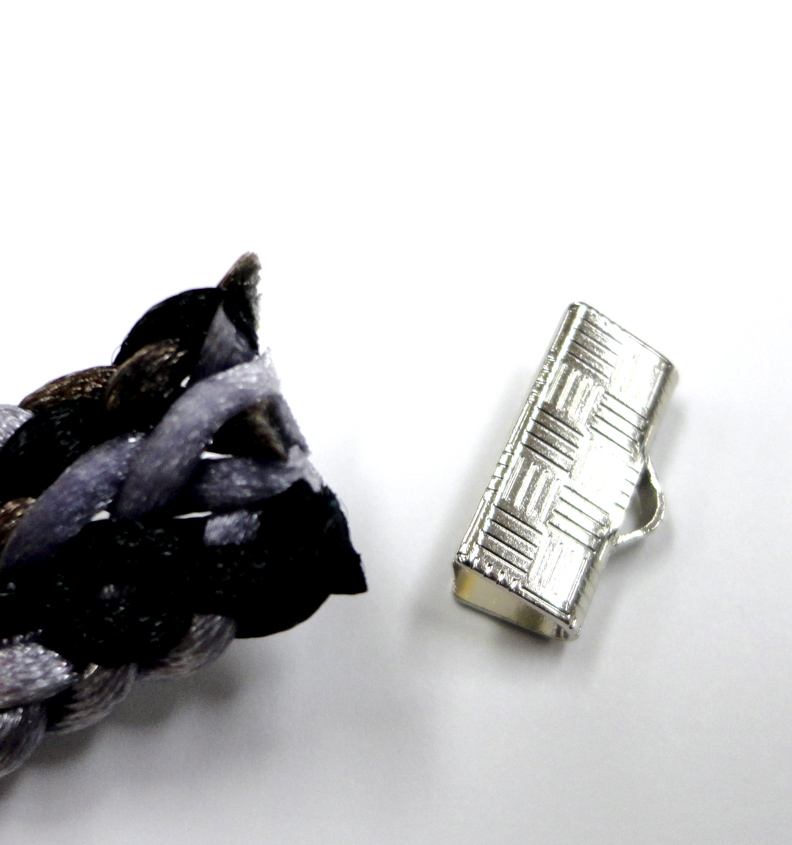
You can see that when I cut my cord (post cement) that the end was very stiff and went into the clamp easily!
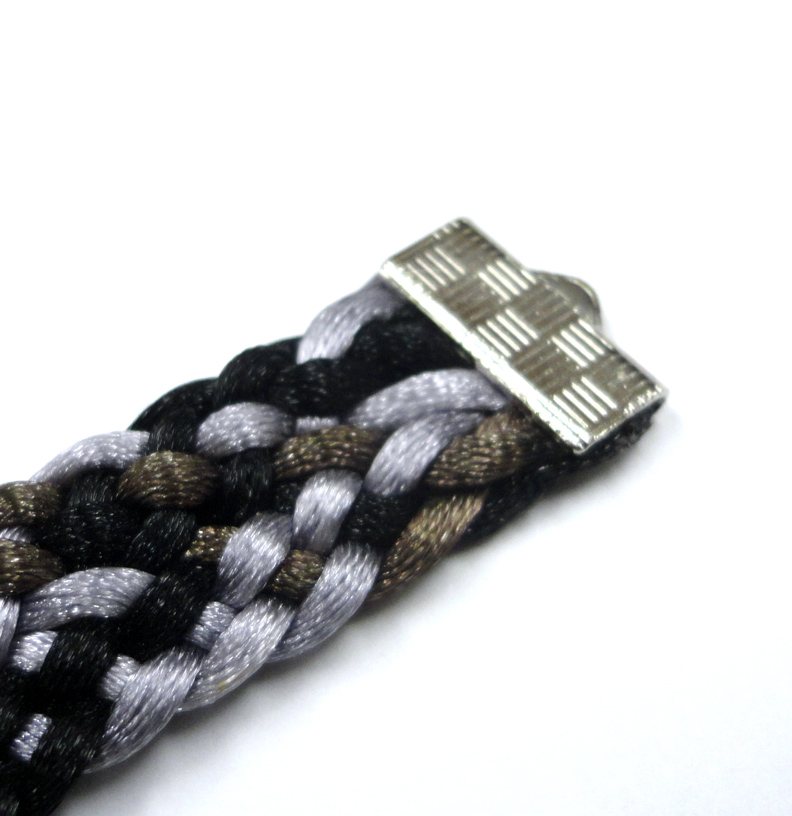
That looks great!
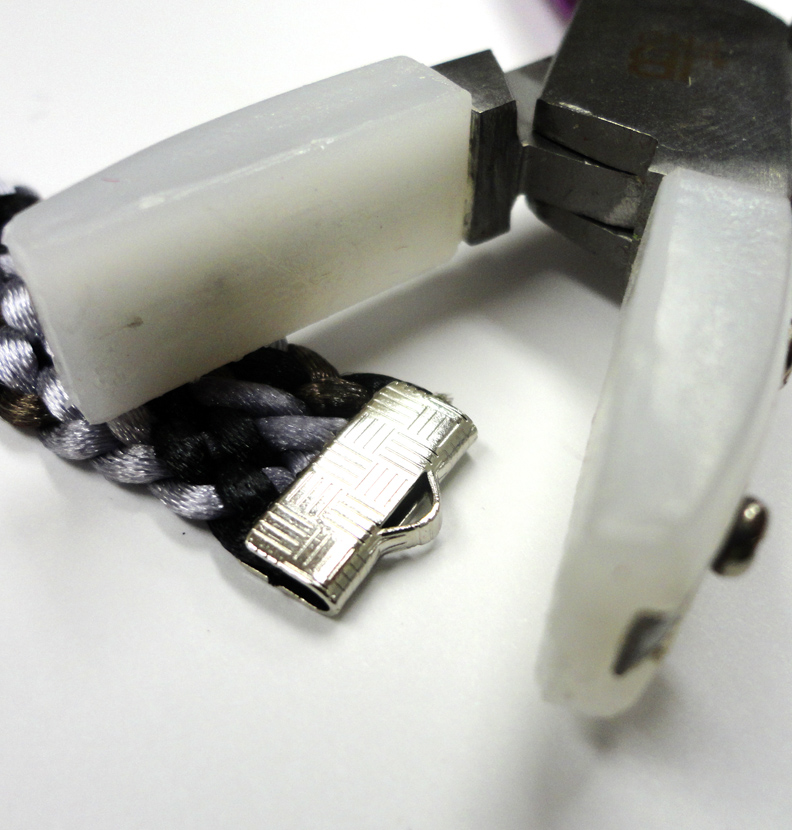
It is really helpful to use a nylon jaw plier. This way you do not scratch your ribbon clamp when you close it.
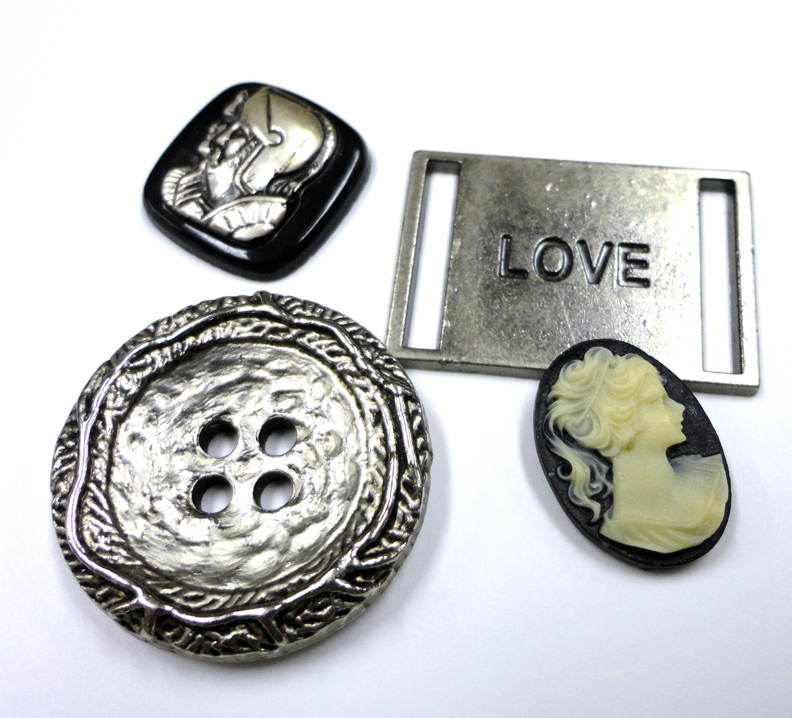
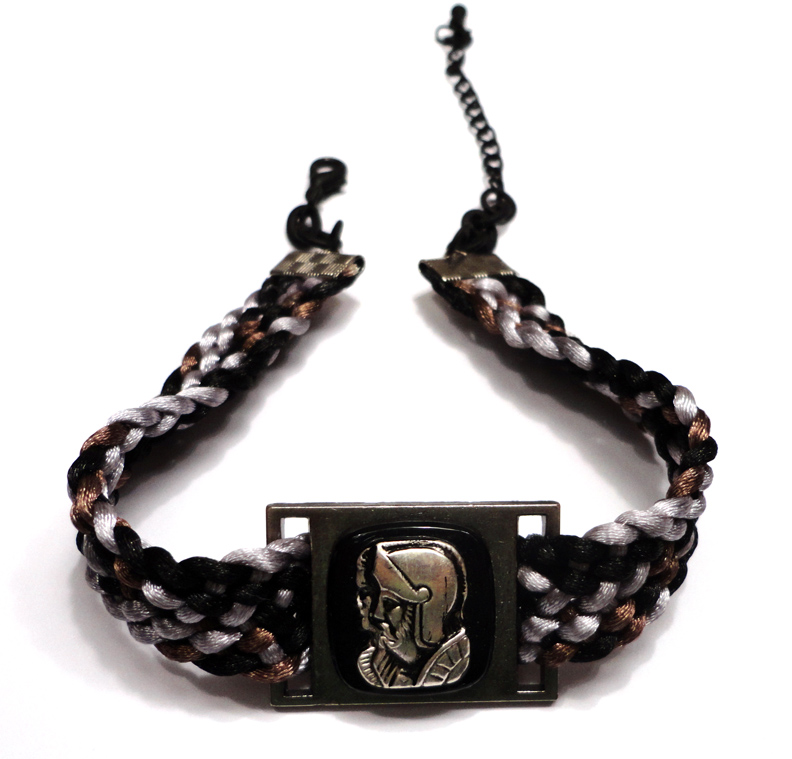
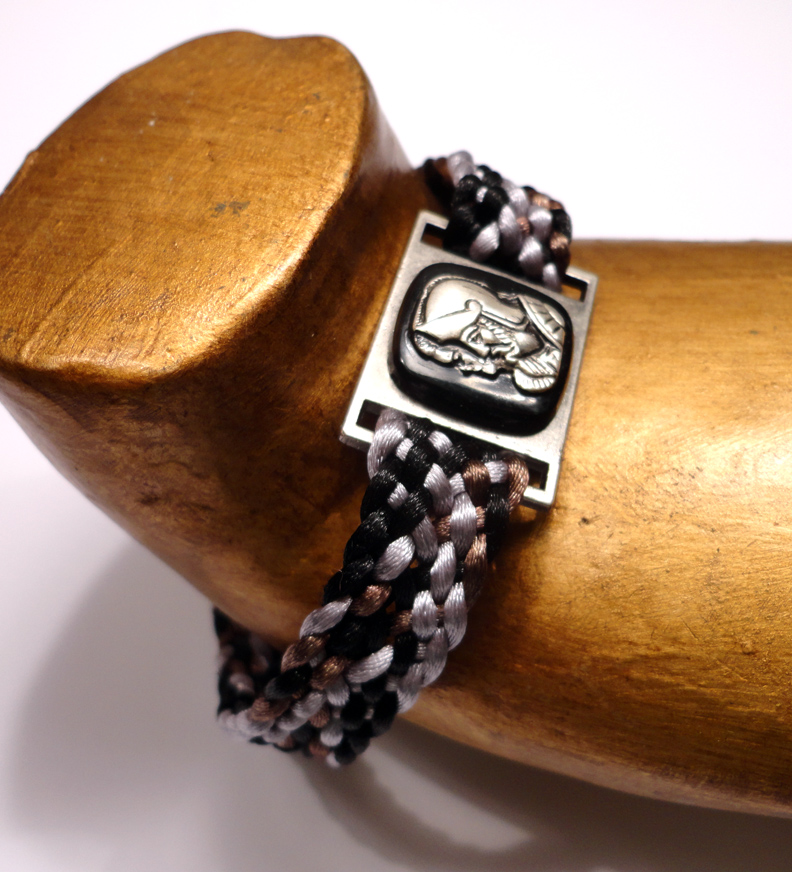
I pulled out a few things that I considered sewing to my new bracelet. In the end I used the metal “LOVE” attachment and glued an embellishment to it. (I bought that in a scrap booking store.)
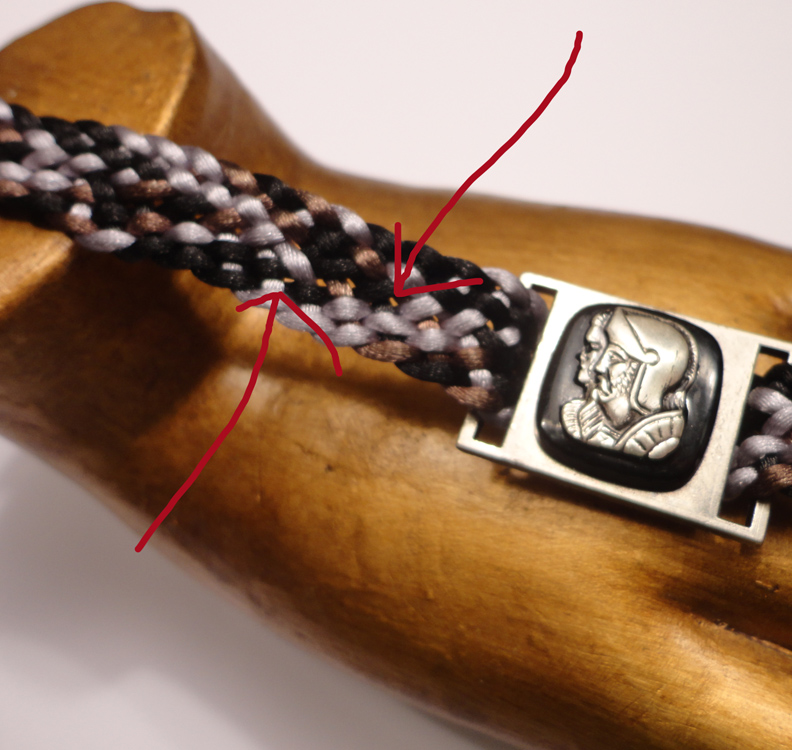
Now that the bracelet is done, I can see a few loose areas in my knot. I can do better. Come back tomorrow to see how I do with my second attempt.


For the first flat braid I think that it looks great!
Really nice. Showed me what to be mindful of when I try this.
love it