ONE NECKLACE – SO MANY DIFFERENT LOOKS!
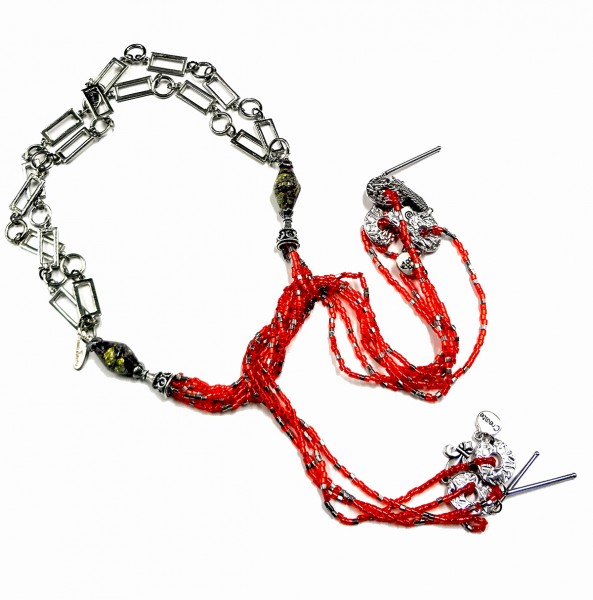
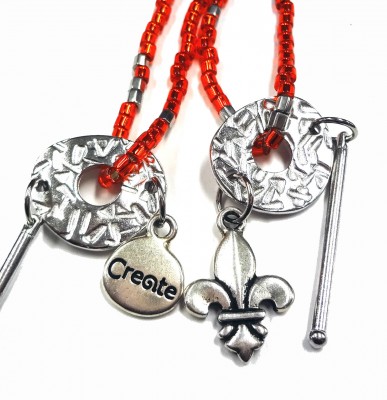
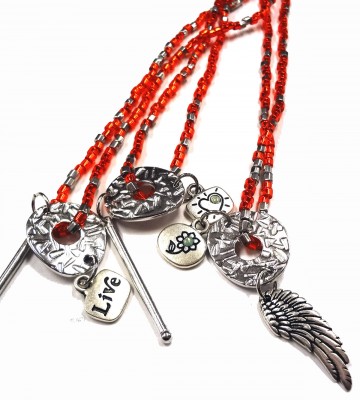
Just For Fun Necklace Designed by Fernando Dasilva for John Bead
Materials Needed
10g Delica 8/0 rd red/orange silver lined
6g Delica 8/0 Cut Palladium Plated – 8 690BBLC-0038V
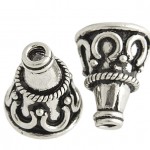
2 sterling silver cone ends
4 bead caps
5 rhodium-plated TC 1.25in. link bar
1 ant silver TC “grow” charm , 1 ant silver TC “live” charm , 1 ant silver TC “love” charm , 1 ant silver TC ‘create’ charm , 1ant silver TC large fleur-de-Lis charm, 1 ant silver 27mm TC wing
5 rhodium-plated TC abstract-round links
.015mm Beadalon Dandyline white thread
silver-plated German style wire
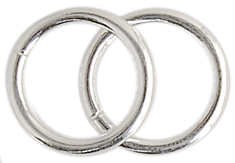
10 silver-plated 8mm jump rings
G-S-Hypo cement glue
Rhodium-plated rectangle/round 30x11mm chain
Tools:
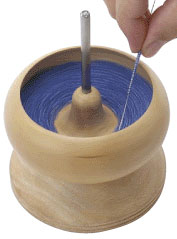
Side cutter, Flat nose, Round nose Beadalon Spin-N-Bead loader
Instructions:
1. Pour both colors of delica seed beads into the spinner tool.
2. Cut a 60inch piece of Dandyline. Pass through the curved needle followed by another seed bead. Pass both ends of the thread back through the bead and then tie a double knot to place the seed bead at the end of both of the threads.
3. Start spinning the bowl and capturing the beads onto the thread until you have a 25inch strand of seed beads.
4. Cut thread and then pass both ends of it back through last bead and knot it in same fashion as the opposite end. Leave a little slack in the Dandyline (about a 2 bead distance)
Make 4 more beaded sections in the following lengths: 24inch, 23inch, 19inch and 18inch.
5. Open a jump ring, slide one-drop bar bead and then attach through one of the holes of an oval TC connector and then close it gently. Open a second jump ring, slide one TC charm and then through the other hole of the connector, then close jump ring. Repeat to create 4 more similar sections using one TC connector and two charms for each of the beaded strands.
6. Attach each of the components made in step 5, one at a time onto the beaded strands by passing one end through the center hole in the TC connector.
7. Cut an 8inch piece of German style wire. Place round –nose pliers an inch away of one of the ends of the wire and make a medium size loop, then slide in-between the thread of the longest strand made in step 4, capturing both ends of strands onto the same loop.
8. Add the 25”, 24” and 23” strands of seed beads to this loop. Finish the loop wrapping around its wire base twice and then trim excess wire. Be careful not to cut the longest portion of wire.
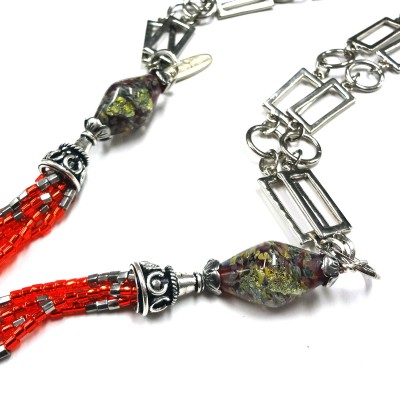
9. Add to wire the following components: sterling silver bead cap, a flower bead cap, a bicone lamp work glass bead, and another flower bead cap.
10. Connect the chain so that you have 18 rectangle components with round rings in-between each of the rectangle components in an endless necklace.
11. Attach component set aside in step 9 to one of the large rings on the chain with a wire wrapped loop, then wrap around the base to finish one side of the necklace.
12. Finish the other side of necklace repeat steps 5-9, attaching the two remaining beaded sections. Then follow the steps 10 – 11 to finish the necklace.
13. Embellish the back of the ‘message’ charms by gluing ‘ss 09’ crystal flat back stones. Use a single dot of Hypo-cement glue to affix the crystal.
Just for fun!
Designer’s Tips:
1. Add charms and drop bars to the oval connectors randomly.
2. When knotting the ends of strands of seed beads leave a ¼ inch space so it doesn’t get stiff once the oval connectors are added to the end of necklace. The connectors and the charms will add some weight to end of necklace.
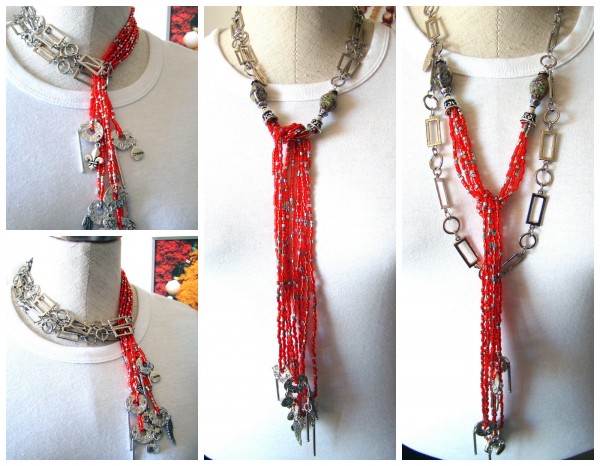
3. Necklace can be worn in many different ways. Play with it, just for fun!

Fernando has created many pieces of jewelry which are displayed in the John Bead showroom. Some of these designs appear in our catalogues and may have been published. For those of you who can’t visit in person we will have a regular post on this blog giving you a closer look at the finished jewelry. Fernando has written all the instructions and is sharing them with you. Welcome to the series we call: Fernando DaSilva’s Atelier.



Great Ideas… I will also share this to my friends. Thanks a thousand times for the great ideas.