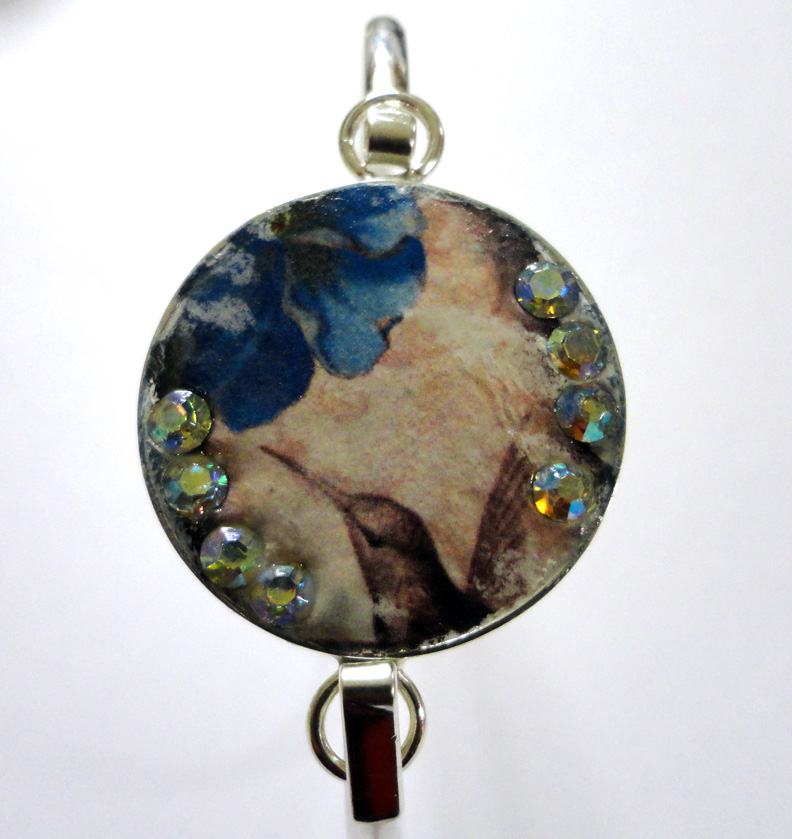
It is hard to believe that this bezel featuring a bird, flowers and crystals can be created with Apoxie Sculpt and some photocopies.
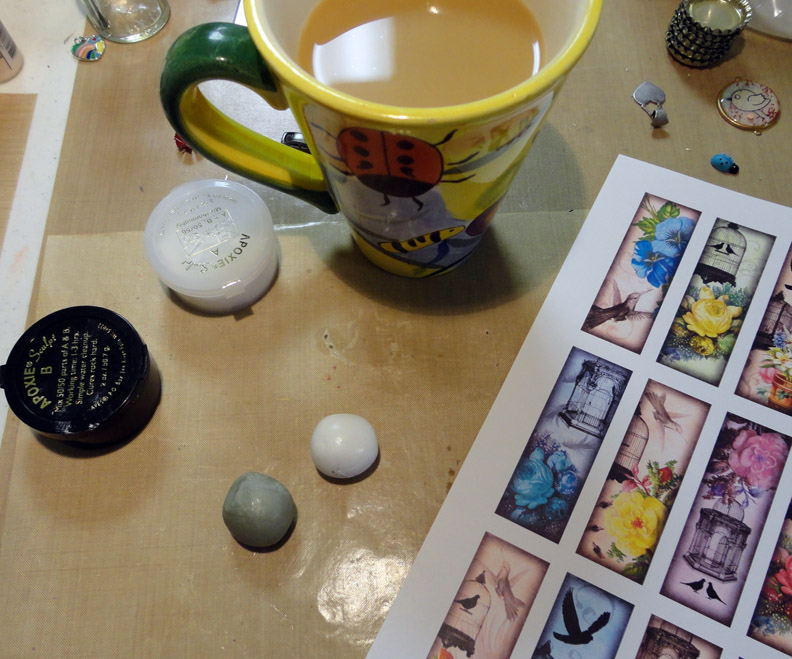
For the project I made myself a cup of coffee (optional) and a small ball of White Apoxie Sculpt clay. I also selected some toner photocopy (not ink jet) images to work with.
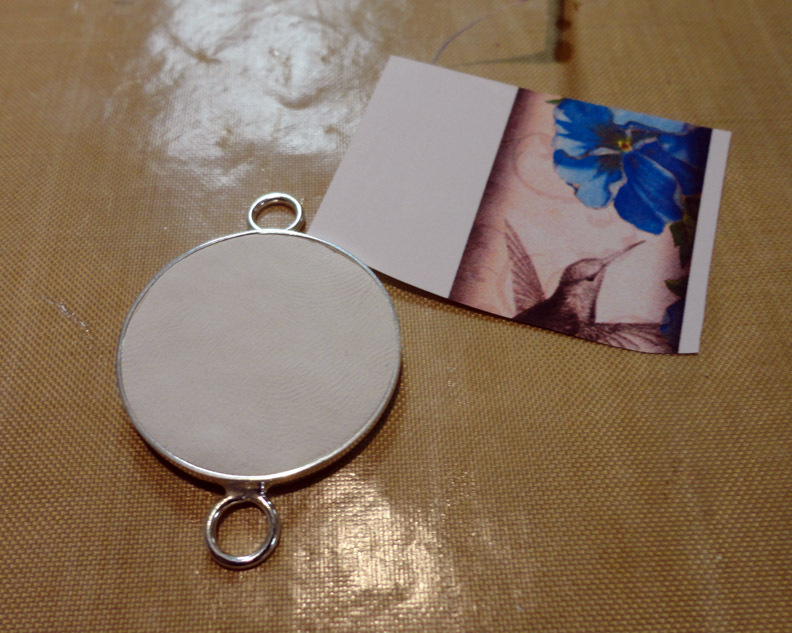
I filled my Metal Complex silver plated bracelet link bezel with white Apoxie Sculpt. Then I cut the image I wanted to the approximate size of the bezel surface.
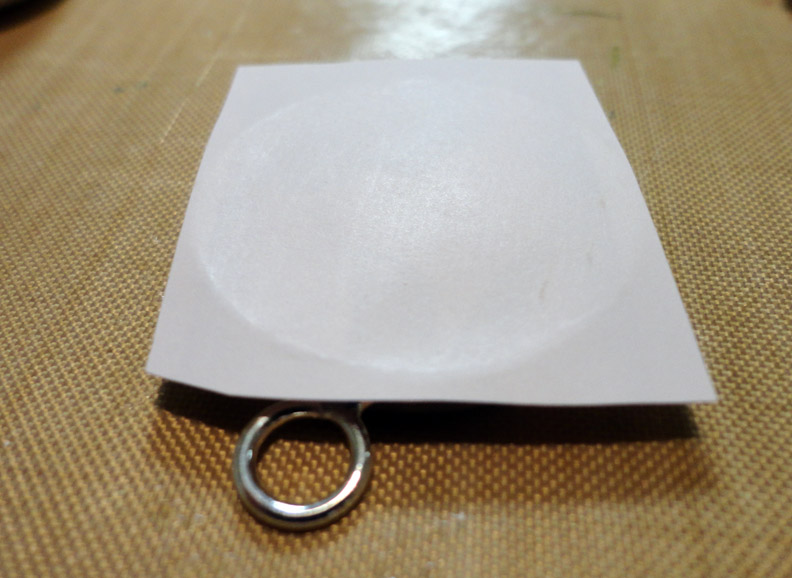
I burnished this in place for about five minutes using my fingers. You need to make sure you have a good adhesion between the paper and the Apoxie Sculpt surface.
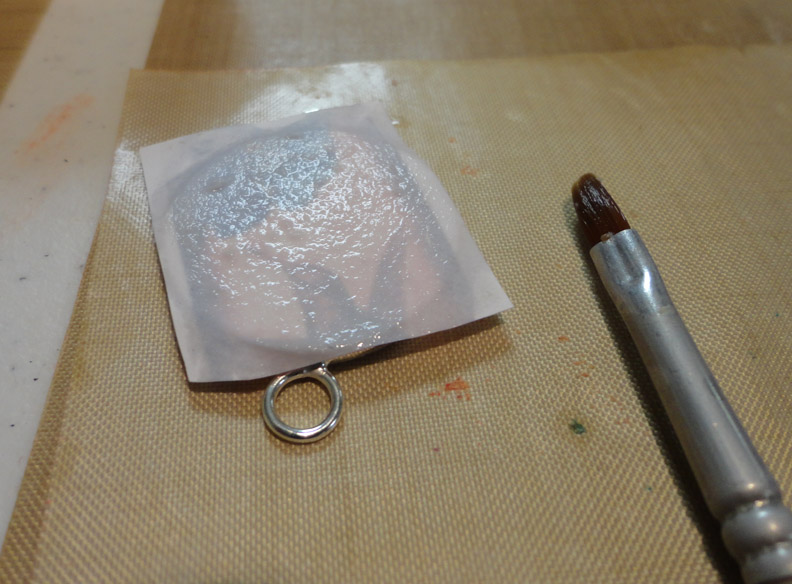
Then I wet the paper. I do this so I can see the images. I removed the paper from the edges too so I could add some crystals to the Apoxie Sculpt before it cured.

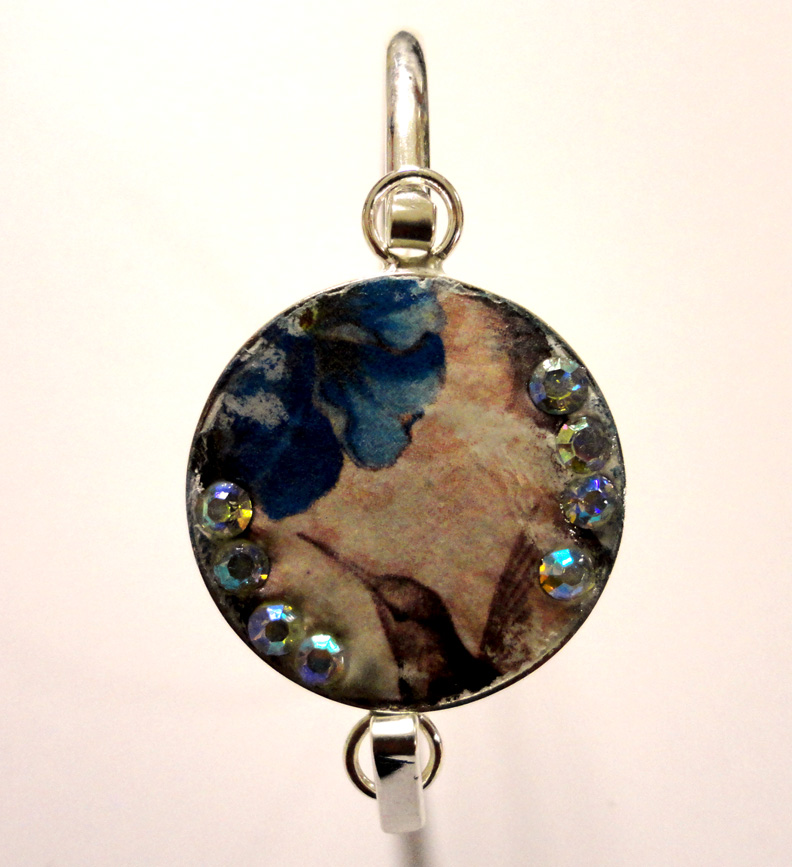
Here is what my piece looked like at this point. I let everything cure for 24 hours. That is hard to do! You don’t know if the transfer worked and you can’t peak.
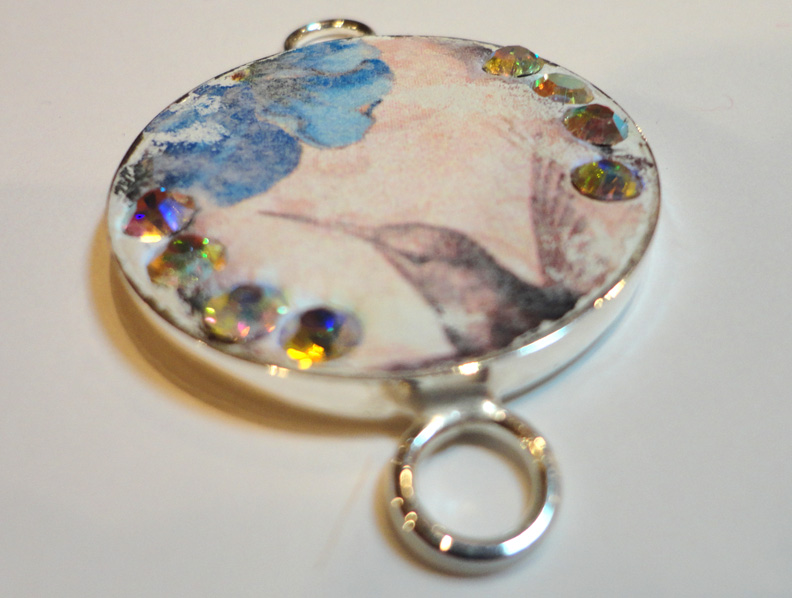
After the clay was cured I dropped this bezel into warm water and careful removed all the paper from the surface. You just carefully rub all the paper pulp away. You may need to do this a few times. On the picture above I still had paper clinging to the surface. What you are leaving is the toner from the copy which is now transferred onto the clay.
A final coat of spray sealer or varnish helps to make the image pop again. I added my Metal Complex interchangeable bracelet and it is ready to wear!