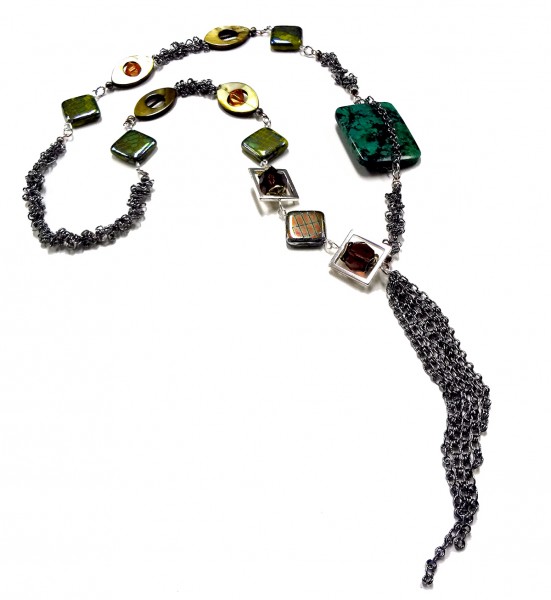
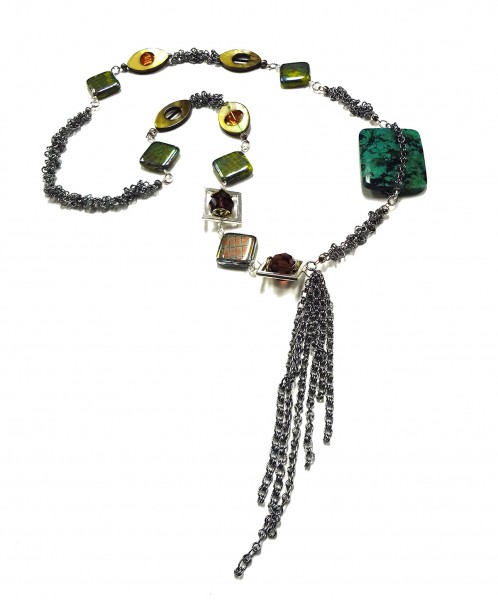
This is the Verdi Difacto necklace by Fernando Dasilva.
Fernando has created many pieces of jewelry which are displayed in the John Bead showroom. Some of these designs appear in our catalogues and may have been published. For those of you who can’t visit in person we will have a regular post on this blog giving you a closer look at the finished jewelry. Fernando has written all the instructions and is sharing them with you. Welcome to the series we call: Fernando DaSilva’s Atelier.
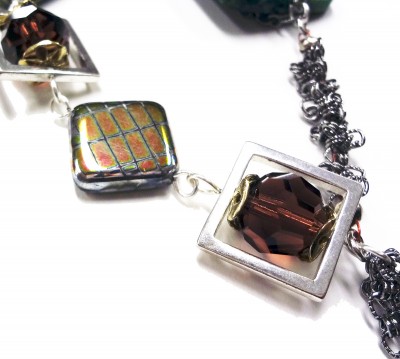
Here is a closer look at Verdi Difacto’s linked sections.
Materials Used
2 topaz 8mm crystal bicone beads
2 mooca 10mm crystal round bead
1 silver pink 17x17mm metallic diamond glass peacock beads
4 blue metallic 17x17mm peacock beads
1 African turquoise 30x40mm rectangle bead
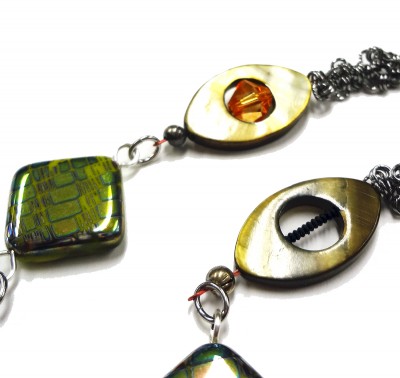
4 oval dyed green shell donuts
3ft of dark chain
silver plated wire guardians
10 silver plated 4mm crimp covers
19 strands Beadalon pink colored stringing wire
3 ft silver plated German style wire
Tools
Instructions:
1. Cut chain in the following lengths:
– four pieces of 5 inches length
– one piece of 10 inches length
– for bottom fringe cut one of each of the following lengths: 5 inches; 4 ½ inches; 4 inches; 3 ½ inches; 2 ¾ inches and 2 ½ inches.
Set them aside.
2. Create individual links using silver plated wire.
Making loops: Cut a 3 inches piece of silver plated wire. Use round nose pliers to make a simple loop at one end and trim excess wire and then feed beads following directions given below.
link A: simple loop + frame + bead cap + round crystal + bead cap +simple loop (make 2 of it)
link B: simple loop + metallic bead + simple loop (make 5 of it)
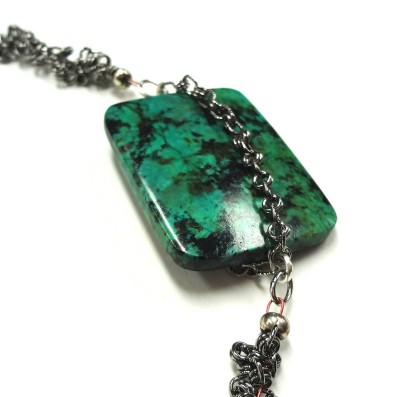
link C: large simple loop + large turquoise bead + simple loop
3. Strung sections:
Cut a ten inches piece of stringing wire. Feed a crimp tube onto wire followed by oval jump ring. Pass wire back to crimp and then using the crimper tool secure it in place. Trim excess wire.
String on wire one green donut, one crystal bicone and then feed through other hole of donut, placing crystal inside of donut. Start stringing one pre-cut piece of 4 inches chain onto wire, passing wire end through chain links but skipping two links at a time. Chain will “collapse” onto wire making a rugged section. Add another green donut, eight black bead bumpers and then pass it through the second hole of donut. Secure its end repeating first step and then set aside. Make similar second section.
4. Cut a twelve inches piece of stringing wire. Feed a crimp tube onto wire followed by oval jump ring. Pass wire back to crimp and then using the crimper tool secure it in place. Trim excess wire. Feed the ten inches piece of chain onto wire creating a larger “rugged” section. Finish the end repeating first step. Make other two similar sections using the other two left pieces of chain. Set them aside.
5. Assembling necklace: open and close loops of links using chain nose pliers.
Open one loop of a link A then attach the six pieces of chain left and then close gently.
Continue attach other sections on pattern as follows:
One link B + one link A + one link B + one green donut section + link B + large rigged chain section + one link B + second green donut section + one link B + one rugged section + link C + last rugged section + then open jump ring and attach to first link A.
6. As a final touch add one piece of approximately 1¾ inches of chain on the outside surface of turquoise bead. Add a second on the other side. Use its own loop to attach chain links.
7. Use one crimp cover on each crimped section to hide crimped tubes. Use the outside jaw of crimper tool to close each crimp cover properly.
Tips:
* “rugged” chain section is named after the sections where pieces of chain are strung onto stringing wire. The numbers of links feed onto wire will determine the look of each section. I suggest skipping every other link for a subtle look. If you wish for a more “collapsed” section, feed stringing wire every two links of chain.
* Keep in mind that asymmetrical designs give you an opportunity to add your own “twist” to the design, making it more personal and unique.
* Always read the instructions before start working on your piece. Have fun!
