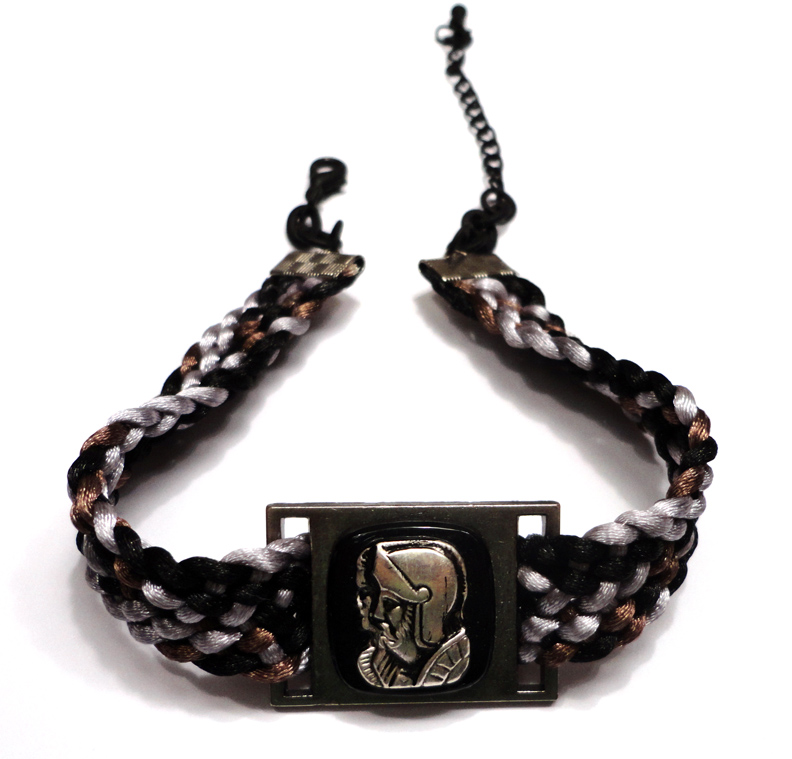
Hello John Bead friends! I will be showing you the results of my first attempt to experiment with the new Dazzle-It kumihimo square disk. You’ll find easy to follow written directions and images in the square disk kit. I followed them in order to make this first sample. This flat braid design is known as a Anda-Gumi Braid.

I am quite pleased with this flat braid! I also really like the rattail colour combination I choose.
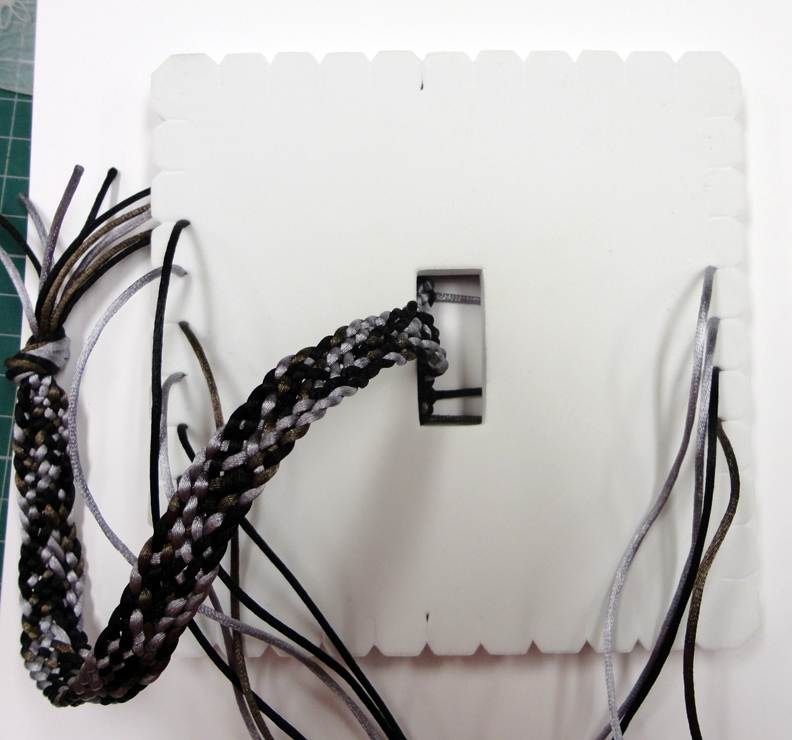
The square kumihimo disk can be used to make both flat and rounded cords.
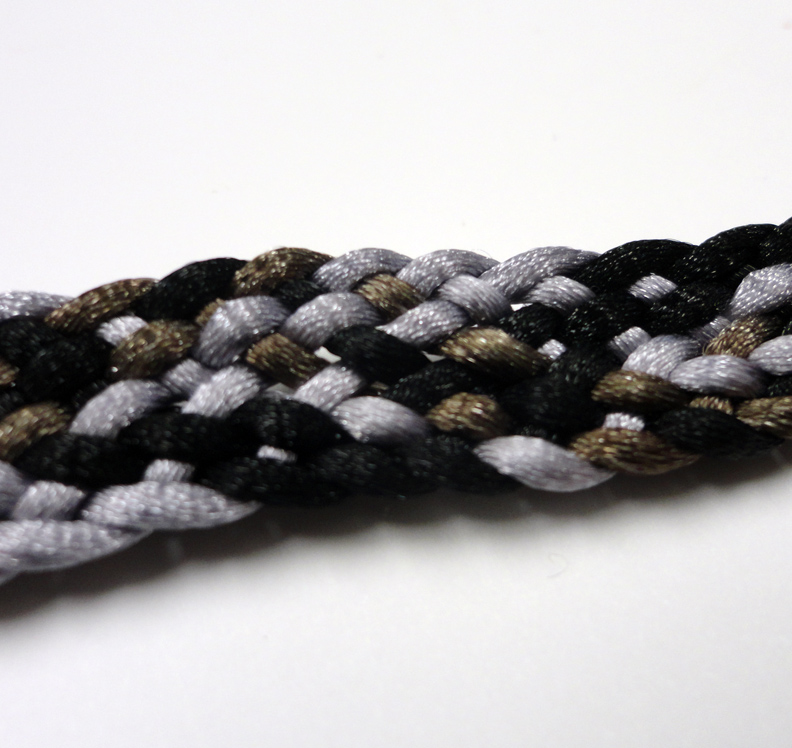
My first flat braid is a little wonky…..my knots are not perfect. But you have to start at the beginning to learn a new skill. And I definitely need to make a few braids if I want perfection.
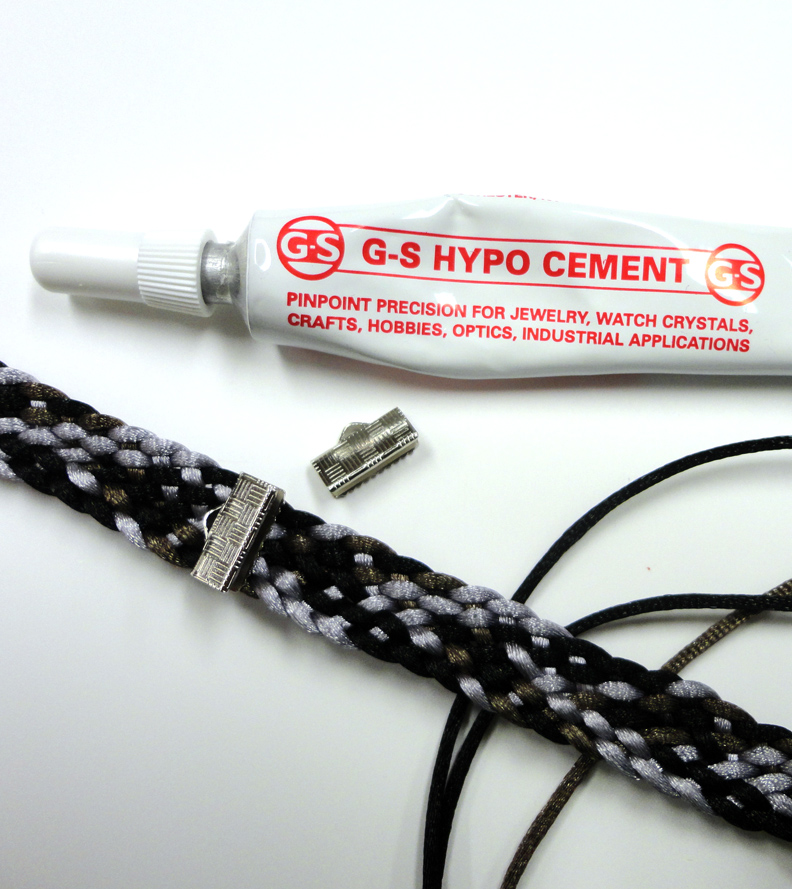
The other skill I need to learn is how to finish the ends of a flat braid. For this I pulled out some ribbon clamps and my Hypo Cement.
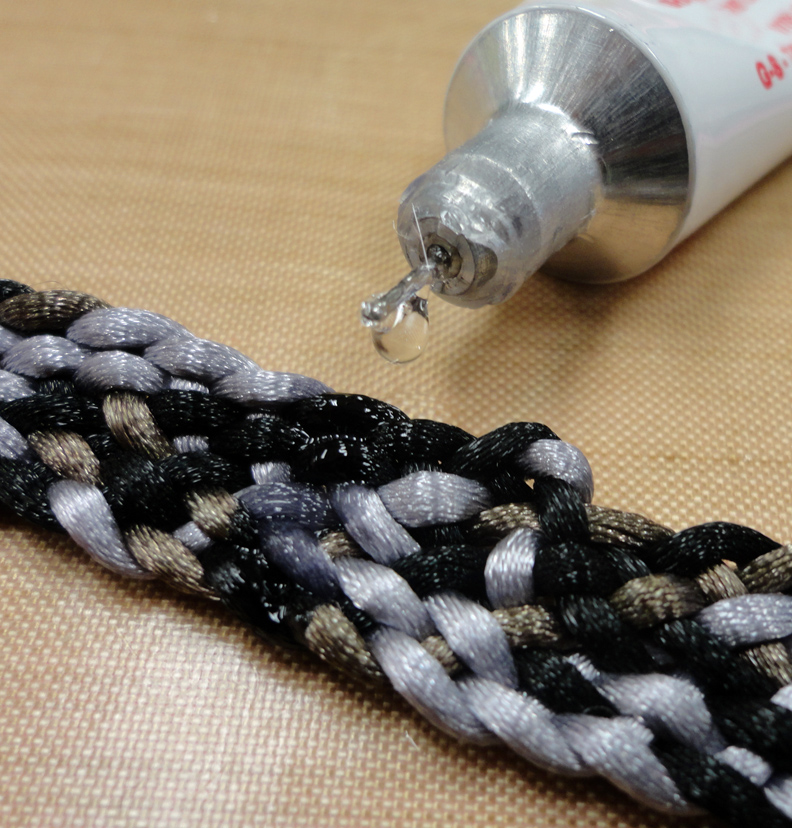
When I cut my cord it would unravel faster then I could get all the ends into my clamp. So I dropped a line of Hypo Cement in the area I would cut to make these sections stay together.
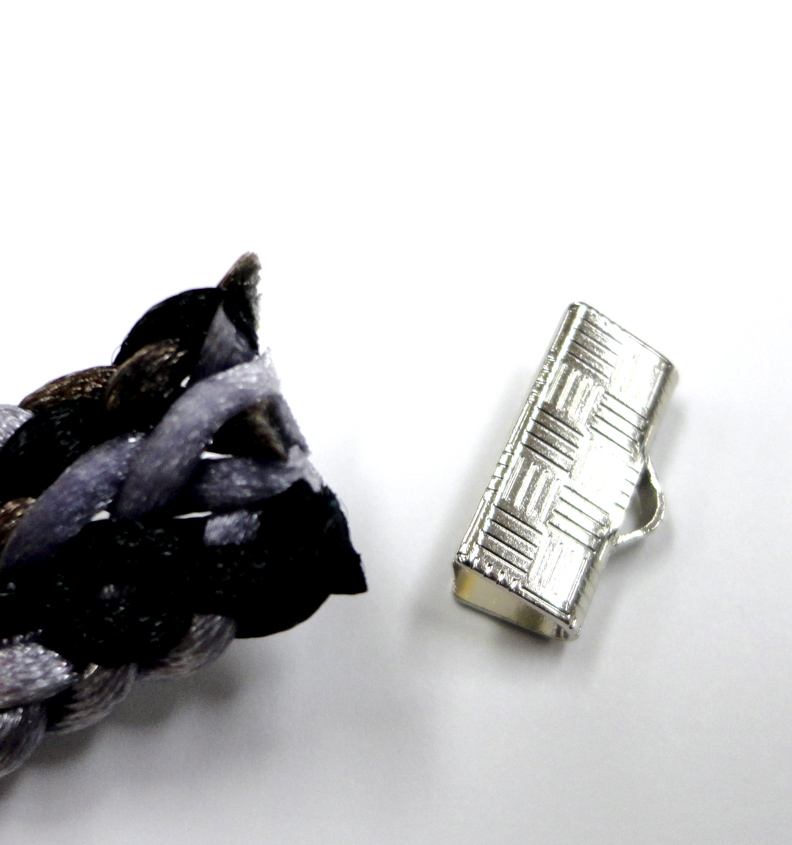
You can see that when I cut my cord (post cement) that the end was very stiff and went into the clamp easily!
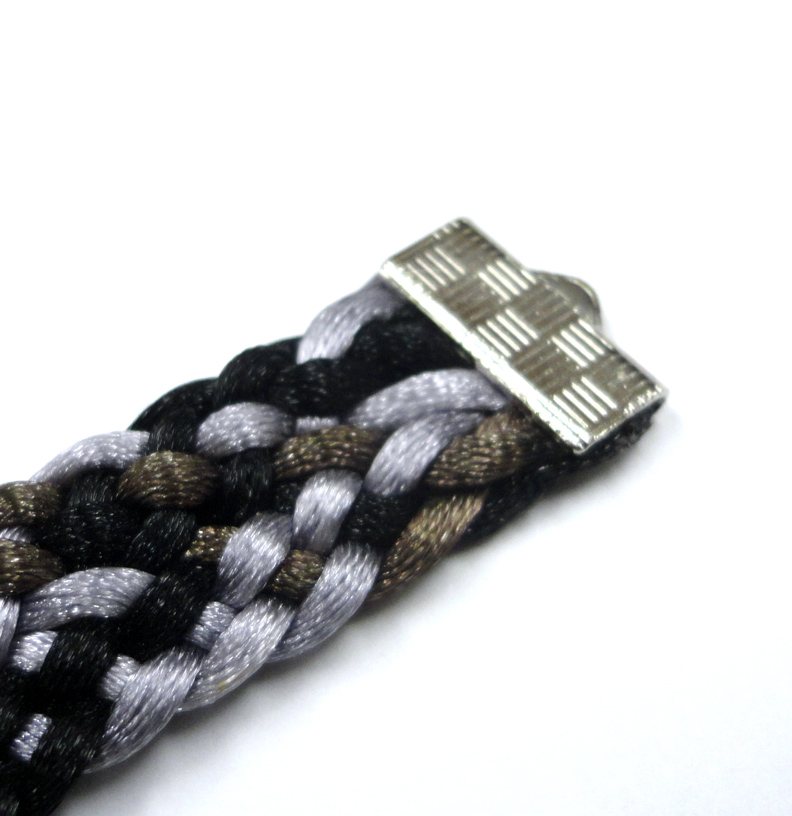
That looks great!
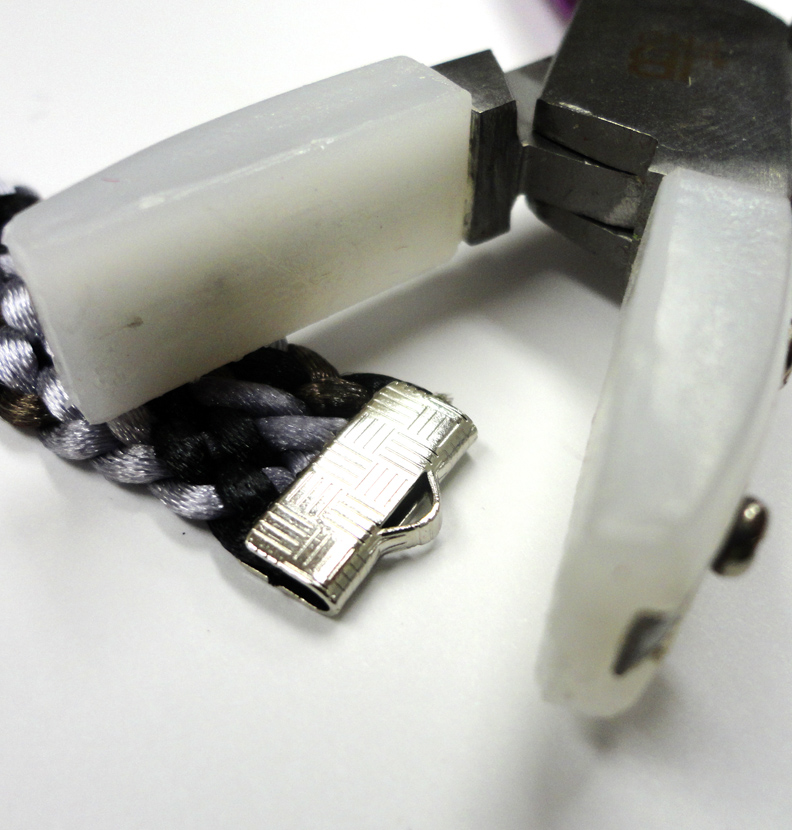
It is really helpful to use a nylon jaw plier. This way you do not scratch your ribbon clamp when you close it.
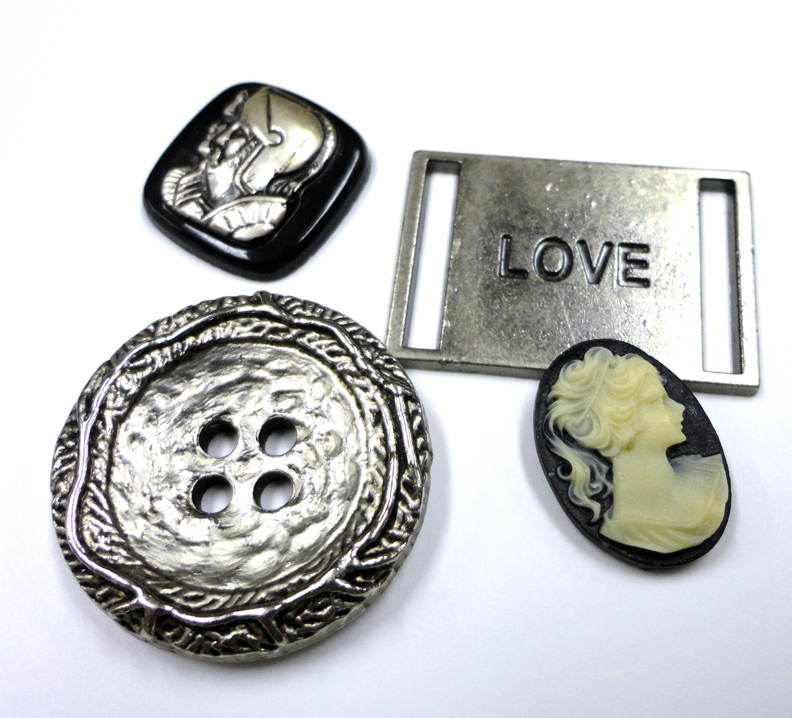
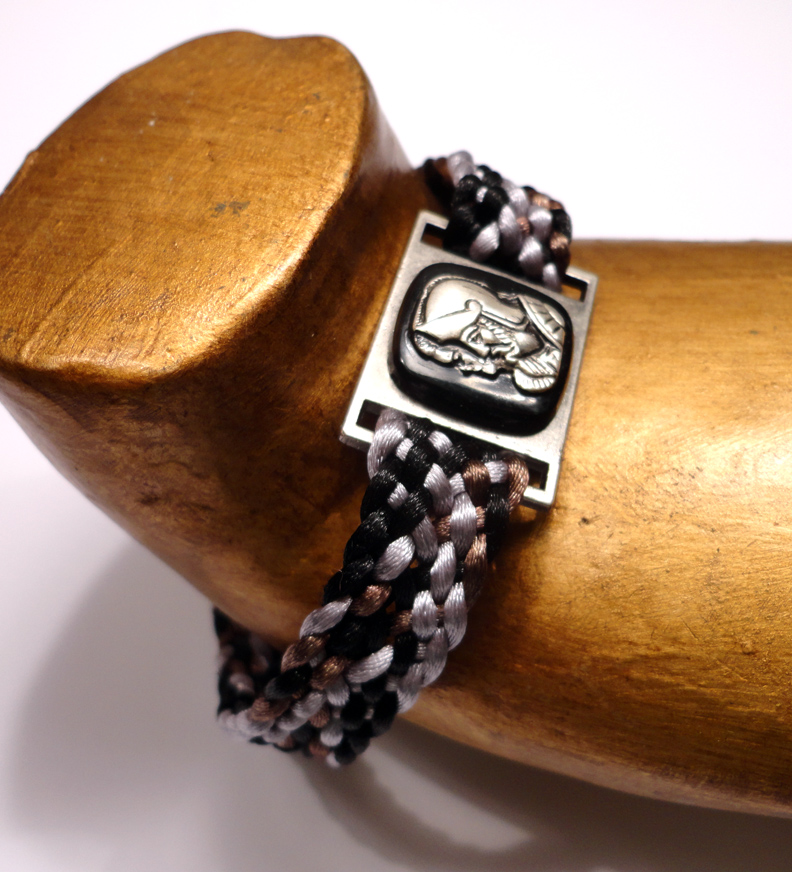
I pulled out a few things that I considered sewing to my new bracelet. In the end I used the metal “LOVE” attachment and glued an embellishment to it. (I bought that in a scrap booking store.)
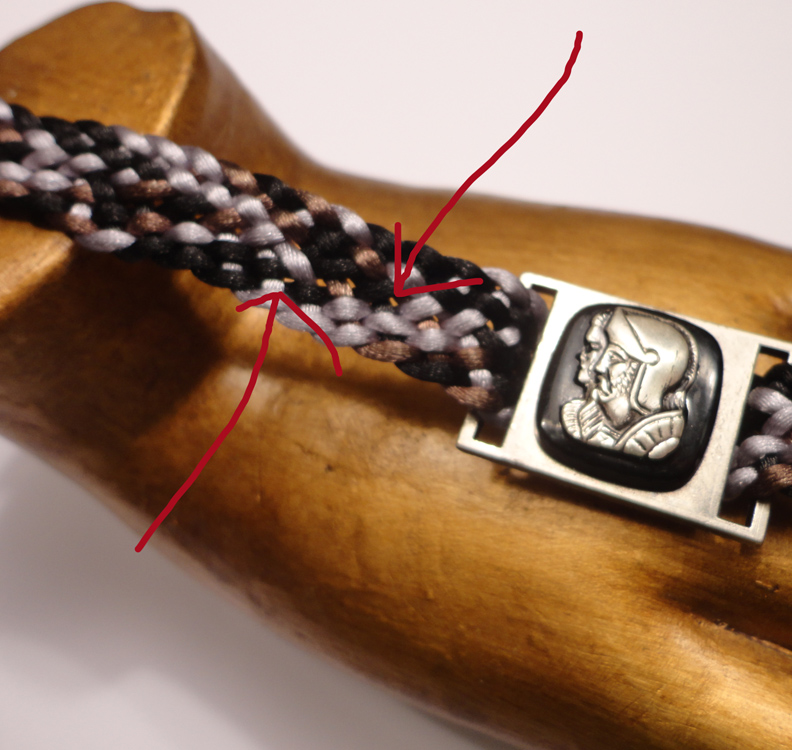 Now that the bracelet is done, I can see a few loose areas in my knot. I can do better. Come back tomorrow to see how I do with my second attempt.

Very nice, I’d like to try this!
my favorite thing about this post, is seeing that other people’s GS Hypo cement tube is as gunked up as mine!
I love the internet. Just type in whatever comes across your mind and there it is. That’s how I found your blog, googling Kumihimo blogs. So much inspiration and tips I hadn’t thought of. Thanks!!! Booking this site right now!!!